

C-prints from @MeinFilmLab
I have written about MeinFilmLab before and I personally have a lot of respect of what the team around Jörg Bergs has achieved over the last two years. The lab was literally established from scratch and what began in his basement has now grown to a already renown photolab that offers a complete workflow for the modern analog photographer. I don´t know the exact numbers but I would not be surprised if the MFL already handles the big amount of analog film development in Germany. But who cares about numbers. As we all know, the photographic workflow needs a final output which is in most cases a print. While we are often happy with displaying photos on our smart phones and tablets, there is a certain fascination of a physical print.
The Fujifilm minilab printer
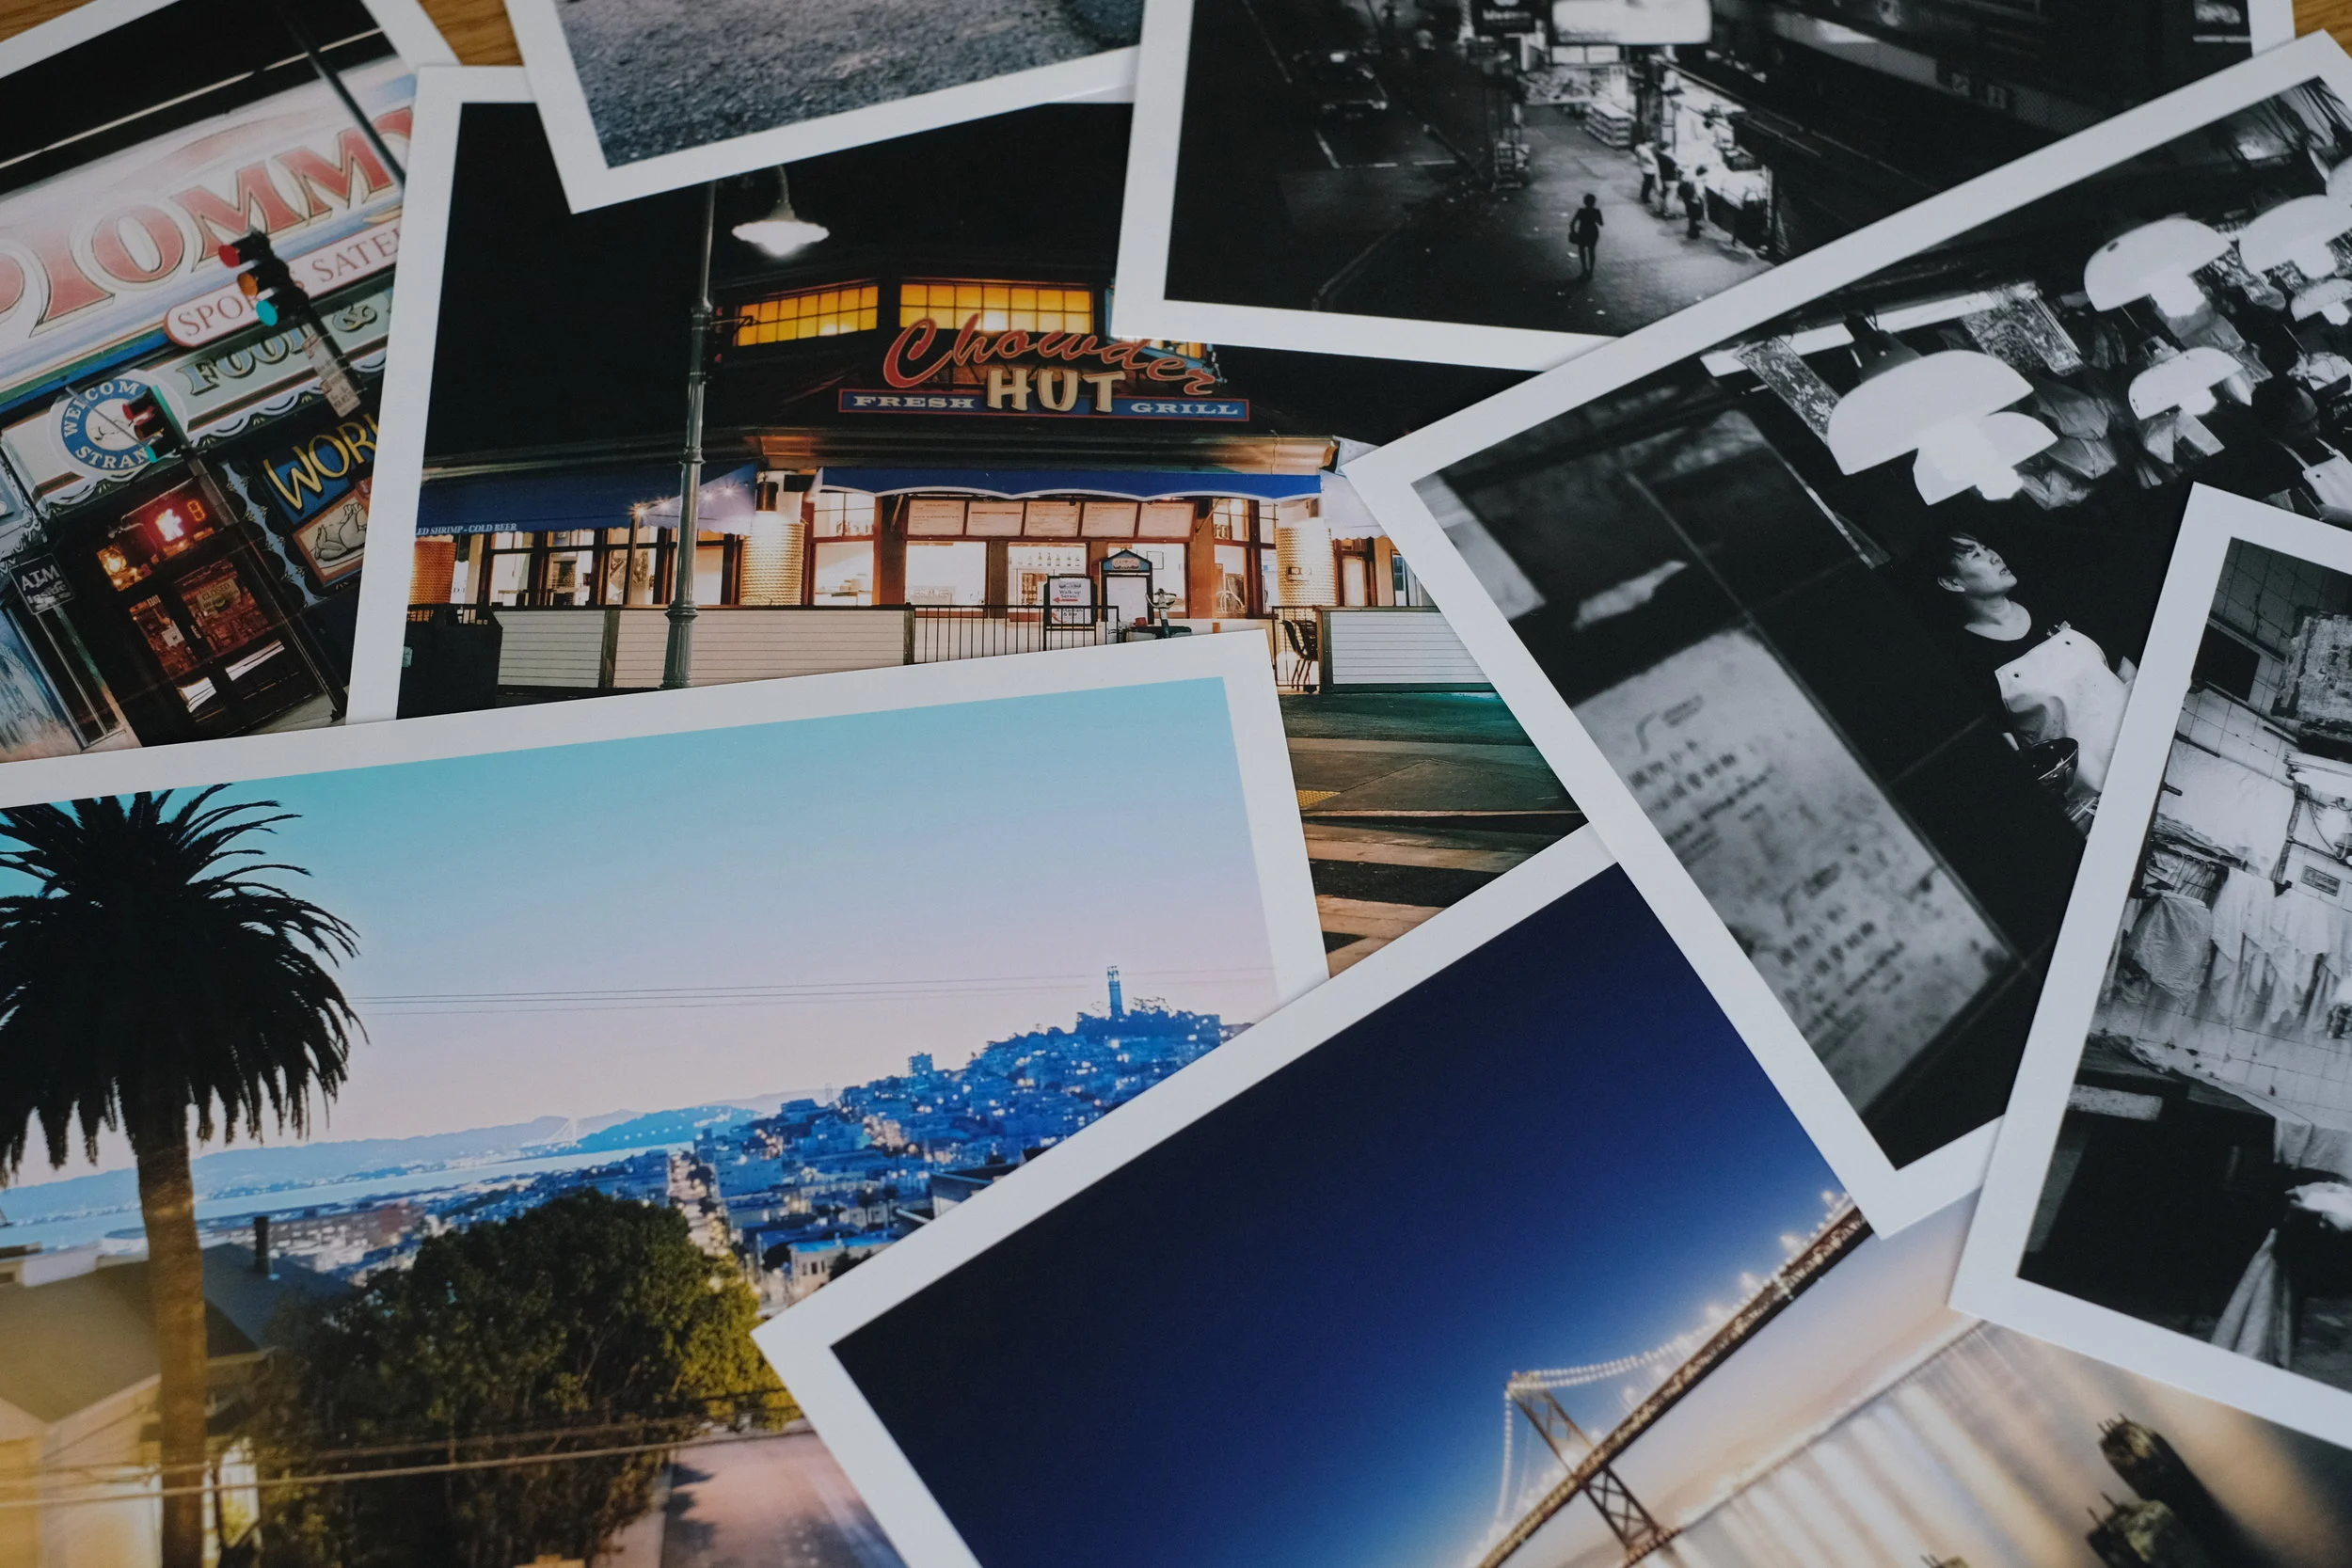
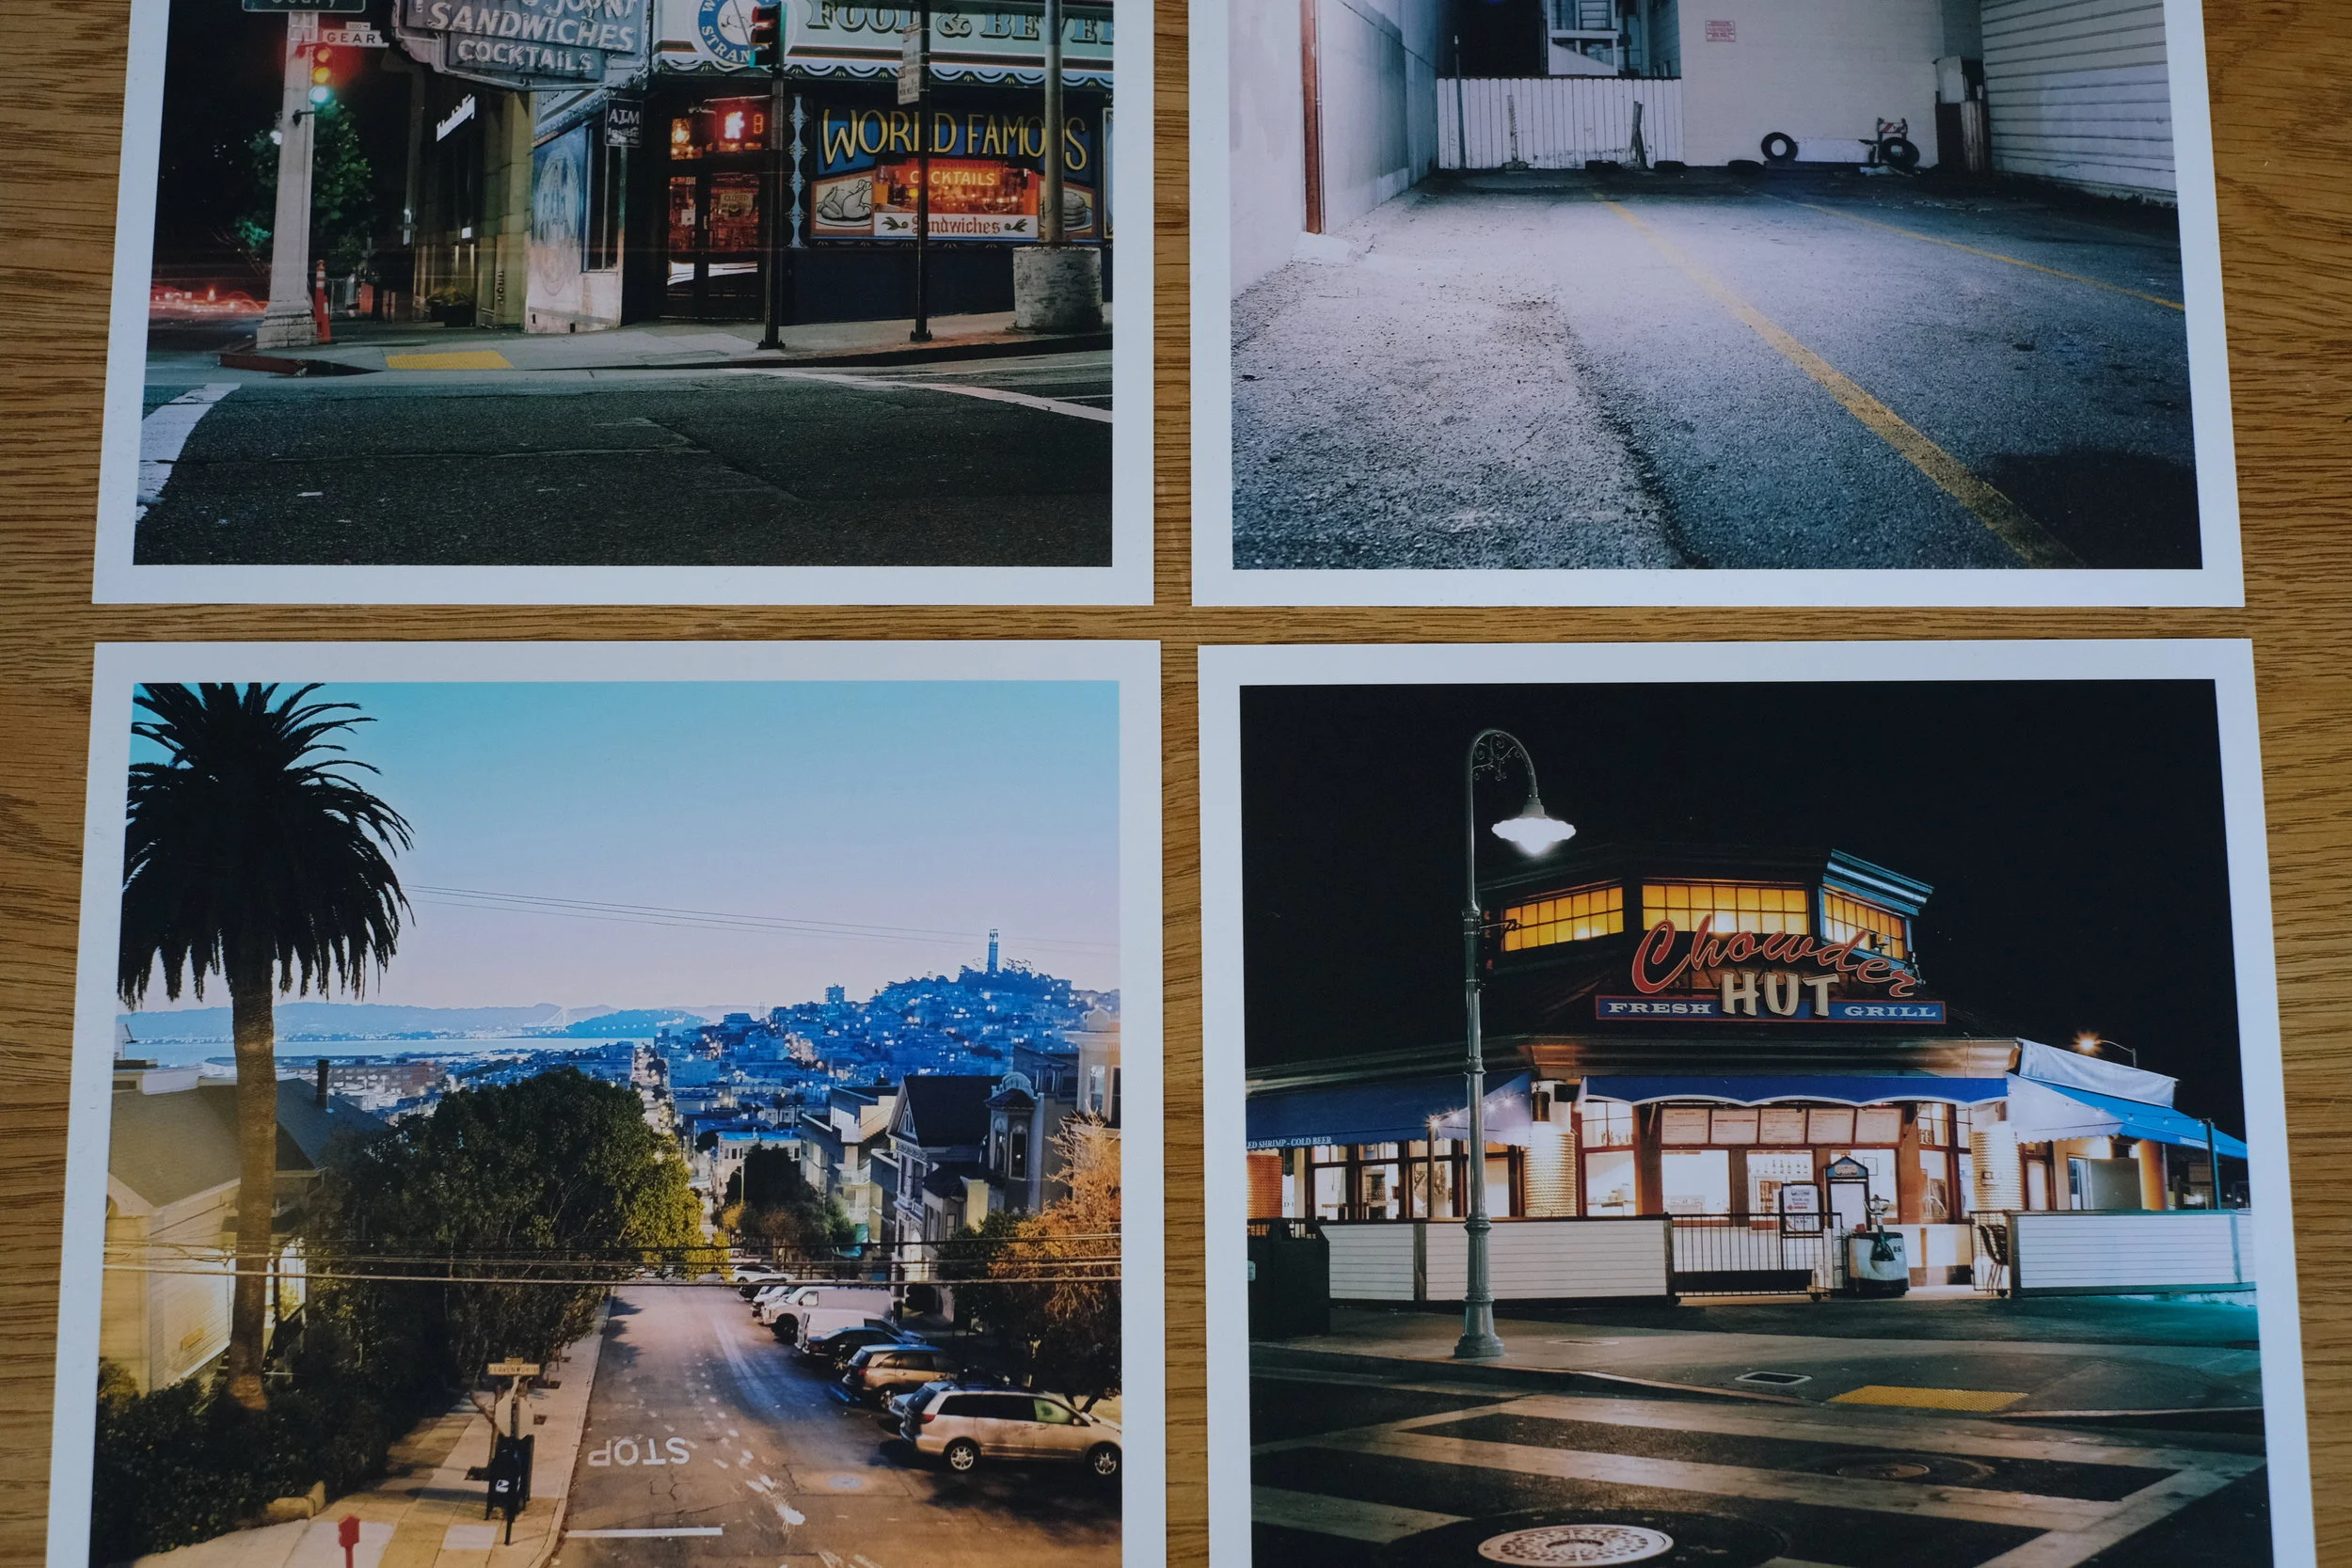
MeinFilmLab has just recently established a new print service that enables you to order a print pack together with your scans or have any other files be printed by them. They use a Fuji Frontier printer that will give 100% analog prints in both black & white and color. This machine uses an optical unit to expose analog printing paper that will be developed and washed to achieve the final print. The biggest advantage of this process over inkjet or digital offset printing is the homogeny of the tonal output. There are no dots, more brilliant colors and less digital artefacts. This at least is the idea of this method. Of course there are many other labs that offer a similar service but combined with the precision and dedication of a good printer you can even expect more than just simple prints. I also like the idea of having one lab that takes care of all my needs as a photographer. Sure you might certainly find a place that offer you a better price for the print, but does quality hold up your expectations? I had a chance to test the prints and I ordered prints from both analog scans and my digital camera at various sizes.
Paper Options
Before I go into my findings let me talk about about the paper and paper size options available. You can get the regular glossy and lustre options as well as relatively unique velvet paper. All of them are available in sizes from 9x13cm up to 20x30cm. The Velvet paper is fantastic and I will talk a bit more about this in a minute. The price for the other two papers, the lustre and glossy paper is pretty much what you would expect for regular prints. Starting at 0,22€ for a 9x13cm this is a common price for prints, but for a quality print this is quite cheap in my opinion. The Velvet paper starts at 0,70€ for the smallest print and goes up to 2,50€ for a 20x30cm. This deep matte paper which has a very fine look. It is based on the silver rich DPII emulsion and shows almost no reflections while offering deep blacks and creamy highlights. This is a fine art paper rather than a regular standard printing paper which easily justifies the price.
Print Quality
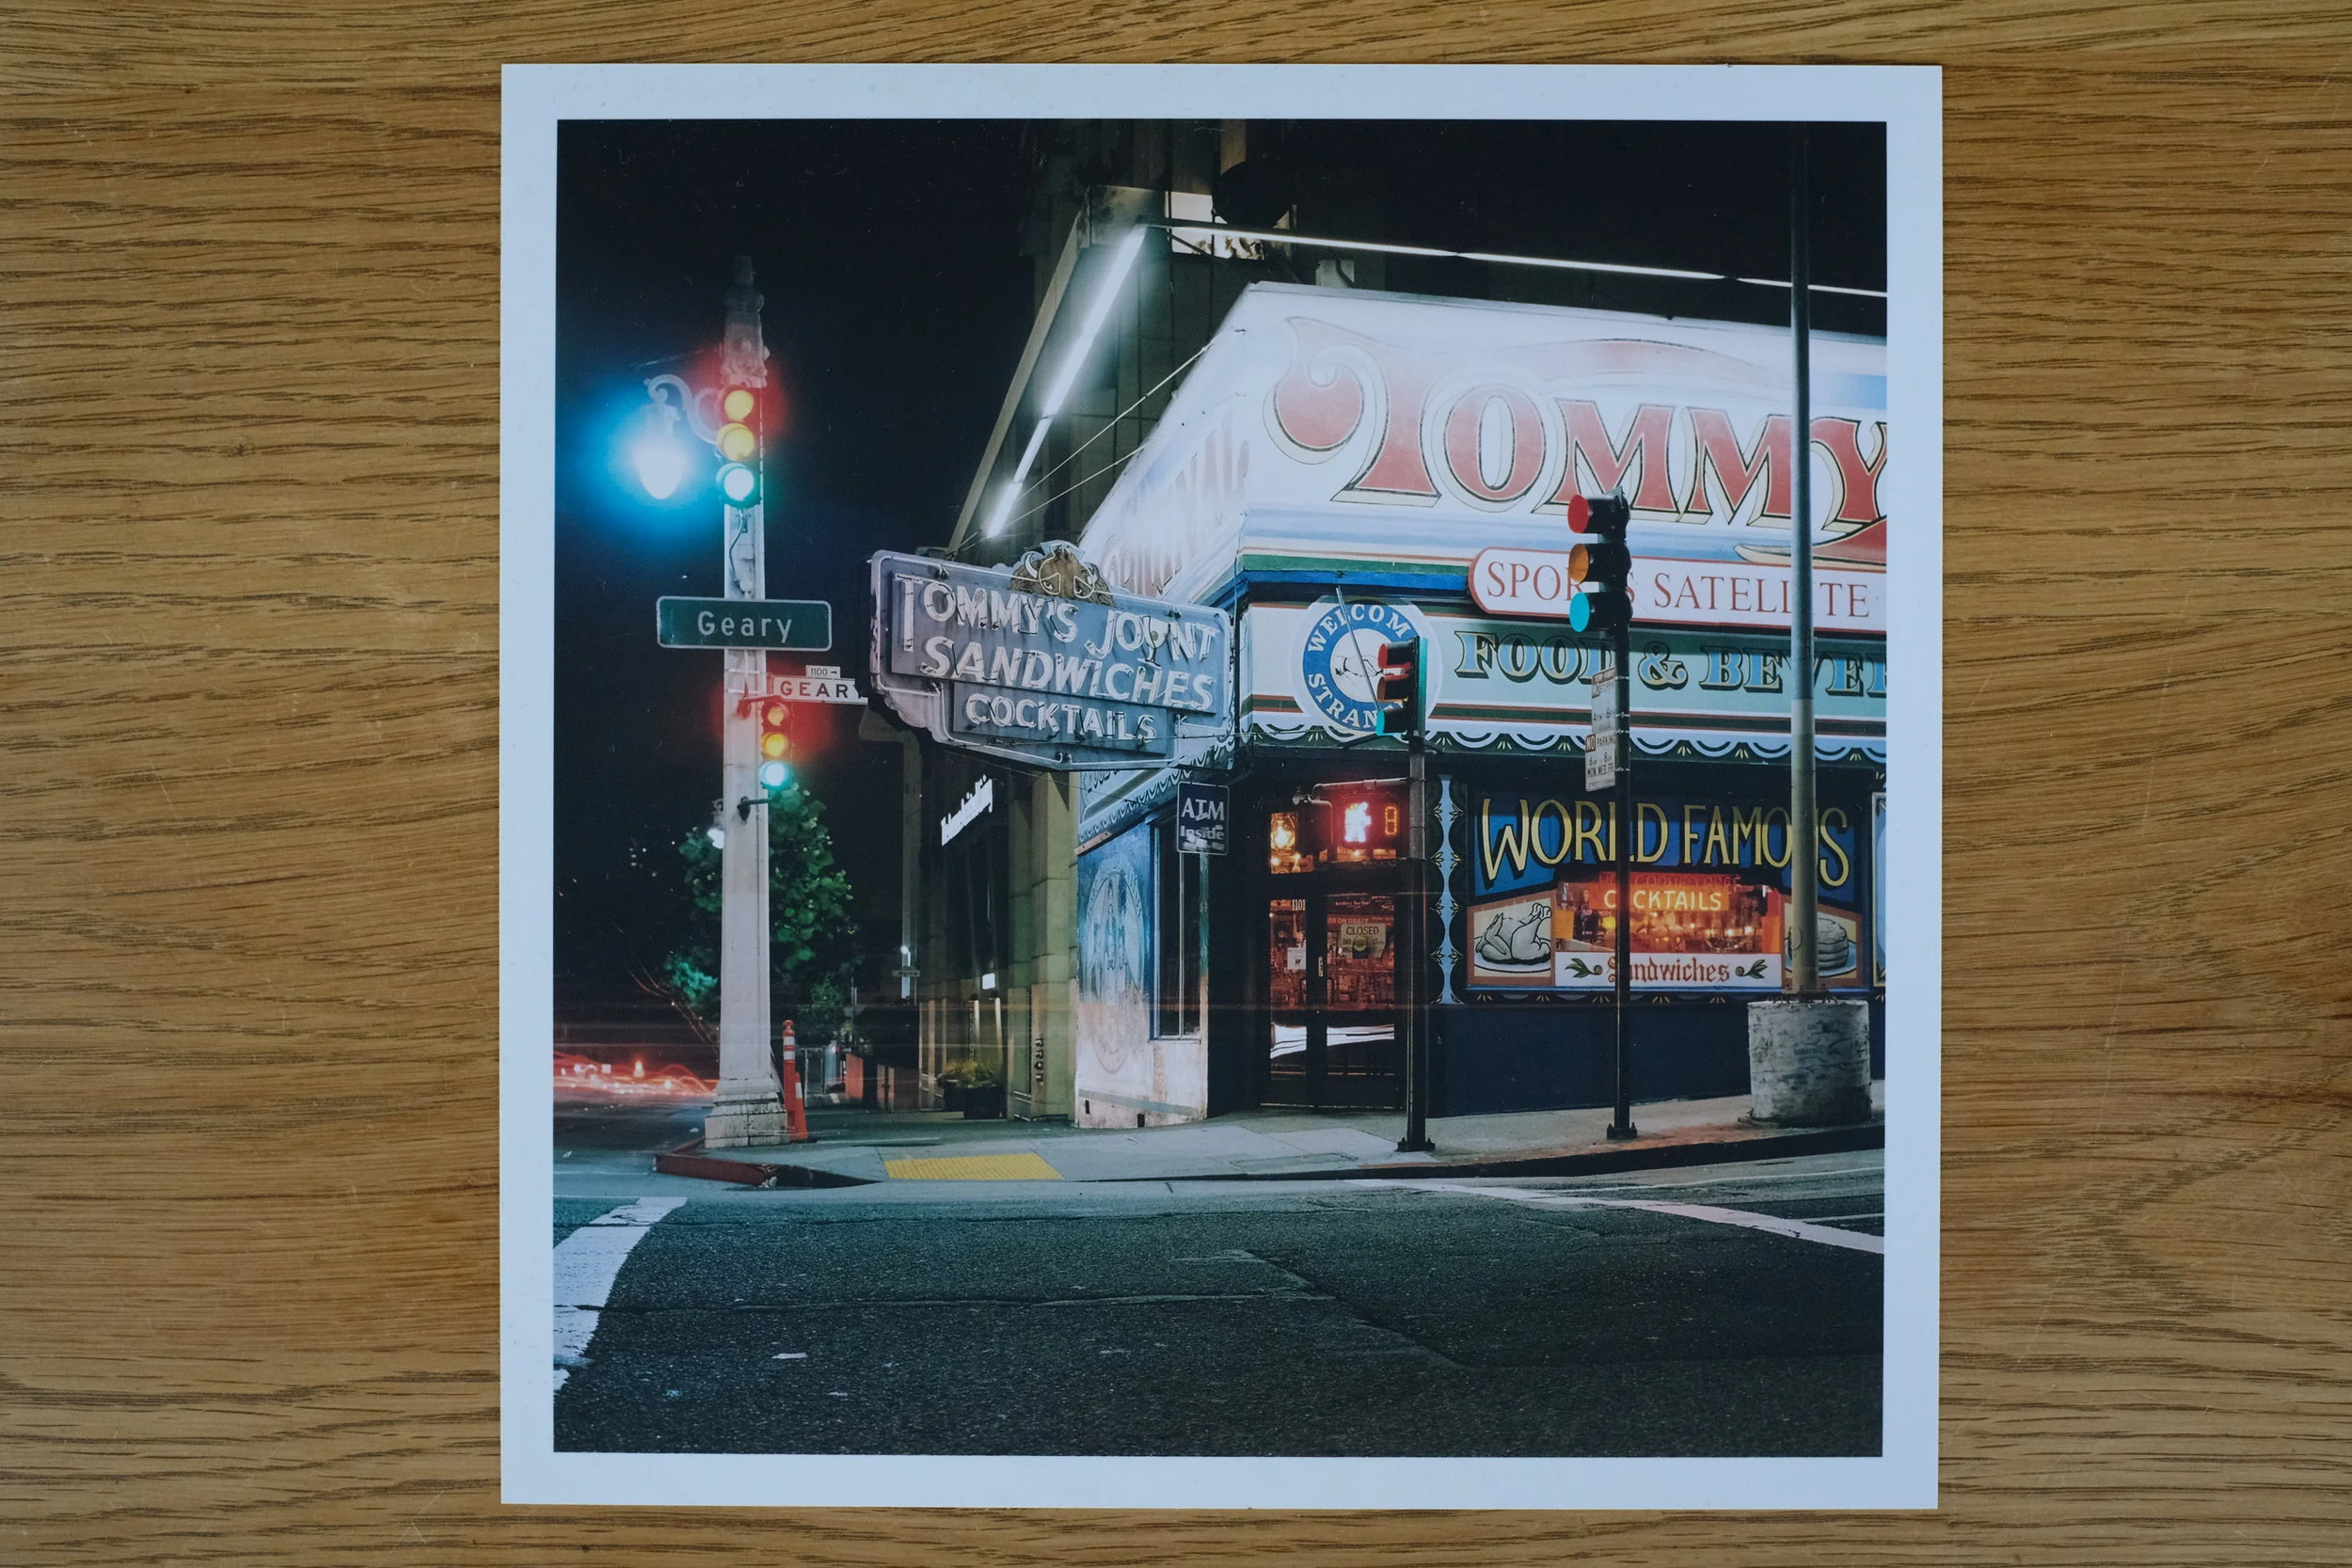
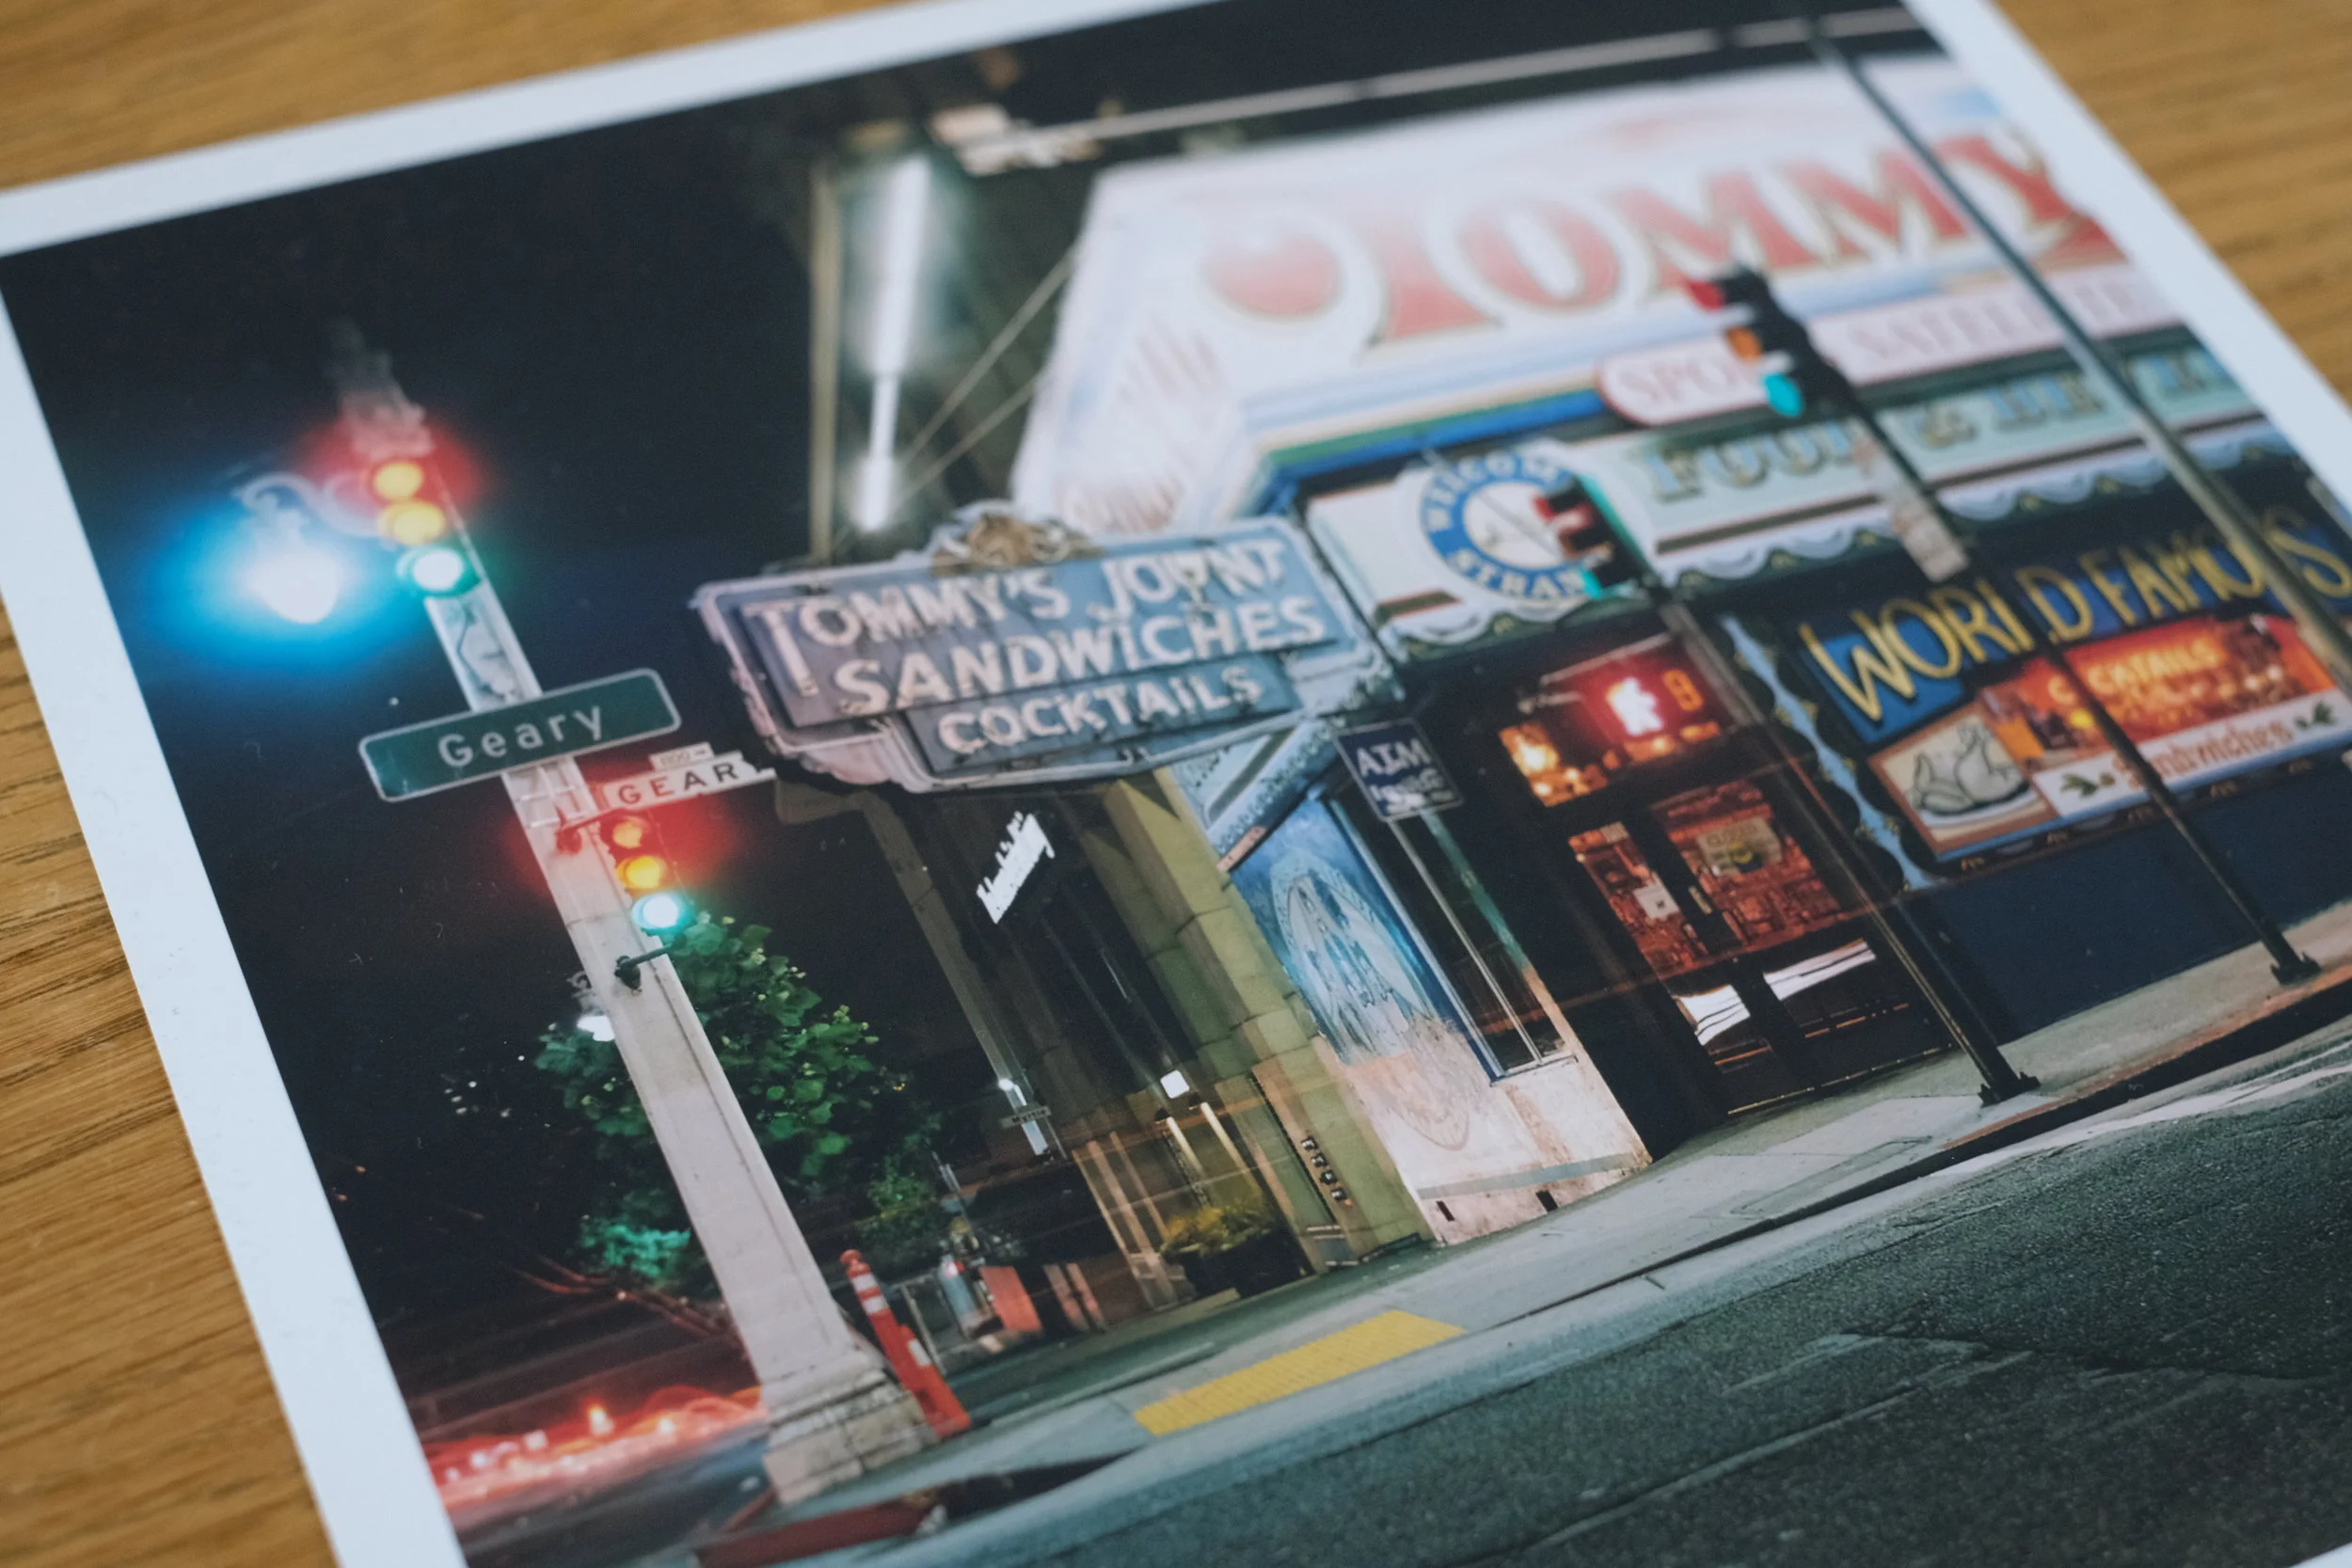
I have tested all of these papers and according to my taste the Velvet beats all other options by far. It also is a little bit heavier than the other options. On the other hand if you want to order everyday prints, the lustre options gets close and is of course much cheaper. The colors look indeed different to ink prints and the tonality especially in homogeneous areas without lots of detail have a magical appeal to it. I did encounter some prints where the contrast of the paper was not capable of handling the whole tonal range visible on the my monitor and a tiny bit of the shadows were lost in pure blacks. You might want to keep this in mind. The Velvet paper is a fantastic option when it comes to printing your black and white work. There are literally no color casts and you get deep blacks with a fine tonality and the magic touch of a analog print. Compared to other print options I think this is a bargain for the price of 2,00€ for a 20x20cm print. All prints are available with a white border or full bleed depending on customer choice. Make sure you state this option on your order form.
Some of my first prints looked a bit oversharpened. After talking to the lab they told me that the printer is doing the final sharpening of the files and there is no sharpening by the customer required. Knowing this, I quickly changed the export options for my prints in Lightroom and the next batch was perfect. No artifacts and a nicely sharpened print.
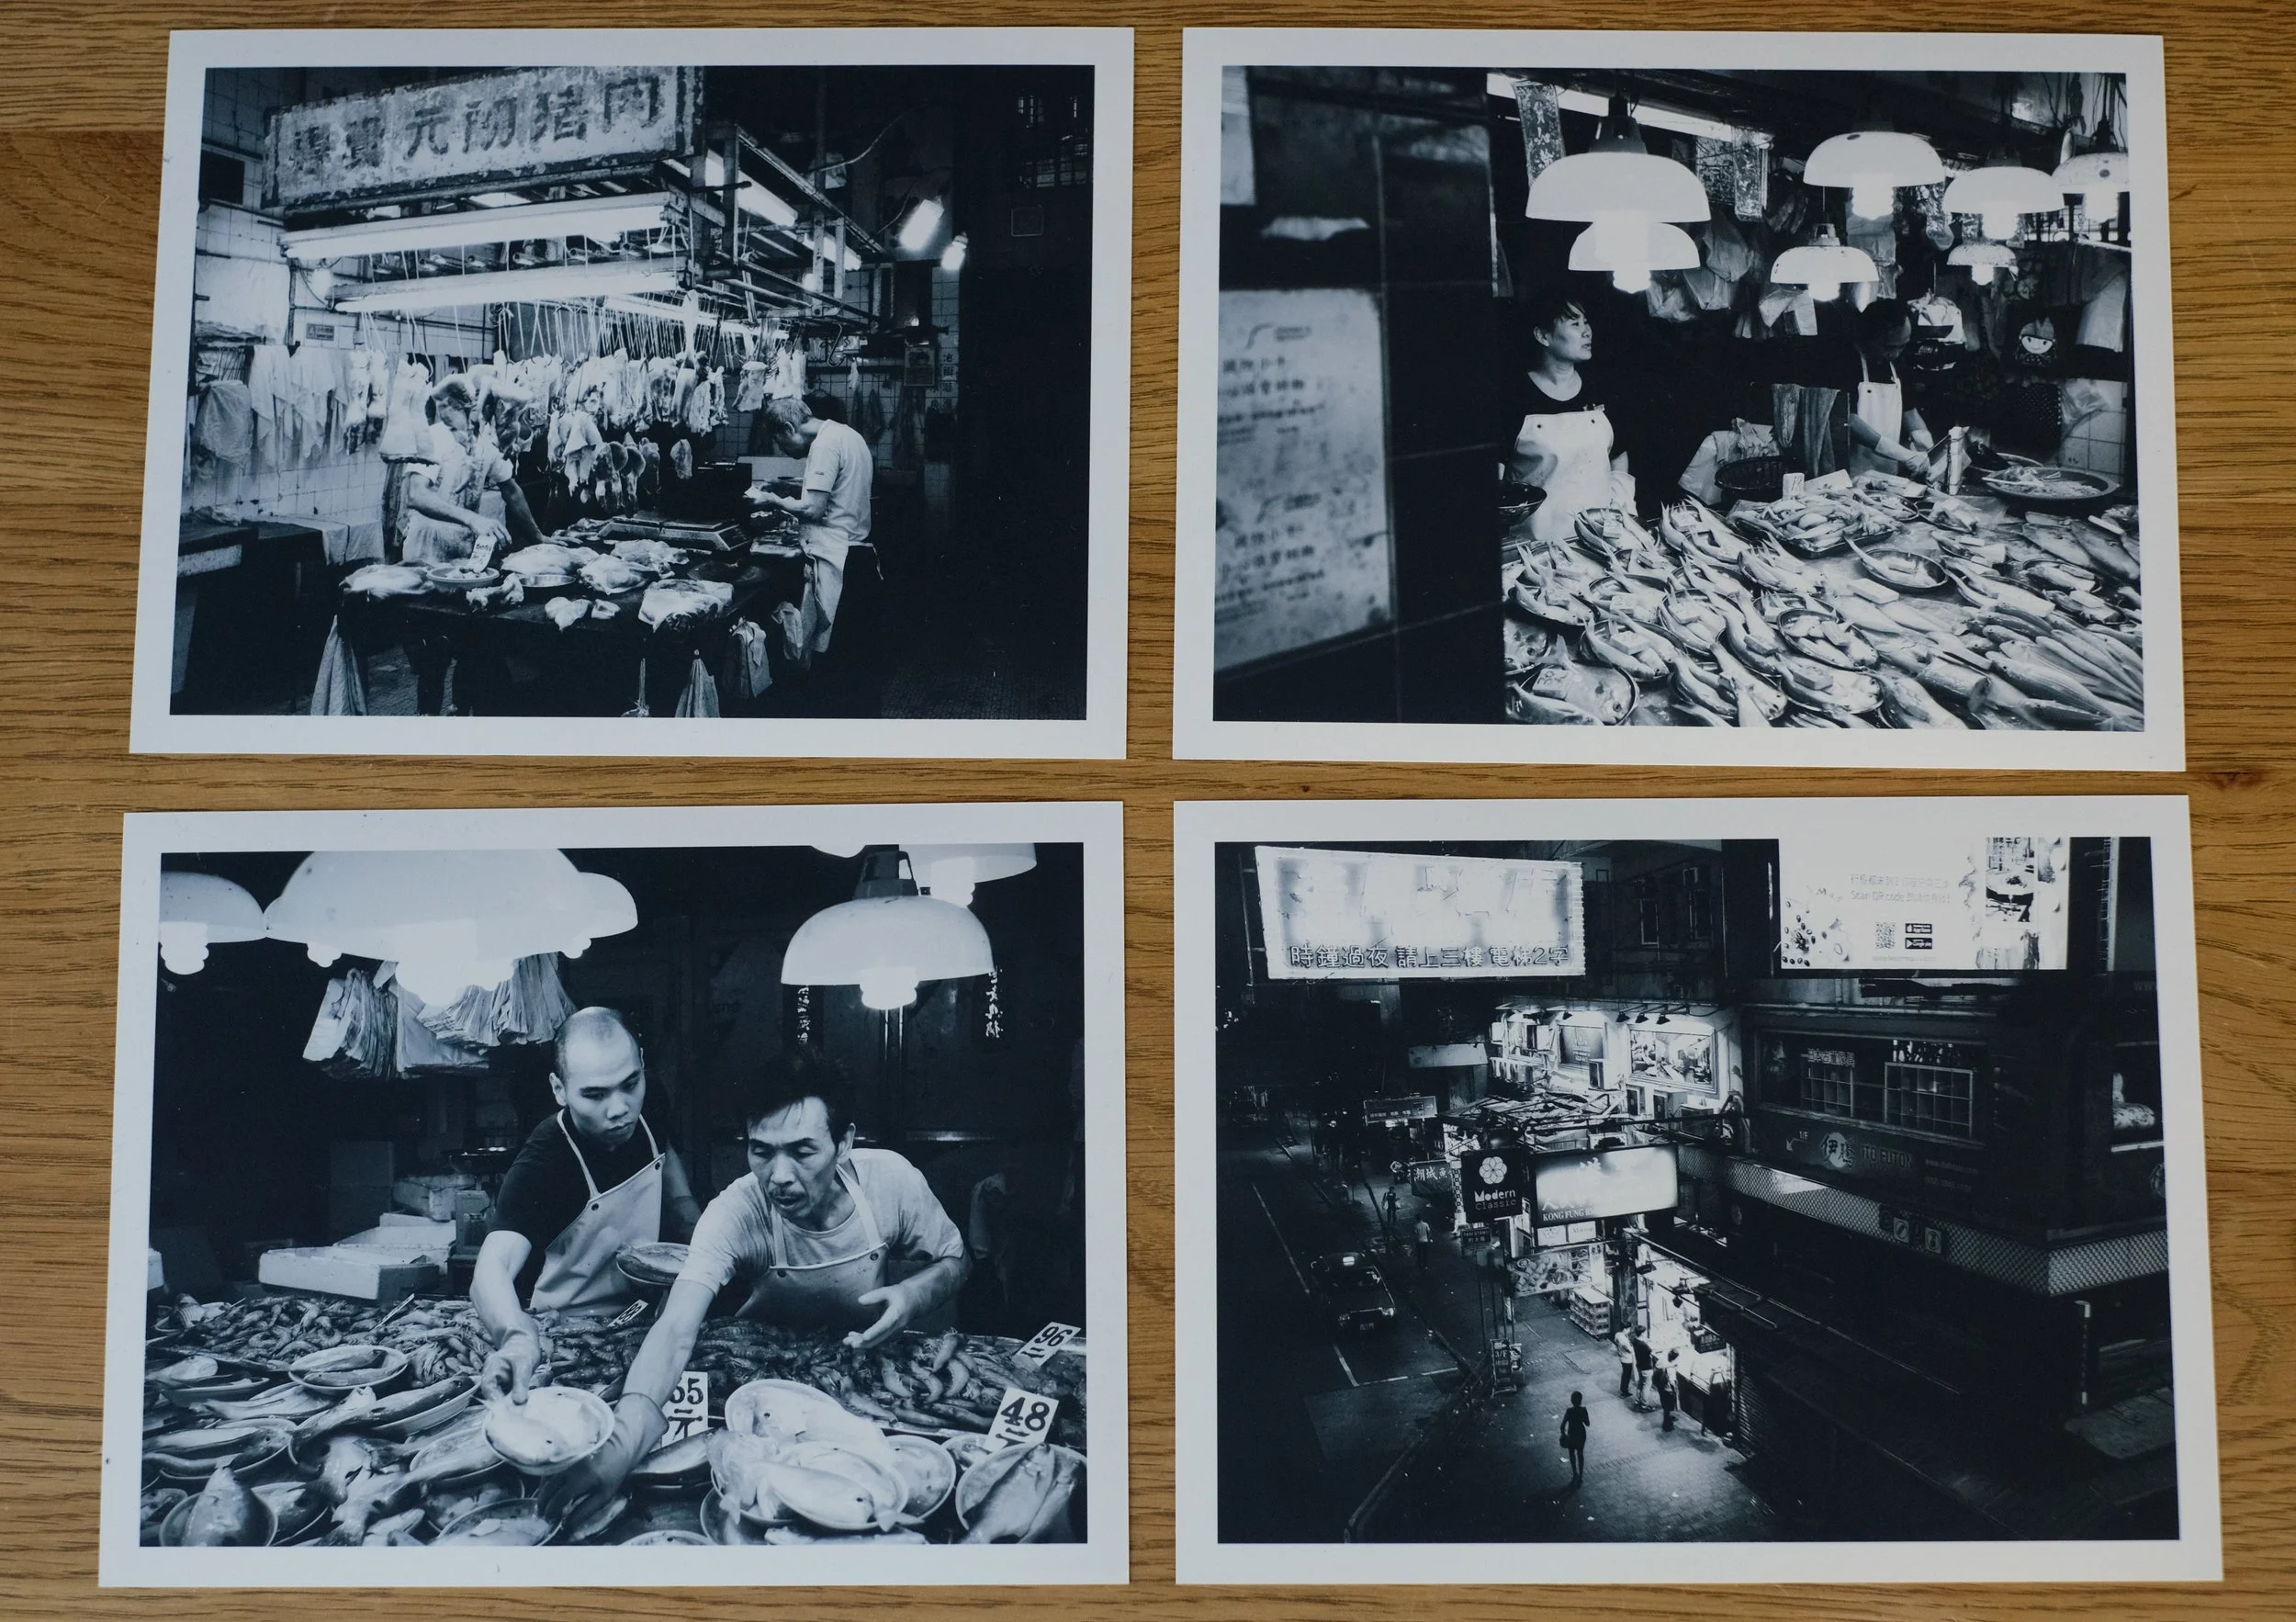

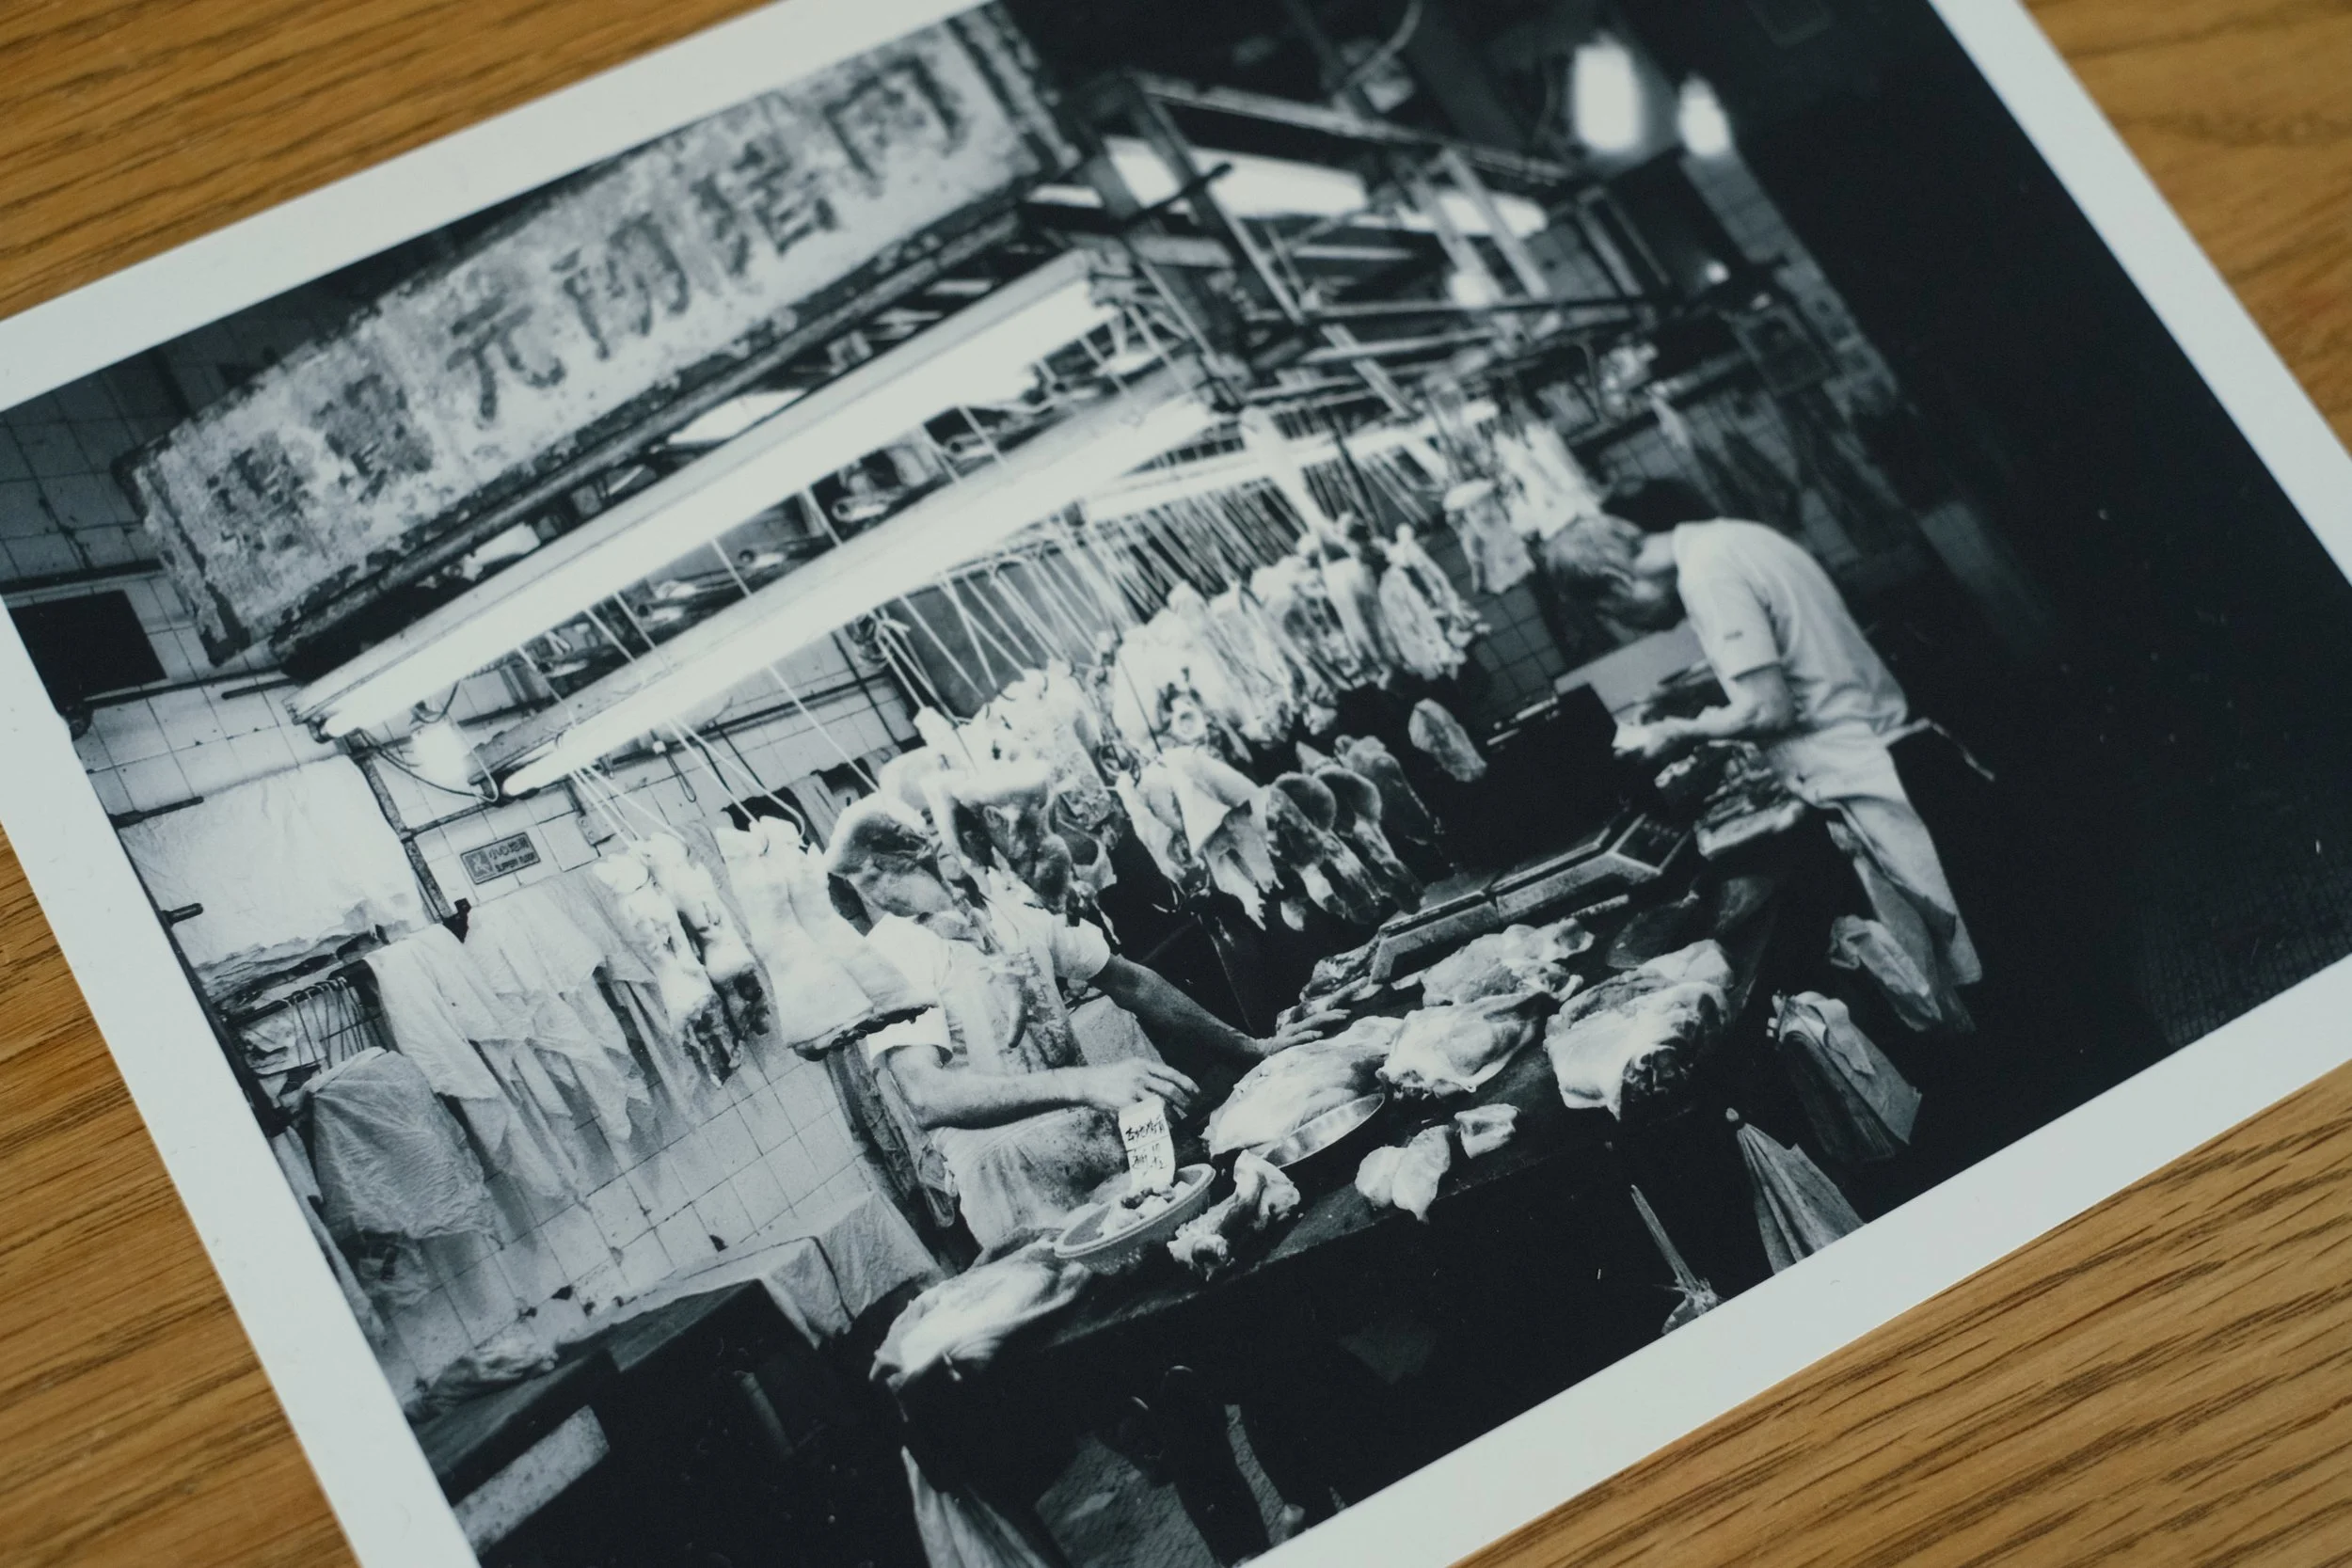
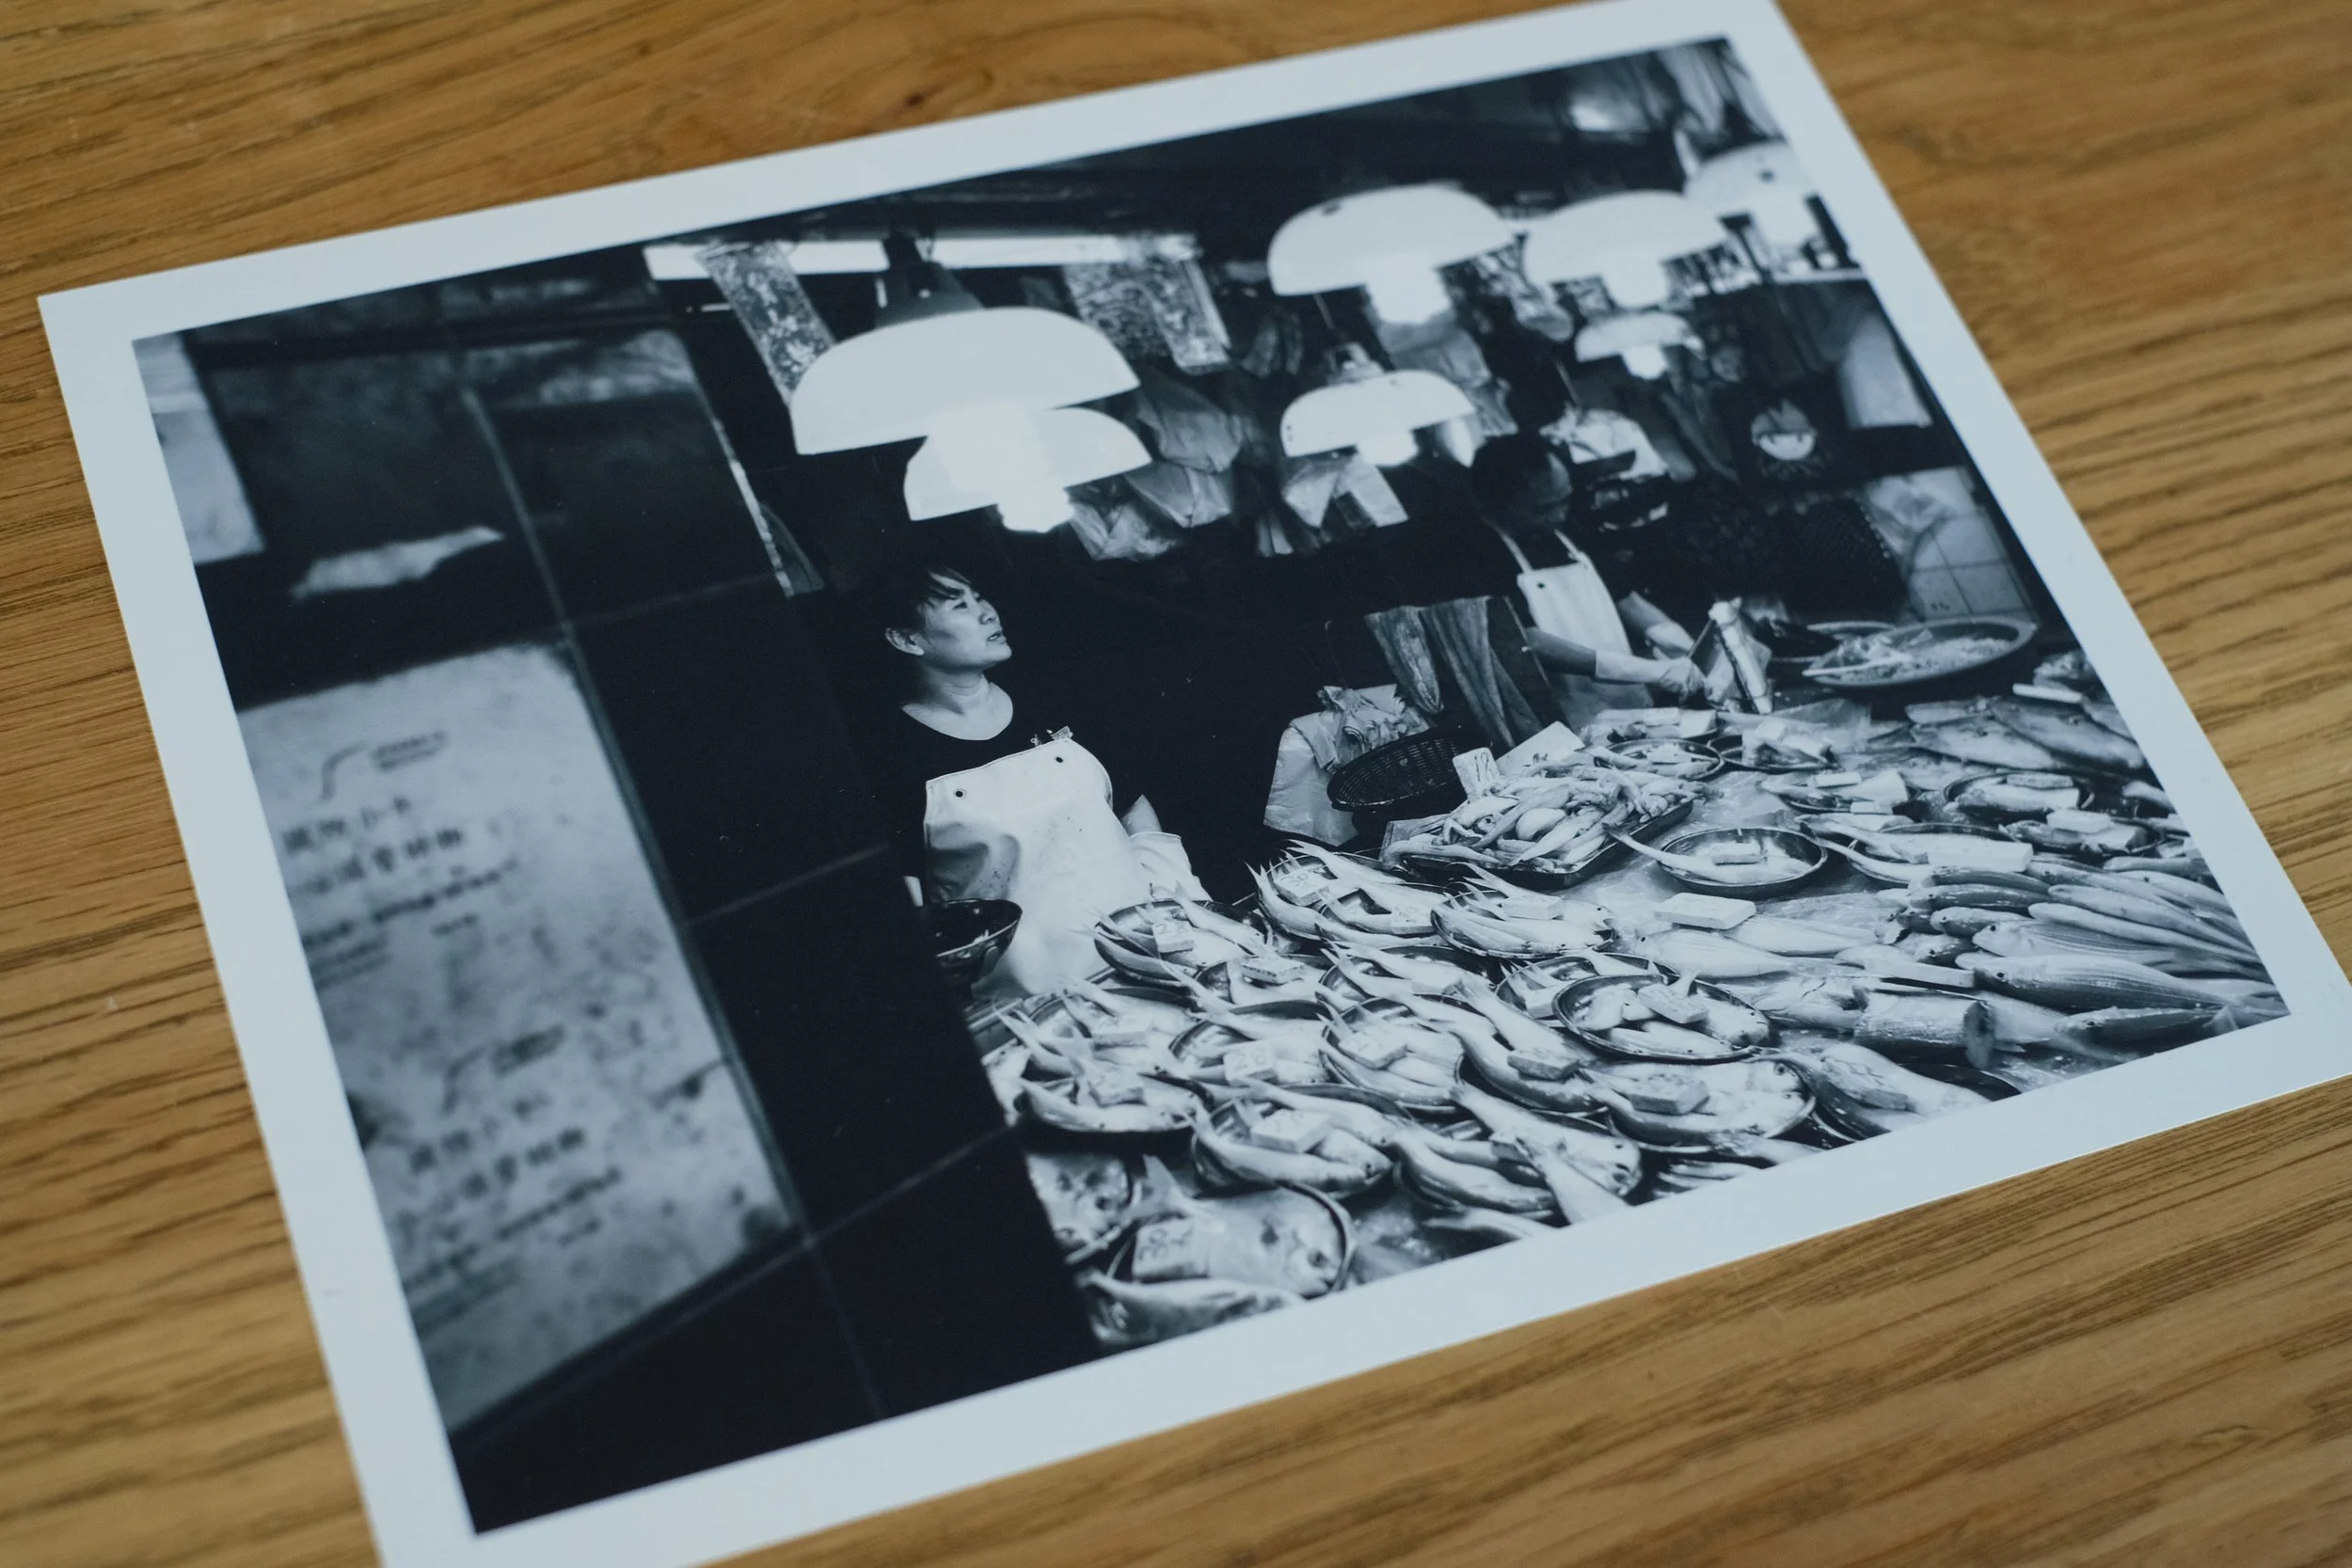
Short disclaimer, there might be a slight color cast visible in the b&w prints, which is most probably from incorrect rendering of the jpegs in the browser or slightly incorrect white balance. The real prints don´t show any color shifts and you will get pure and true blacks.
Order Process
Ordering your prints is as easy as putting them into an archive and sending this file via "wetransfer" to the lab. Put all images for one paper size into one folder and name it accordingly. State your shipping address and whether you like a white border or not when sending the files. That´s basically it. The shipping costs are quite low. Standard shipping is 2,95€ within Germany with other shipping options available. The coolest thing is that you can send your files easily from your smart phone. You basically just need the "wetransfer" app and you are ready to go. I think the simplicity of this order process is outstanding.
Summary
So, while there are other printing options avaialble on the web, I prefer printing with a lab that knows what they are doing and I like the possibility to talk the lab and discuss my personal preferences. I was positively surprised by the quality of the prints and the Velvet paper exceeded my expectations by far. I would personally love to see it even a bit heavier as this would even underline the pleasing experience when holding the paper in your hands. Zou need to keep n mind that the contrast range of the matte papers is limited as for most papers and you should make sure your files have a little headroom in the shadows as well as highlights if you want full details in both areas.
Give it a try and see whether the new printing option is something for you.