From Scan to Print, a workflow example
I just recently received these wonderful Fuji Frontier scans from the "Mein Film Lab" in Germany and I was immediately hooked by the shot I took during sunset at a lovely hidden beach at the "Lago Maggiore".
I decided to explore whether I could make similar scans at home with my Epson V700 scanner and Silverfast 8. Here is brief explanation of my workflow:
From Scan to Print...
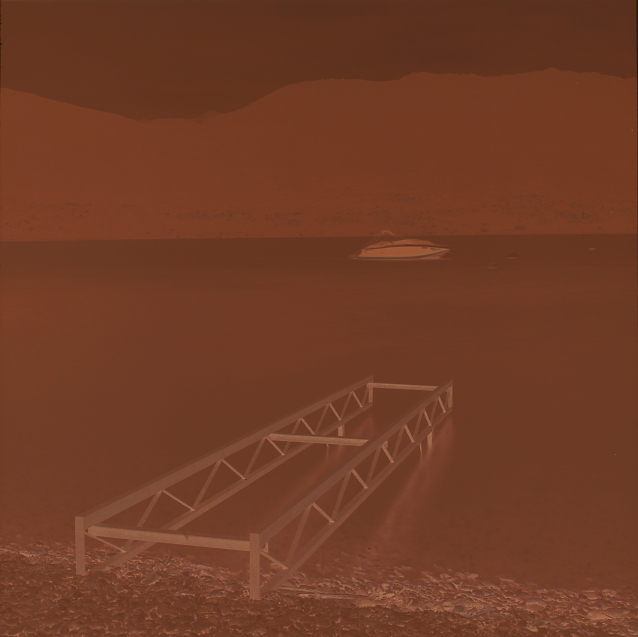
The film (Kodak Portrao 400) was developed and scanned by "Mein Film Lab" in Germany. The colors and contrast of the Fuji Frontier scanner are unmatched!
Fuji Frontier Scan
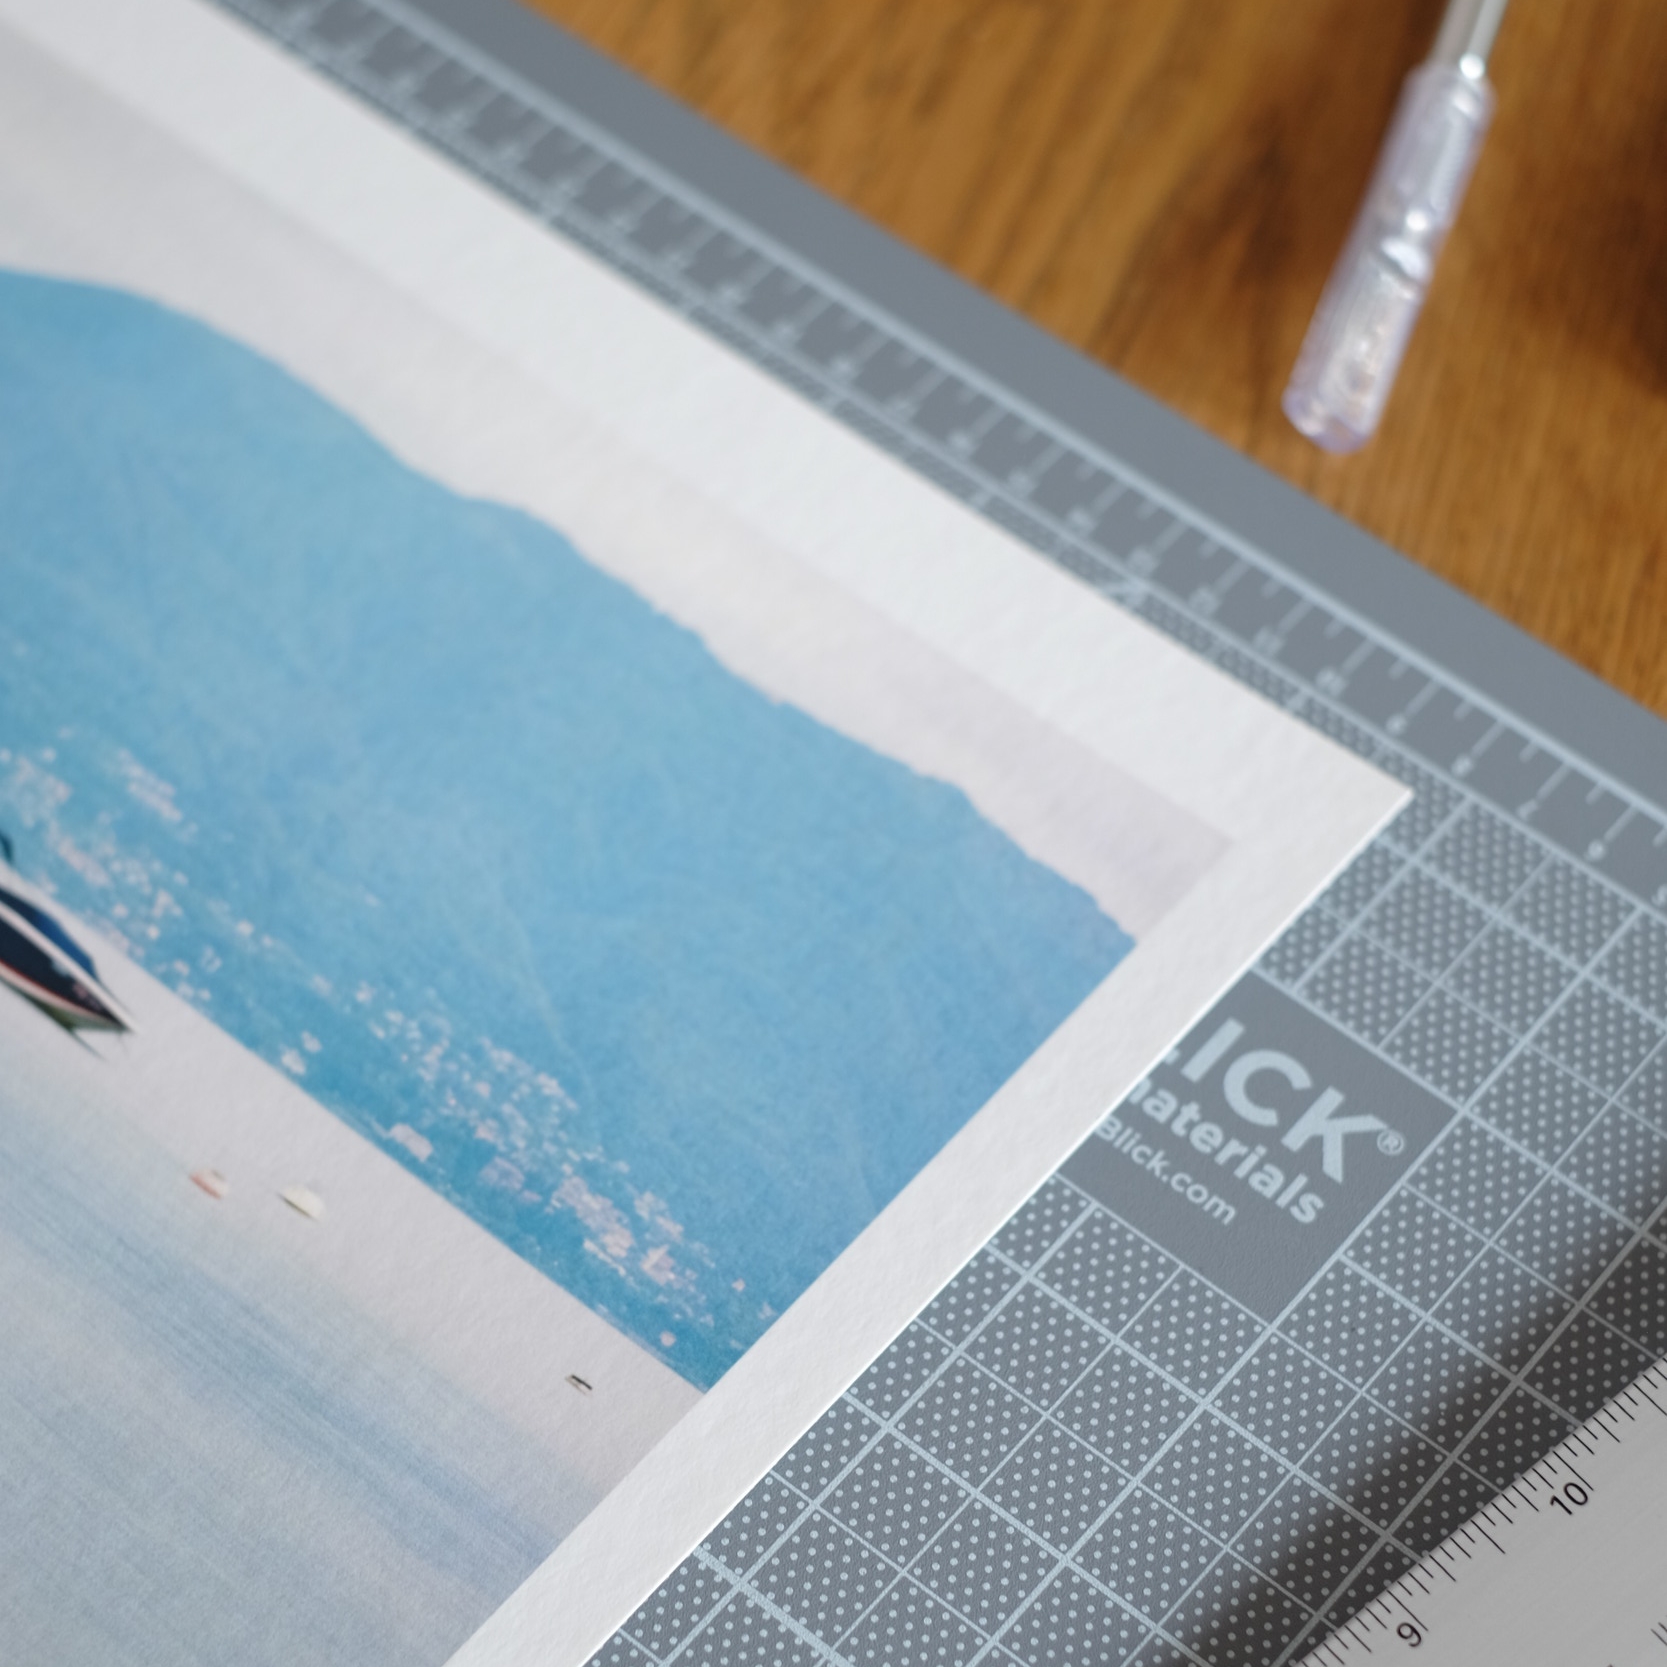
Scanning
I loaded the film into the film holders of my Epson V700 and applied the neagtive inversion, color correction and dust removal in Silverfats 8 Ai Studio.

Using Negafix and the Histogram adjustment in Silverfast 8 to make initial image corrections.

Time to scan...
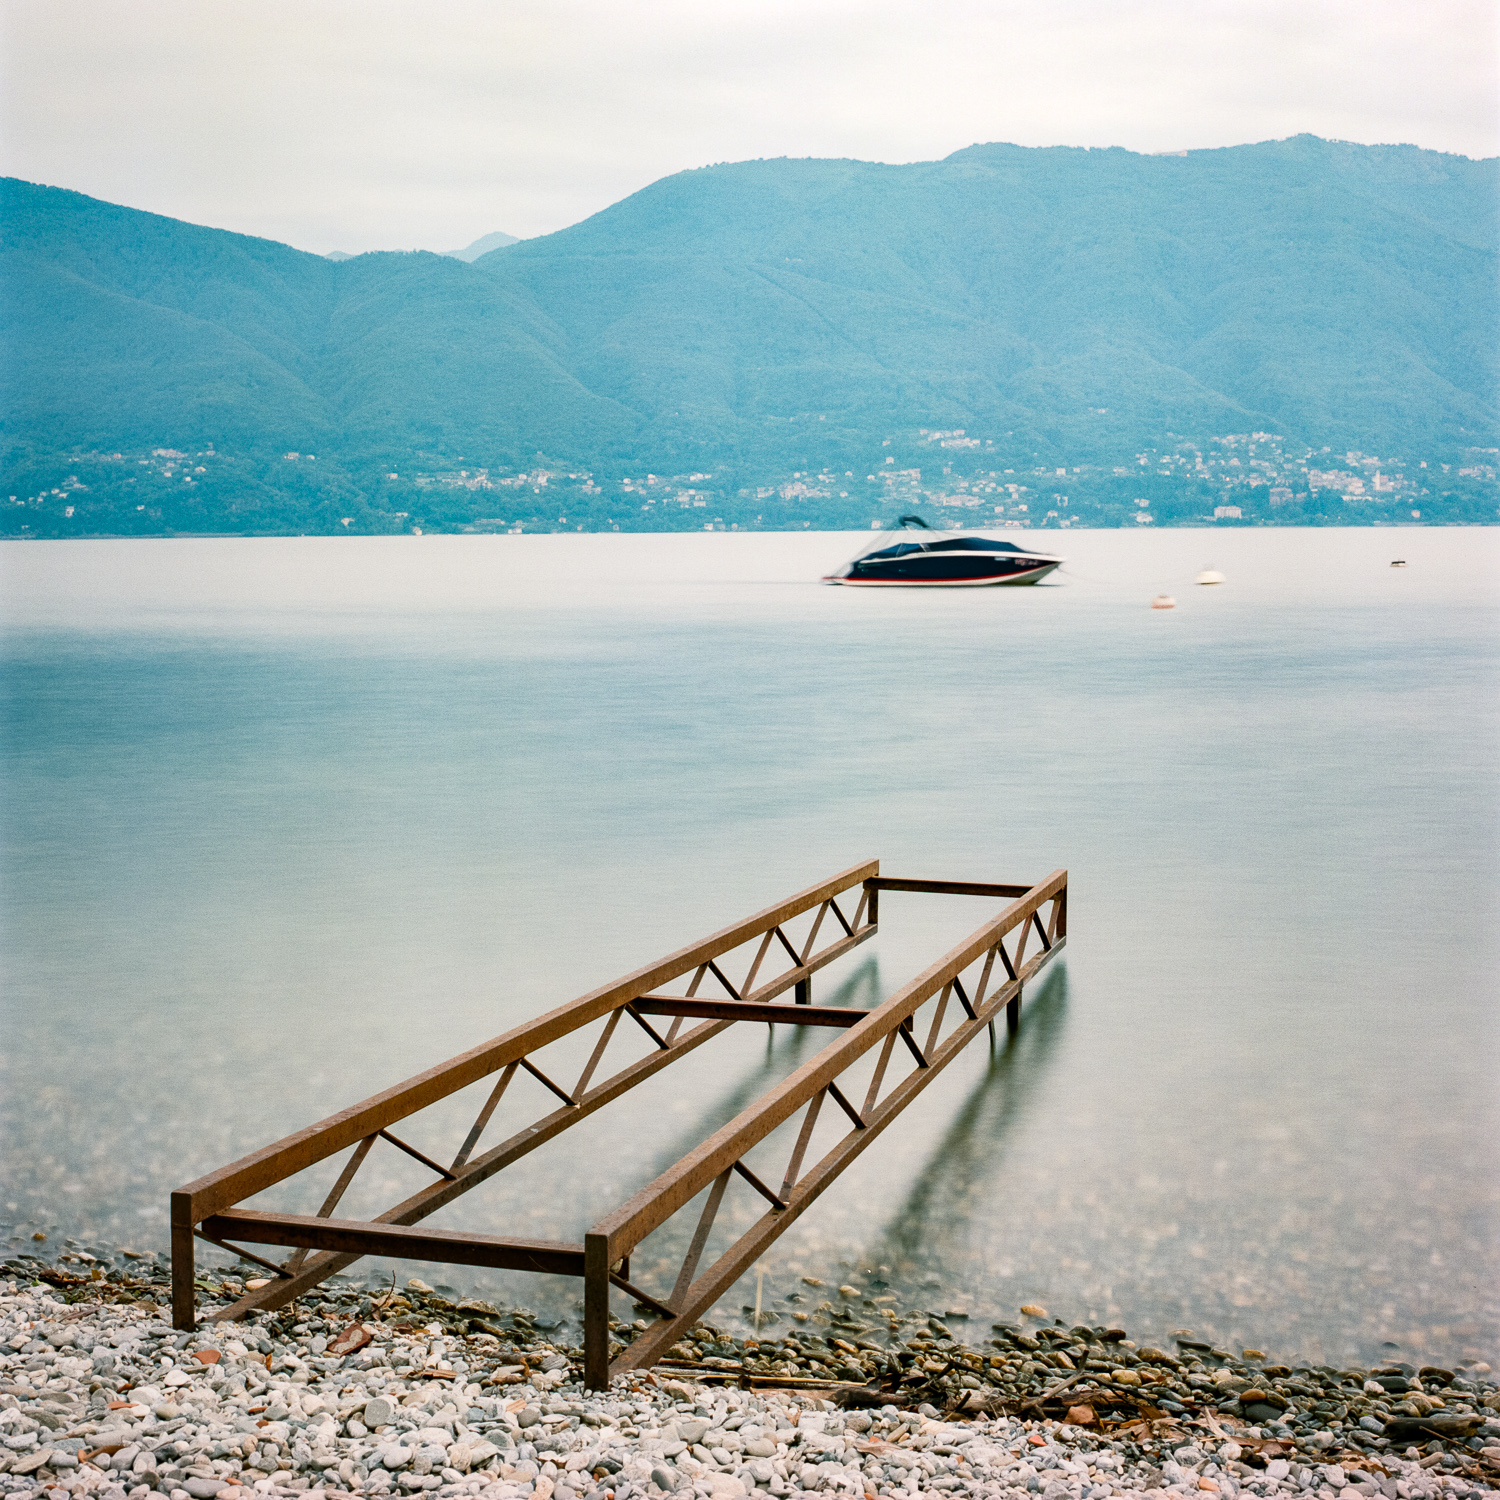
Further adjustments of the 25 Megapixel file in Lightroom...
The final image after some contrast and detail adjustments in Lightroom.
Printing
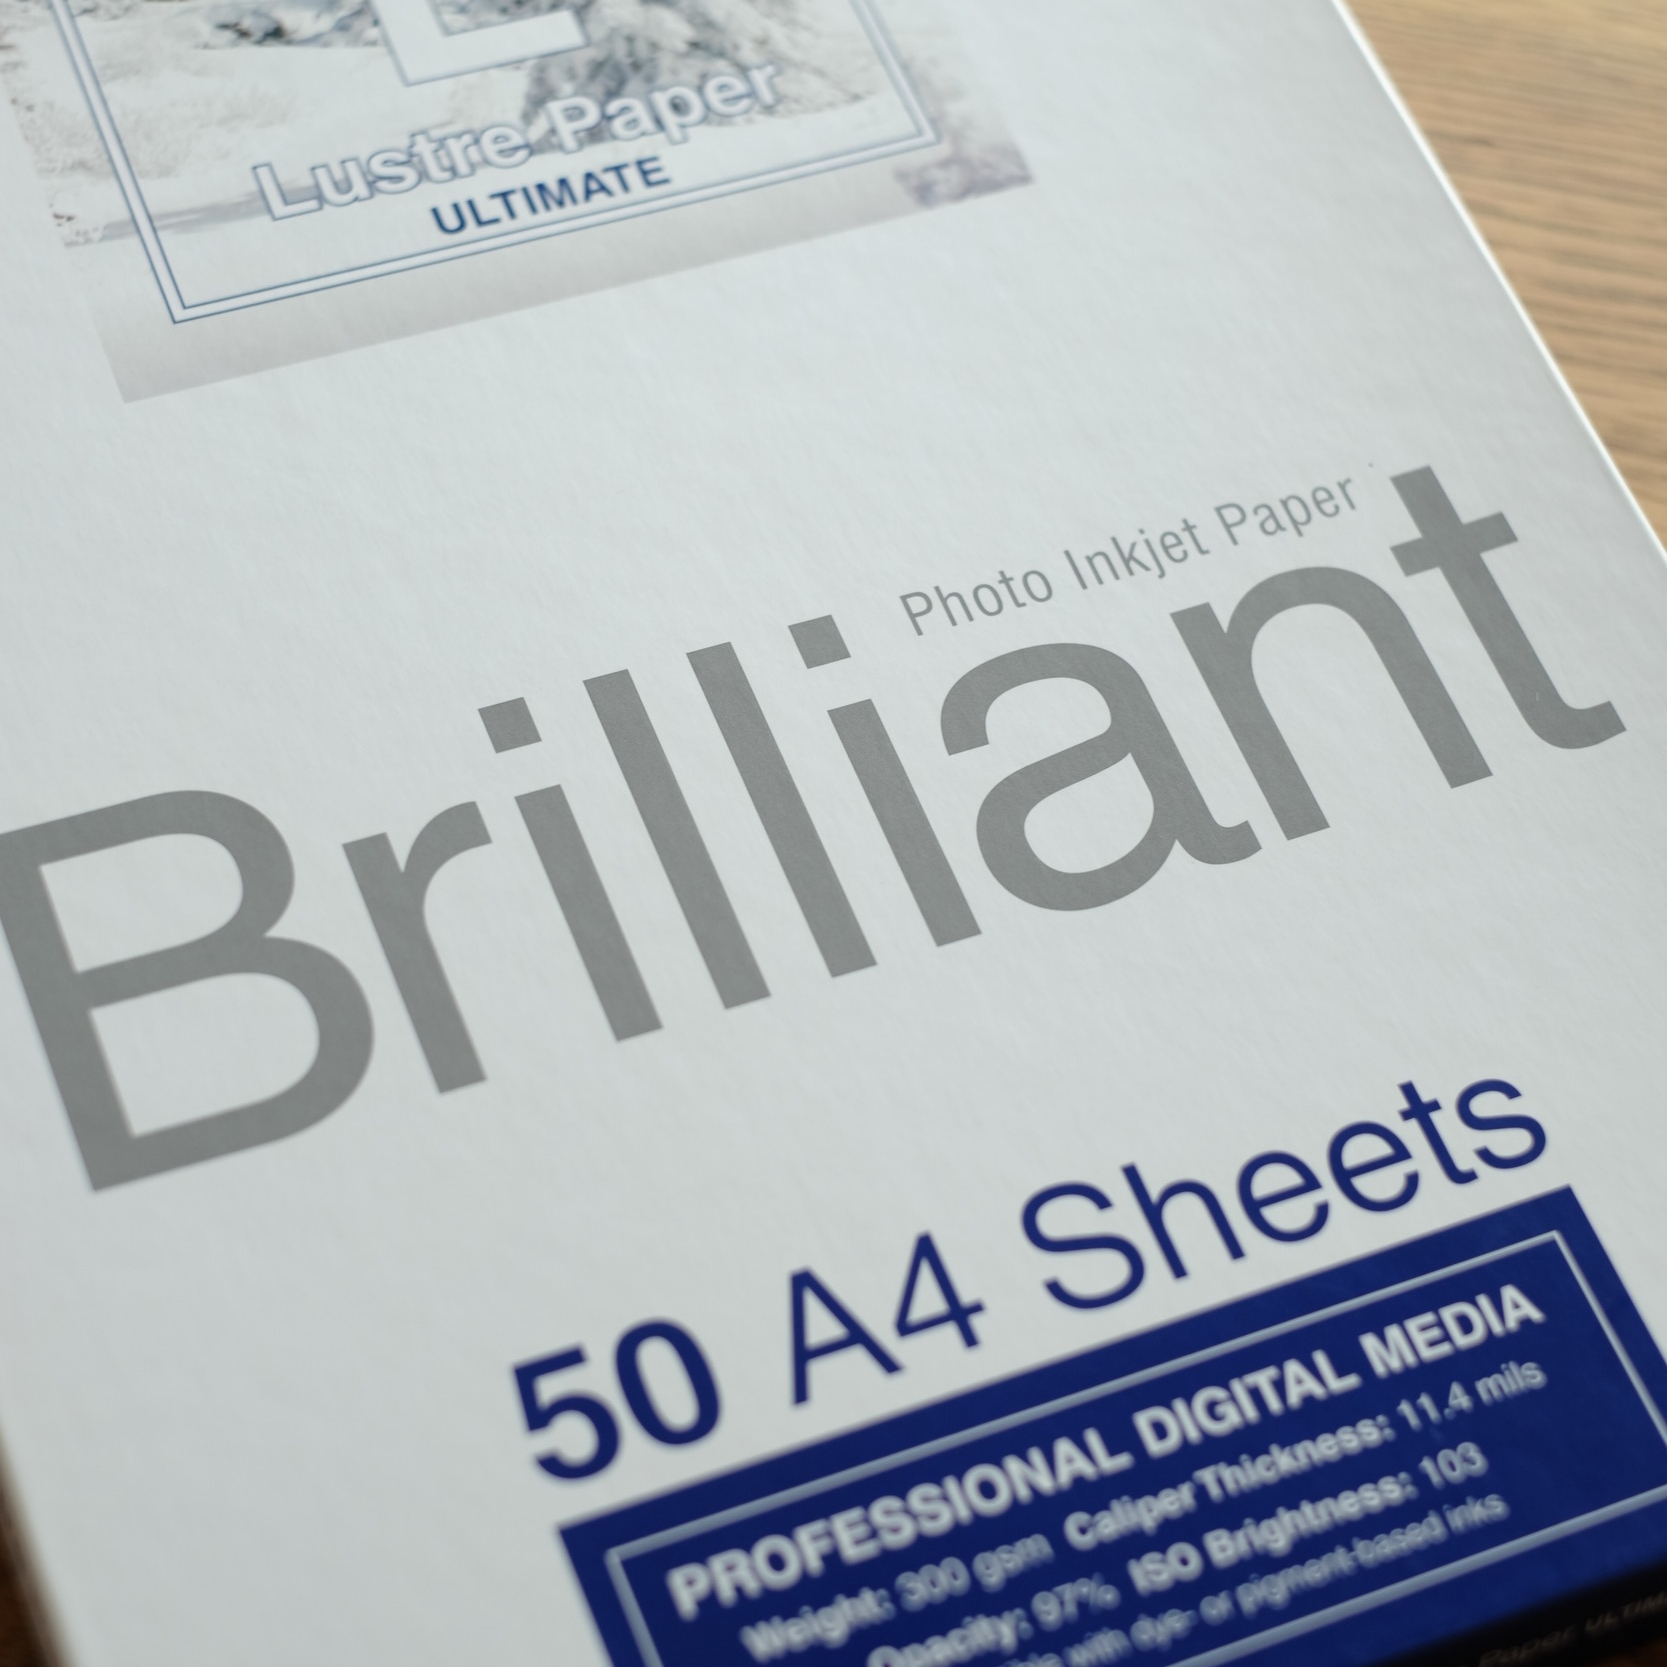
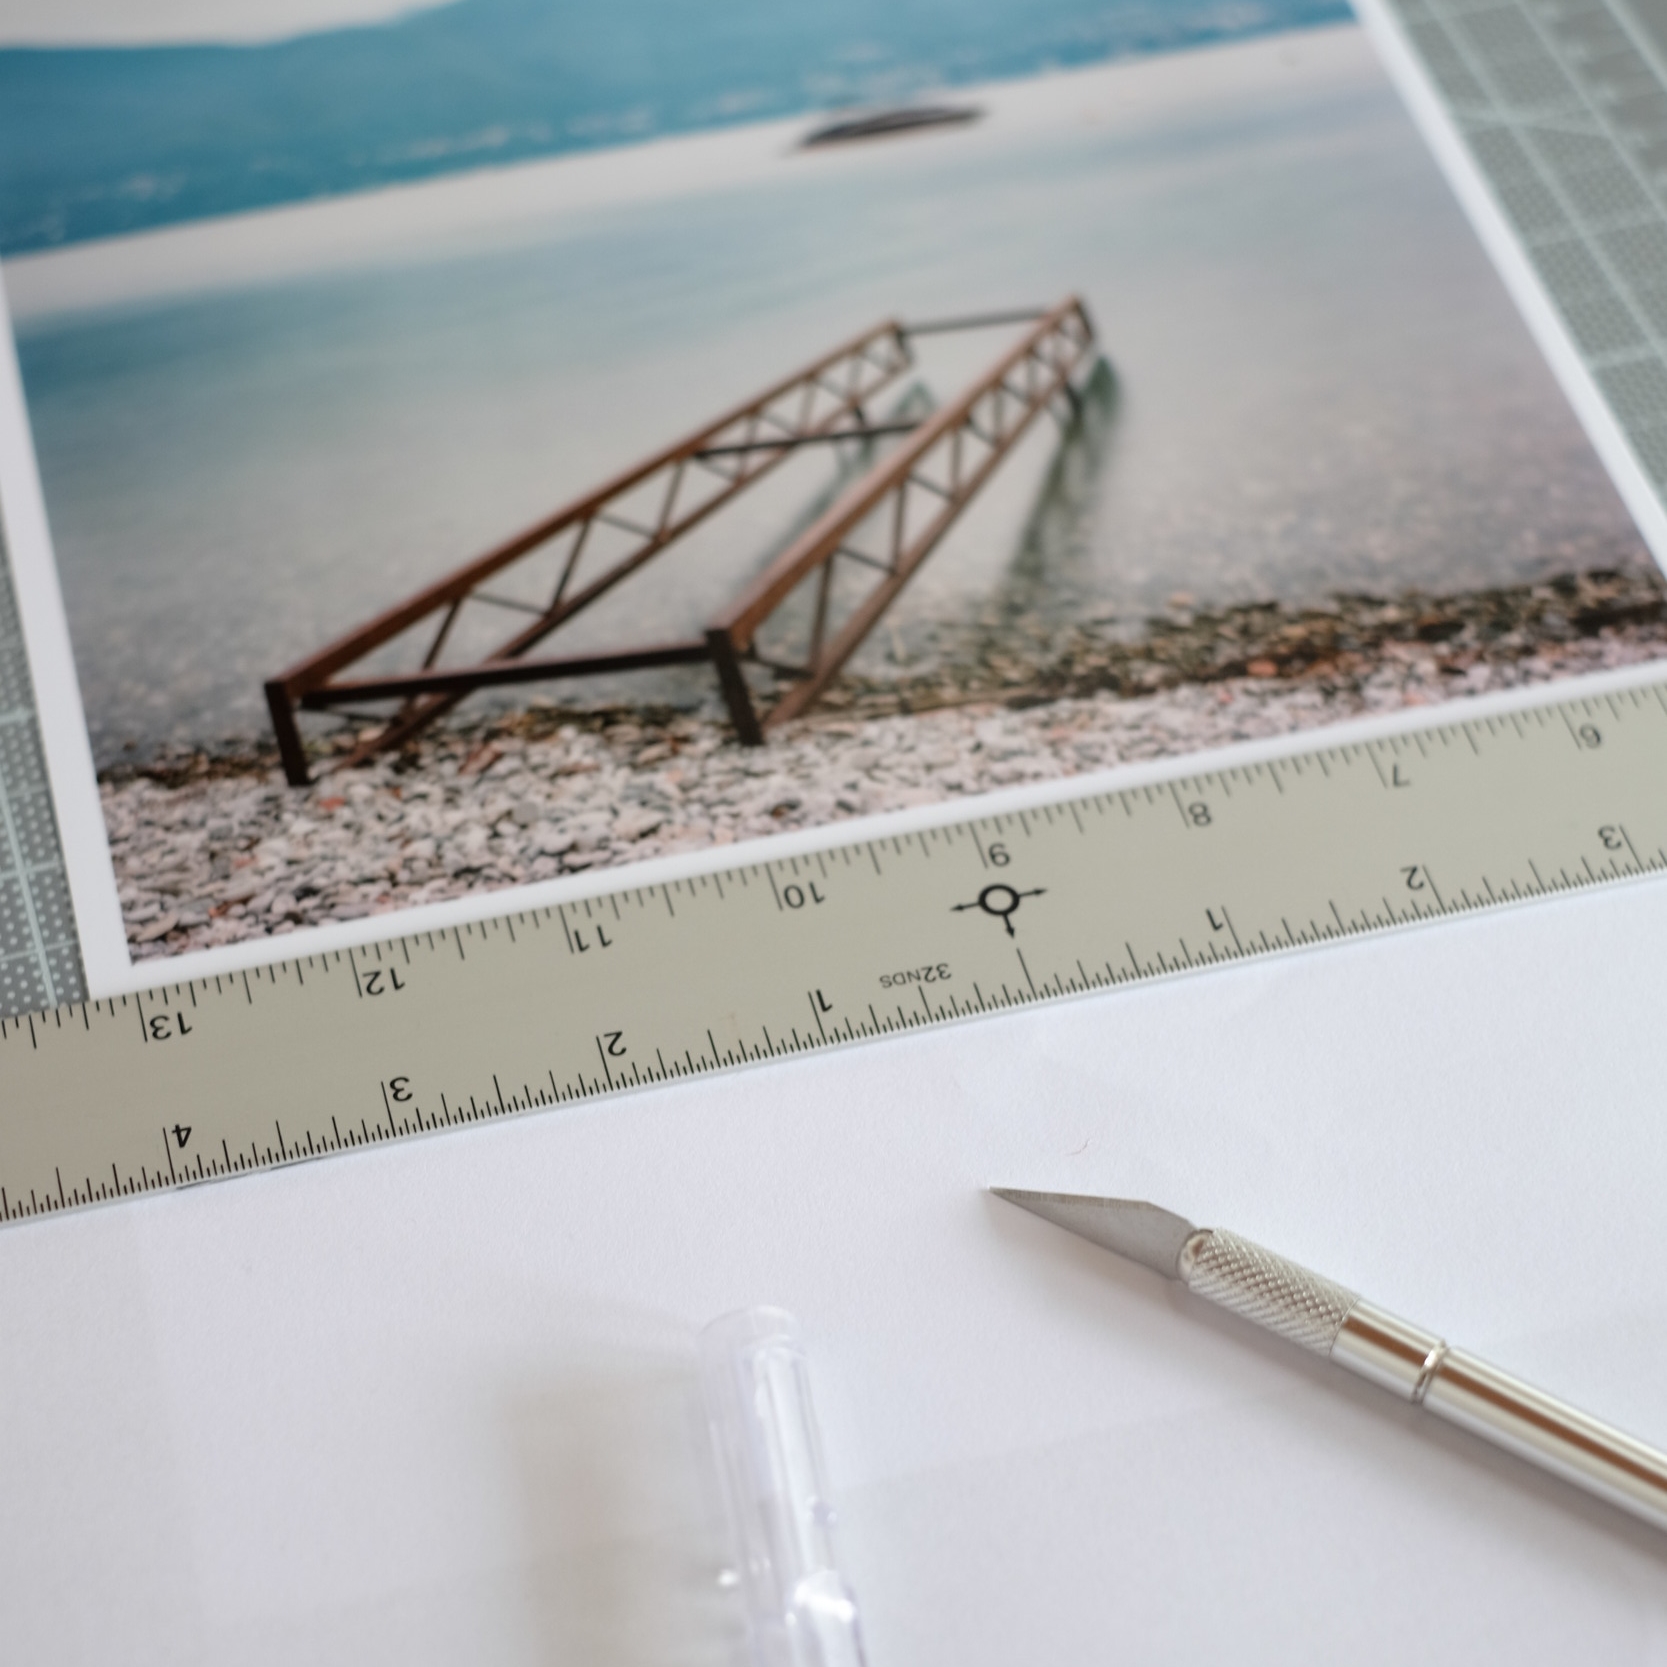
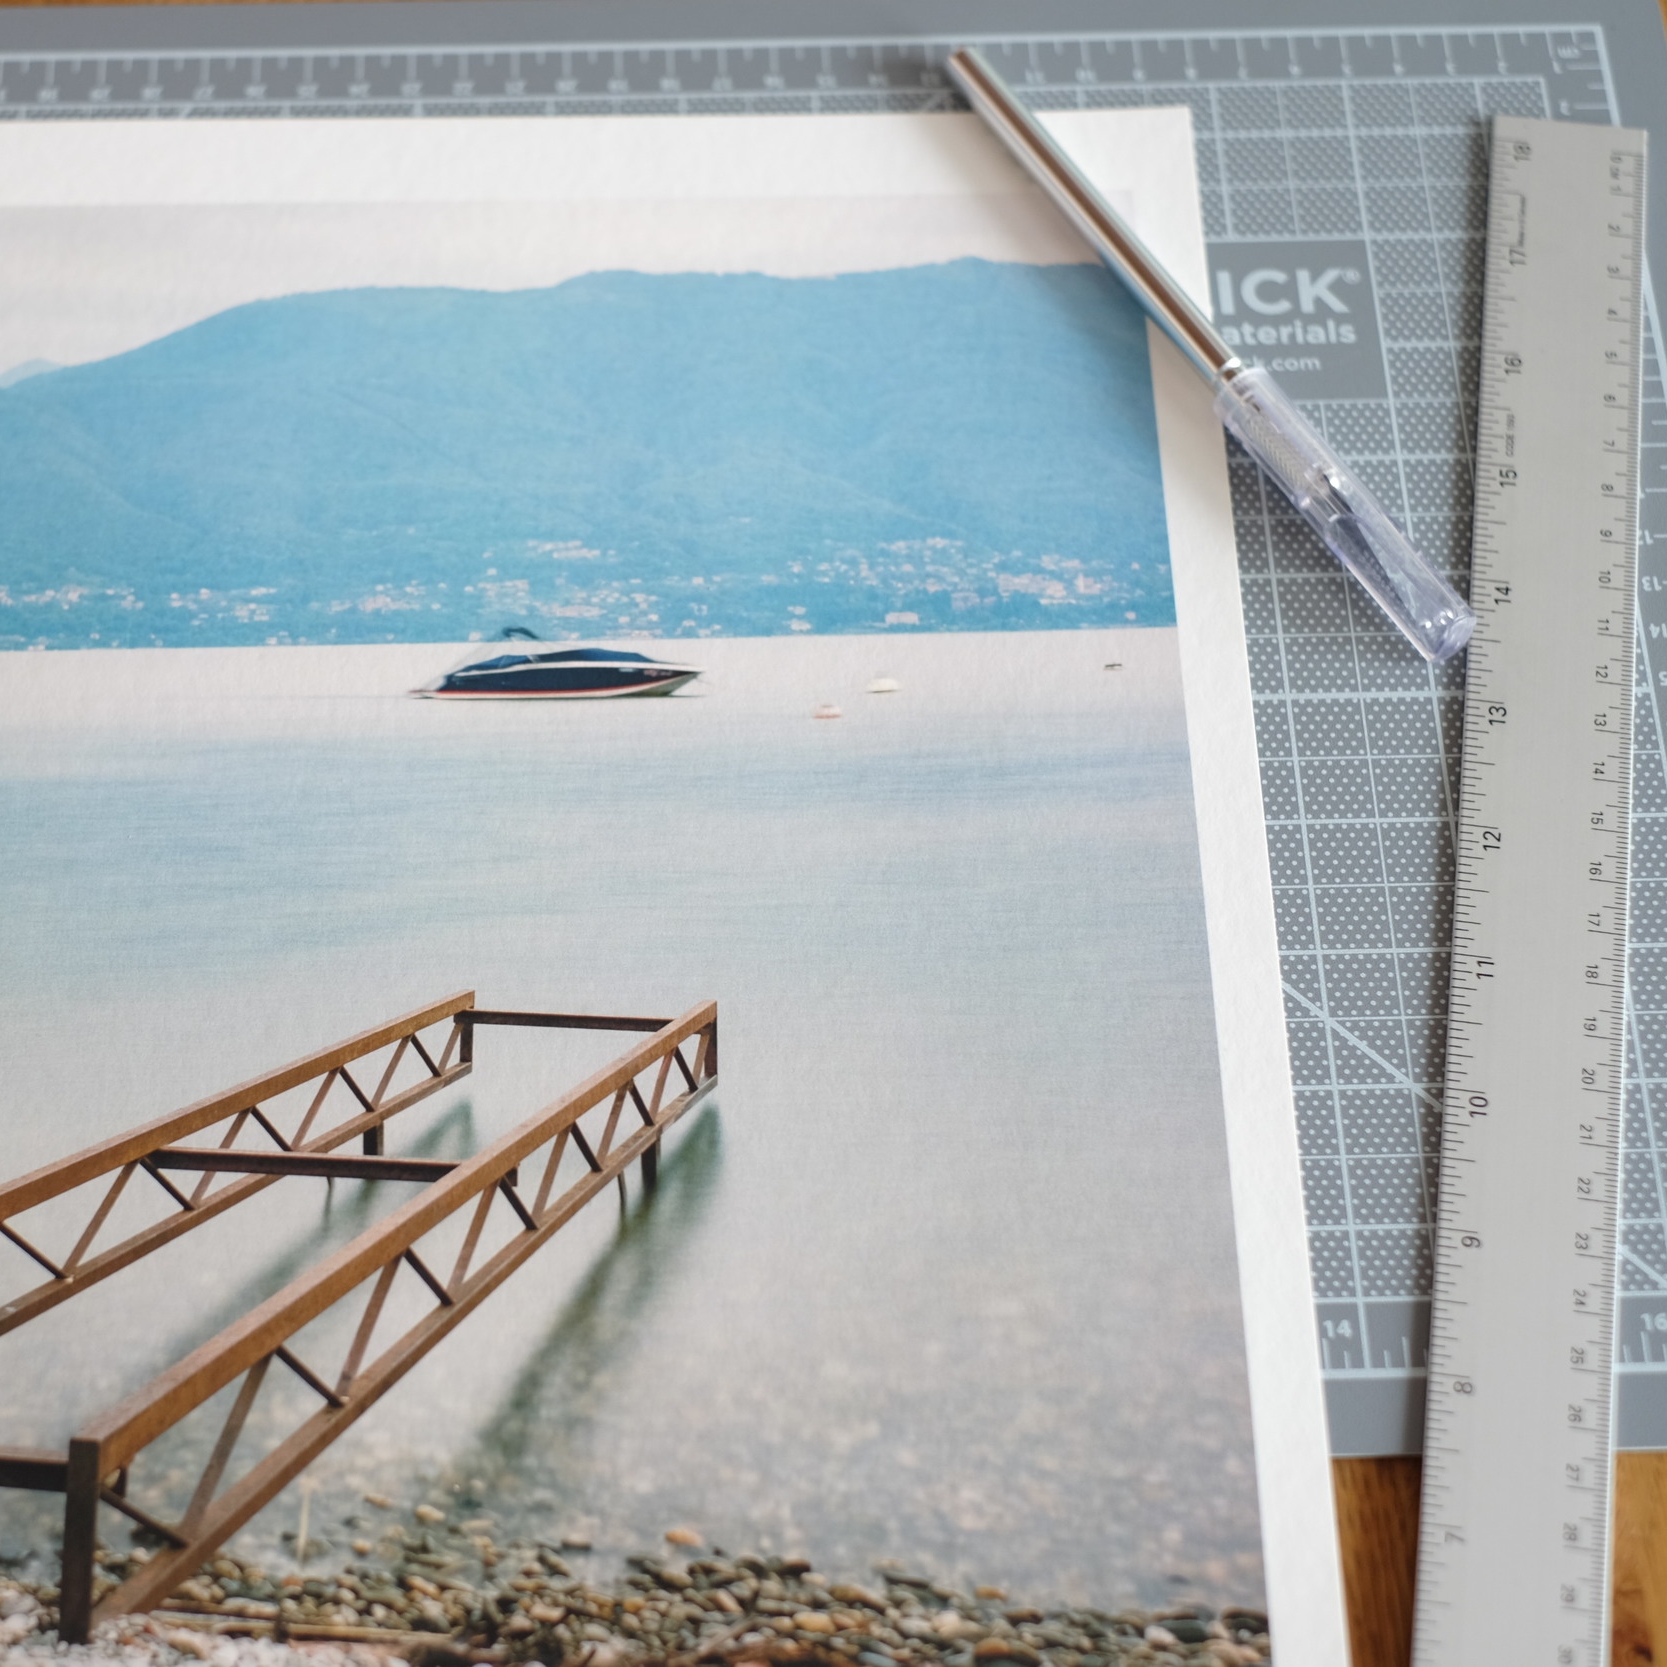
I always make a proof print to check for artifacts and color consistency.
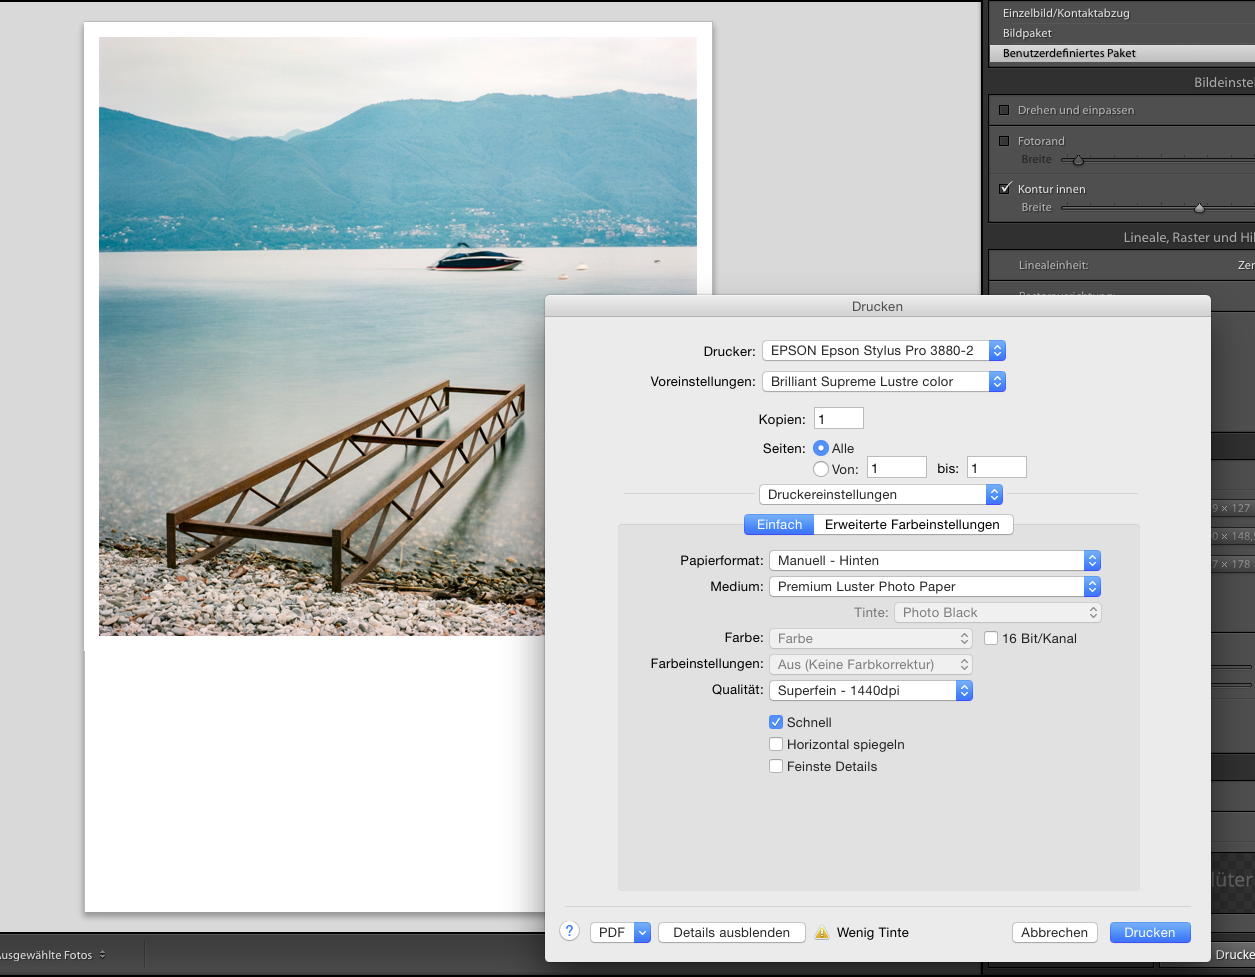
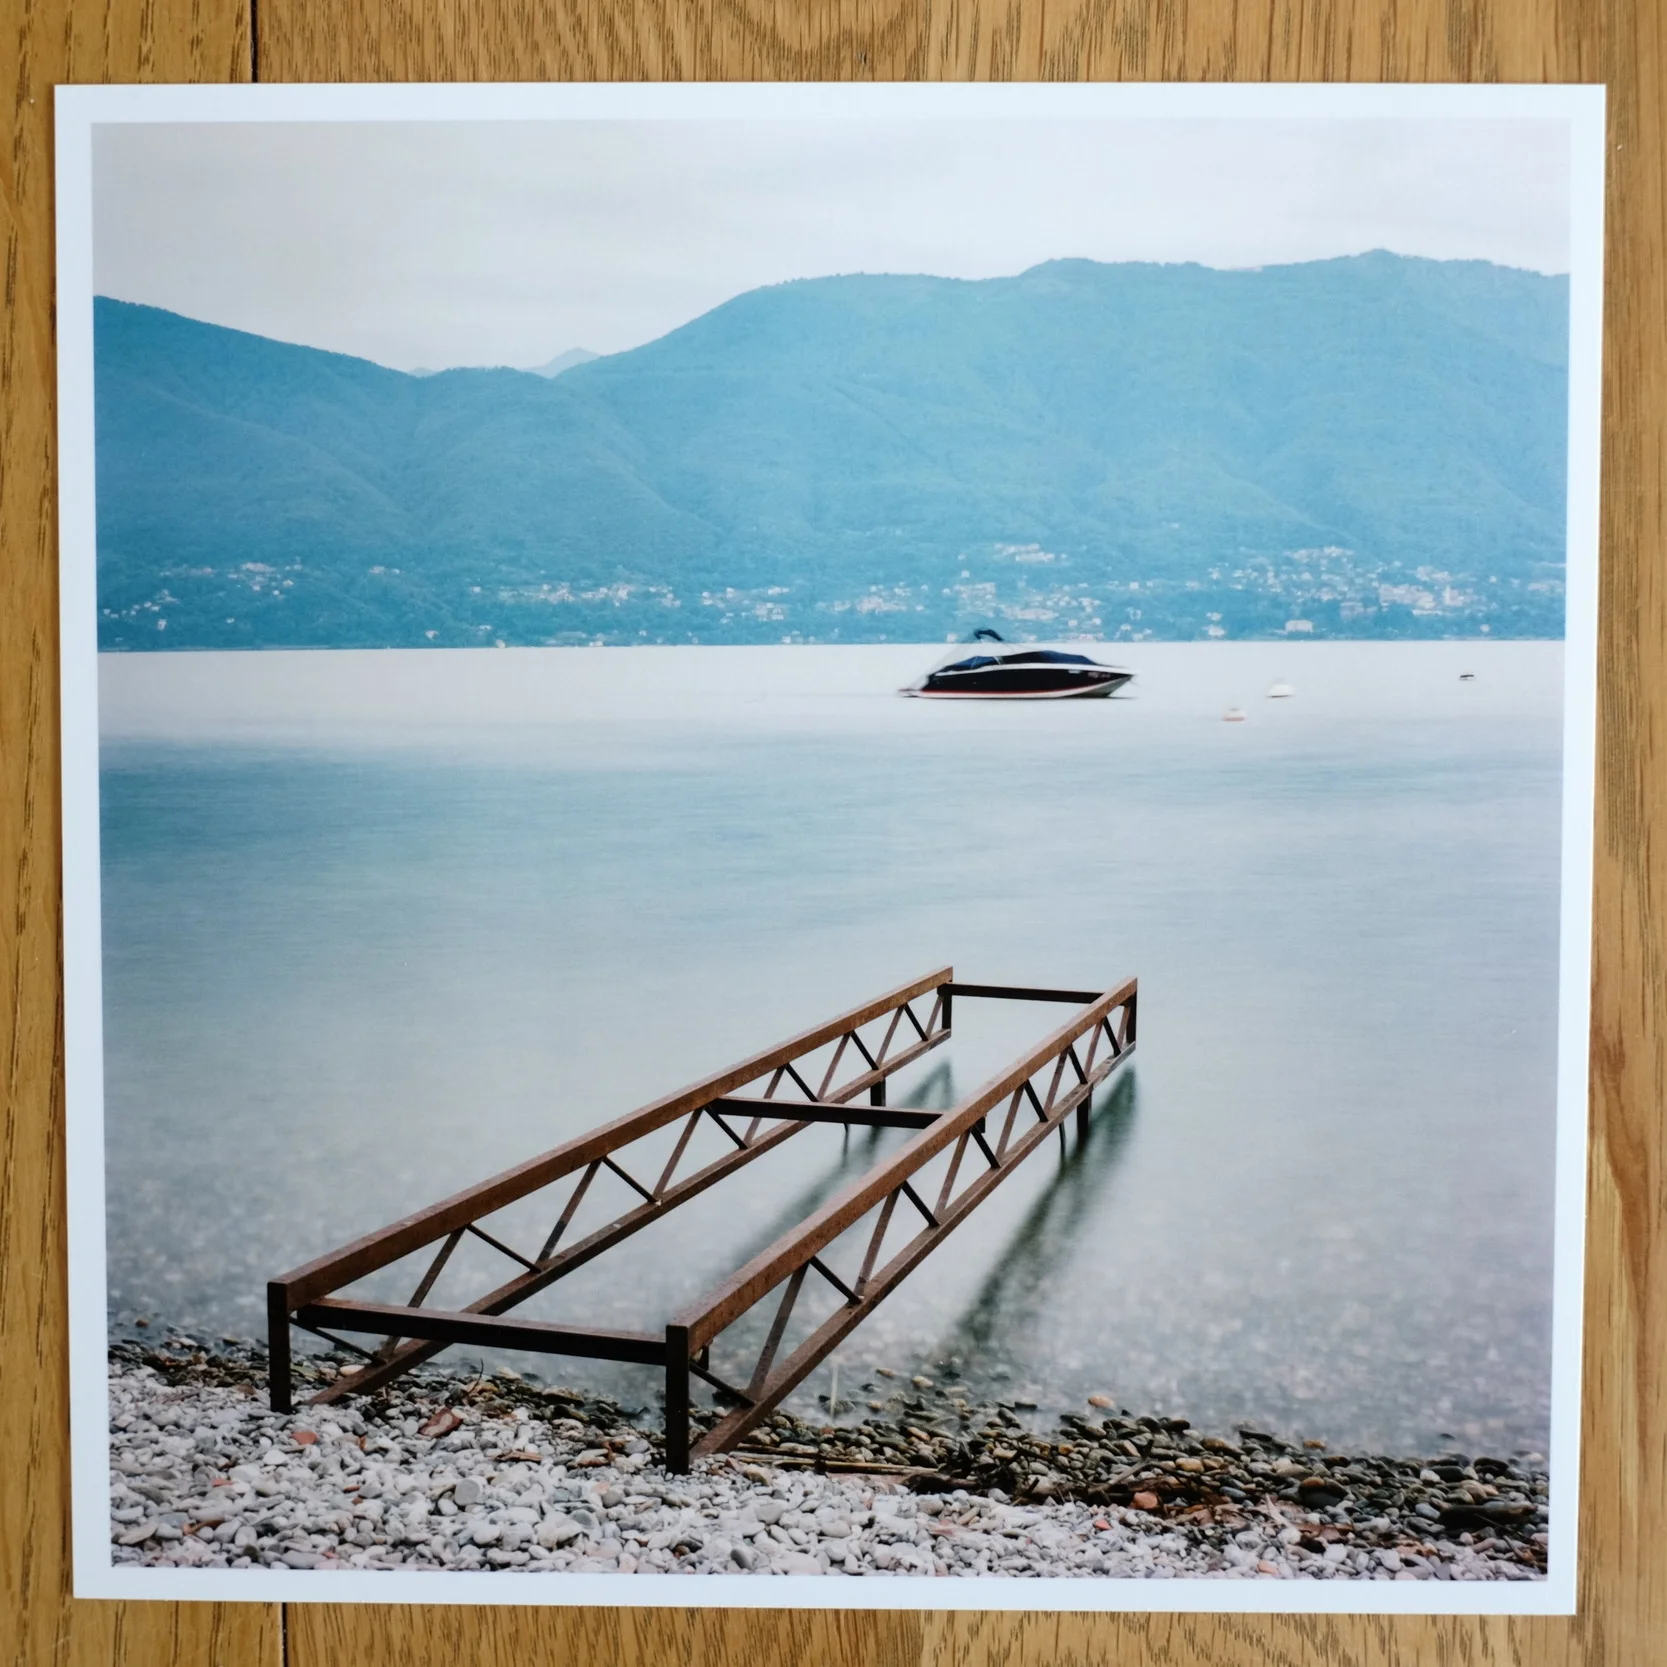
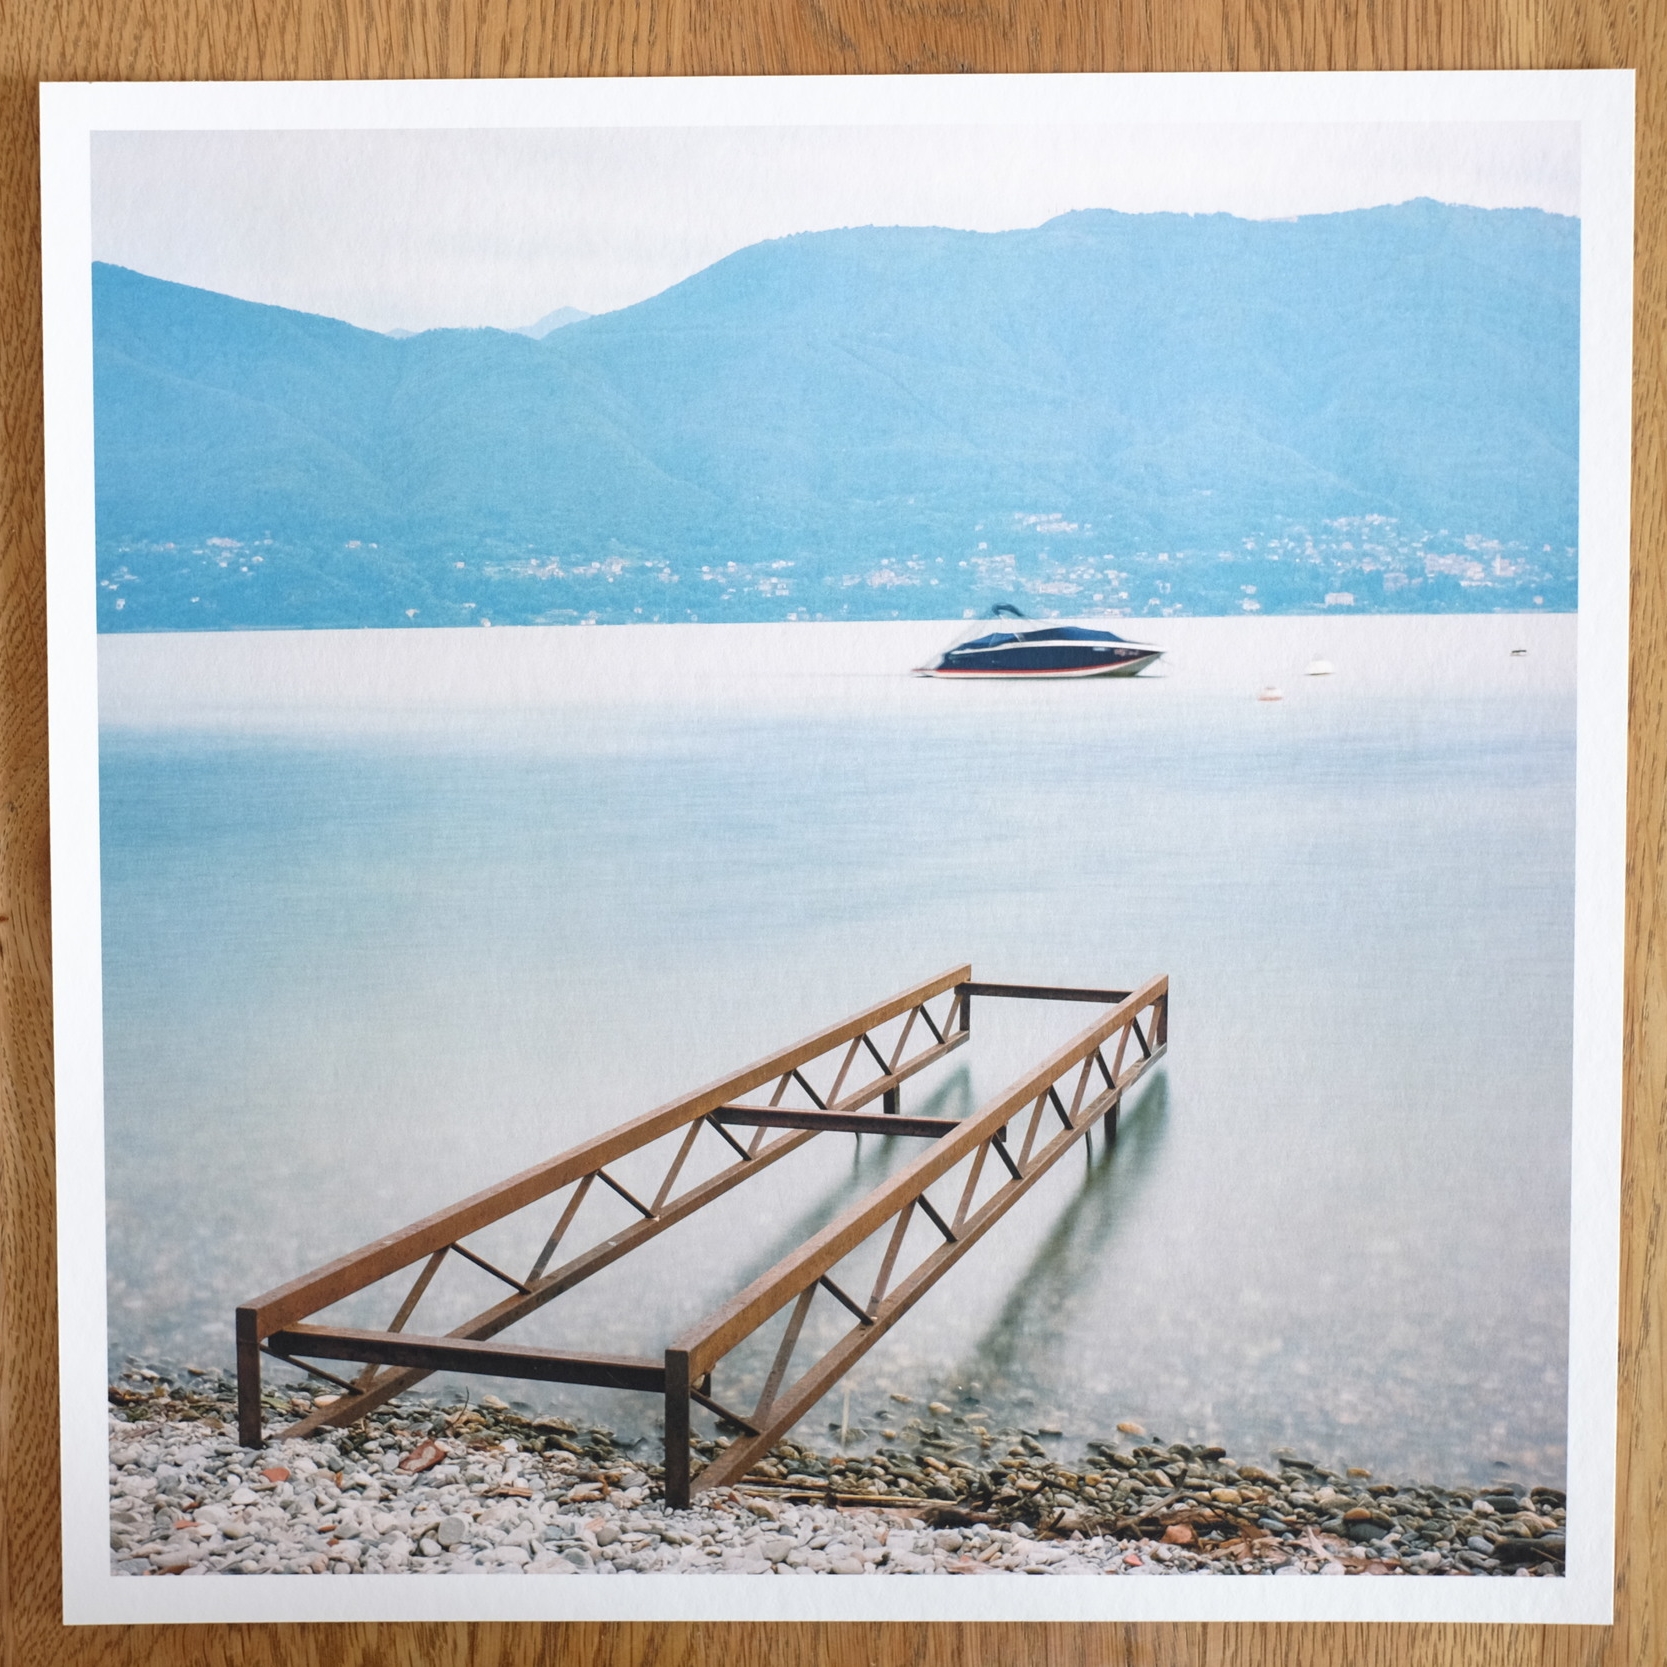
The final print will be printed on Hahnemühle Bamboo on an Epson SP3880

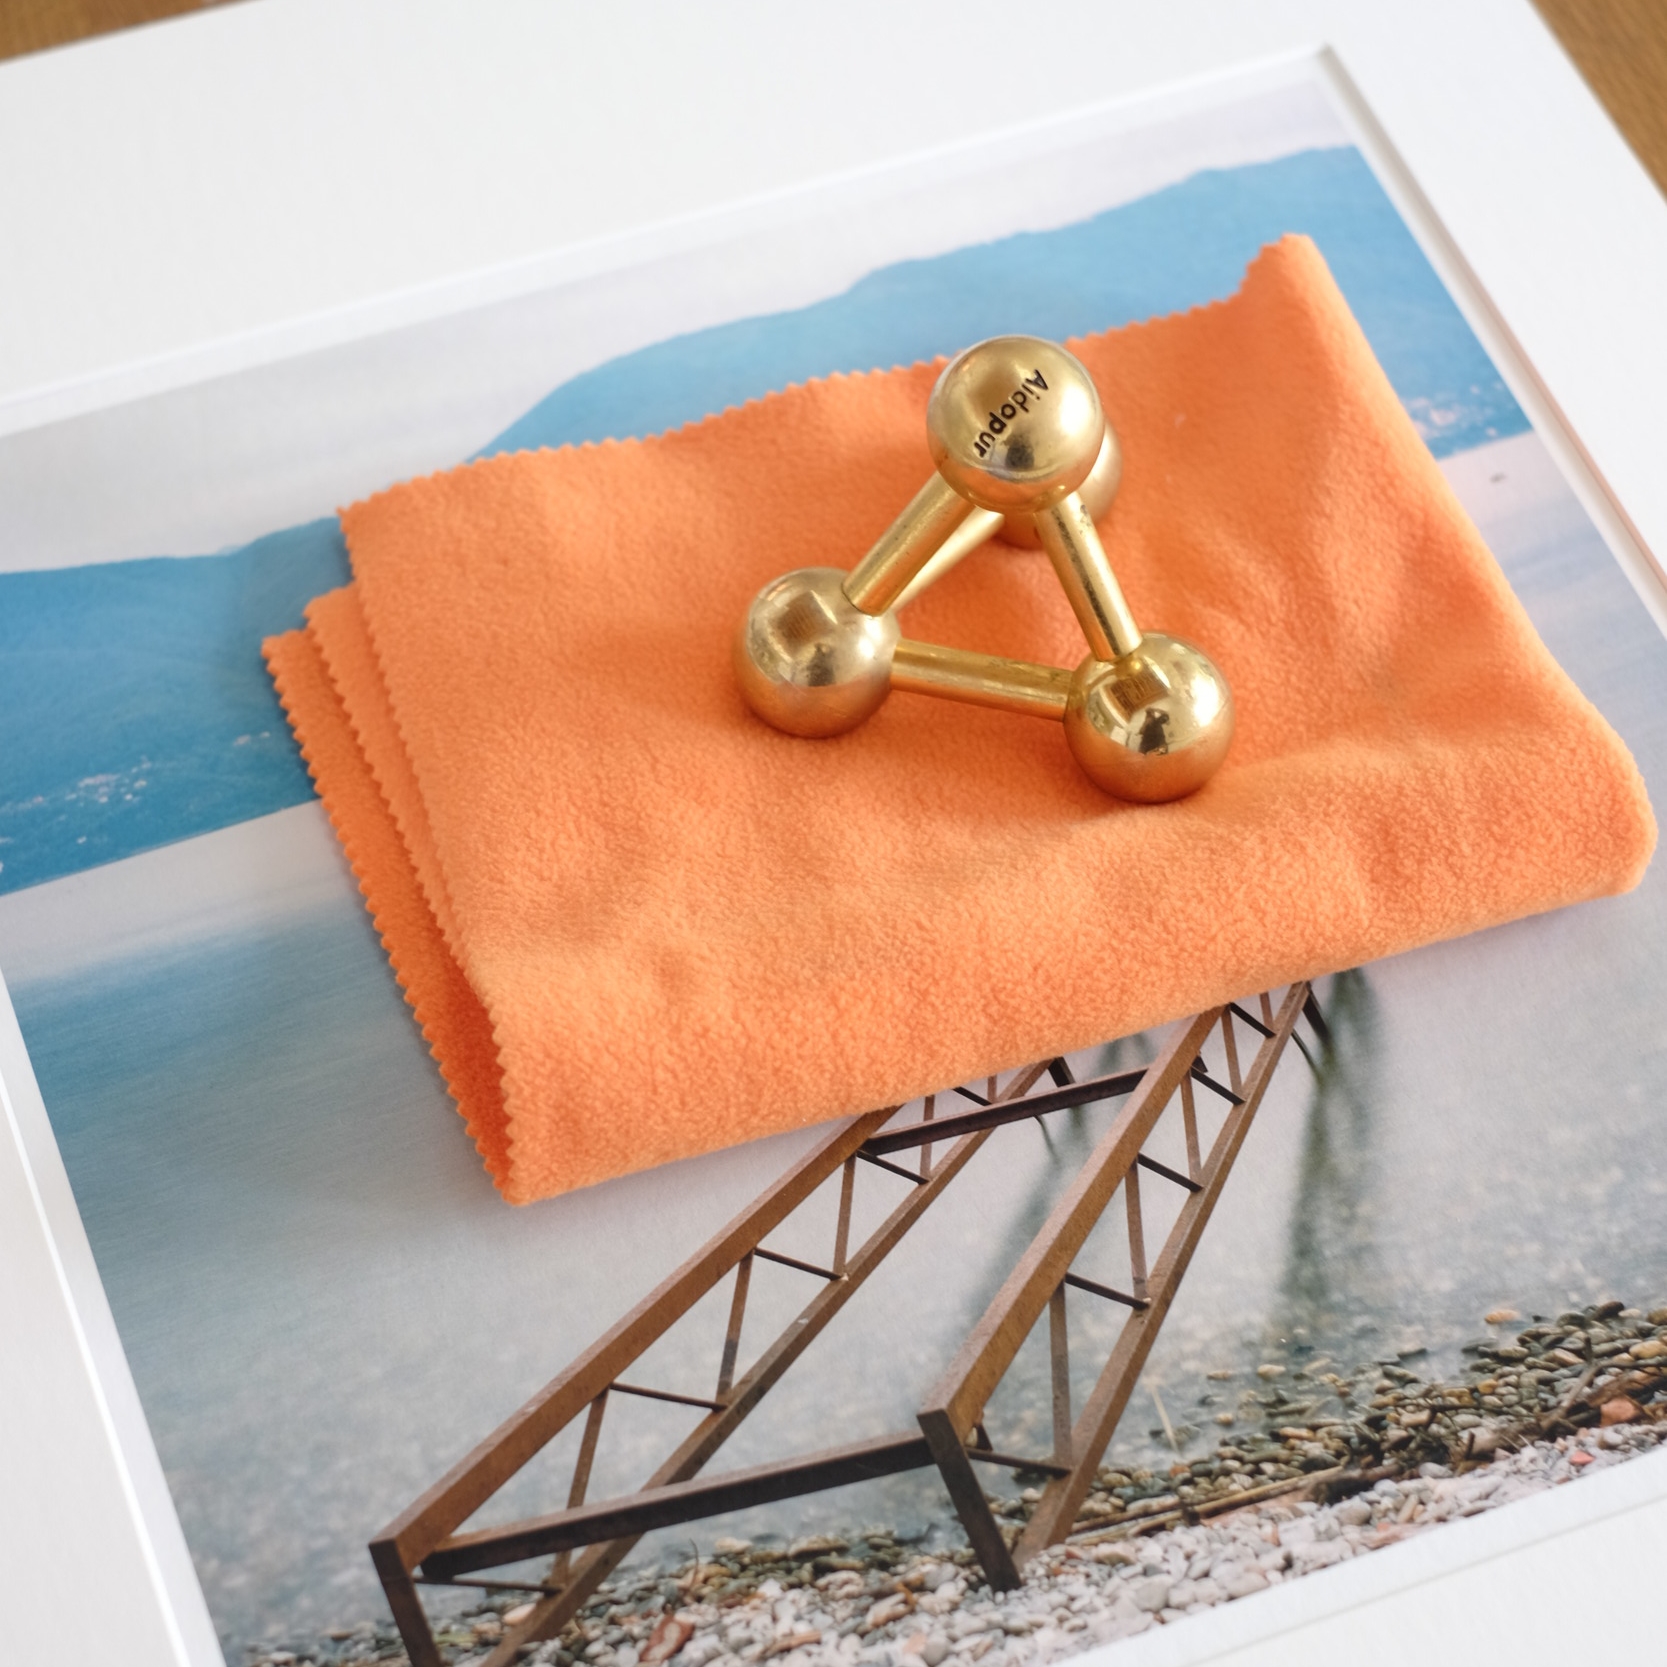
30 x 30 cm Inkjet Print on Hahnemühle Bamboo
Colors are a bit softer and contrast is not as crisp as on the lustre paper which I used for proofing.
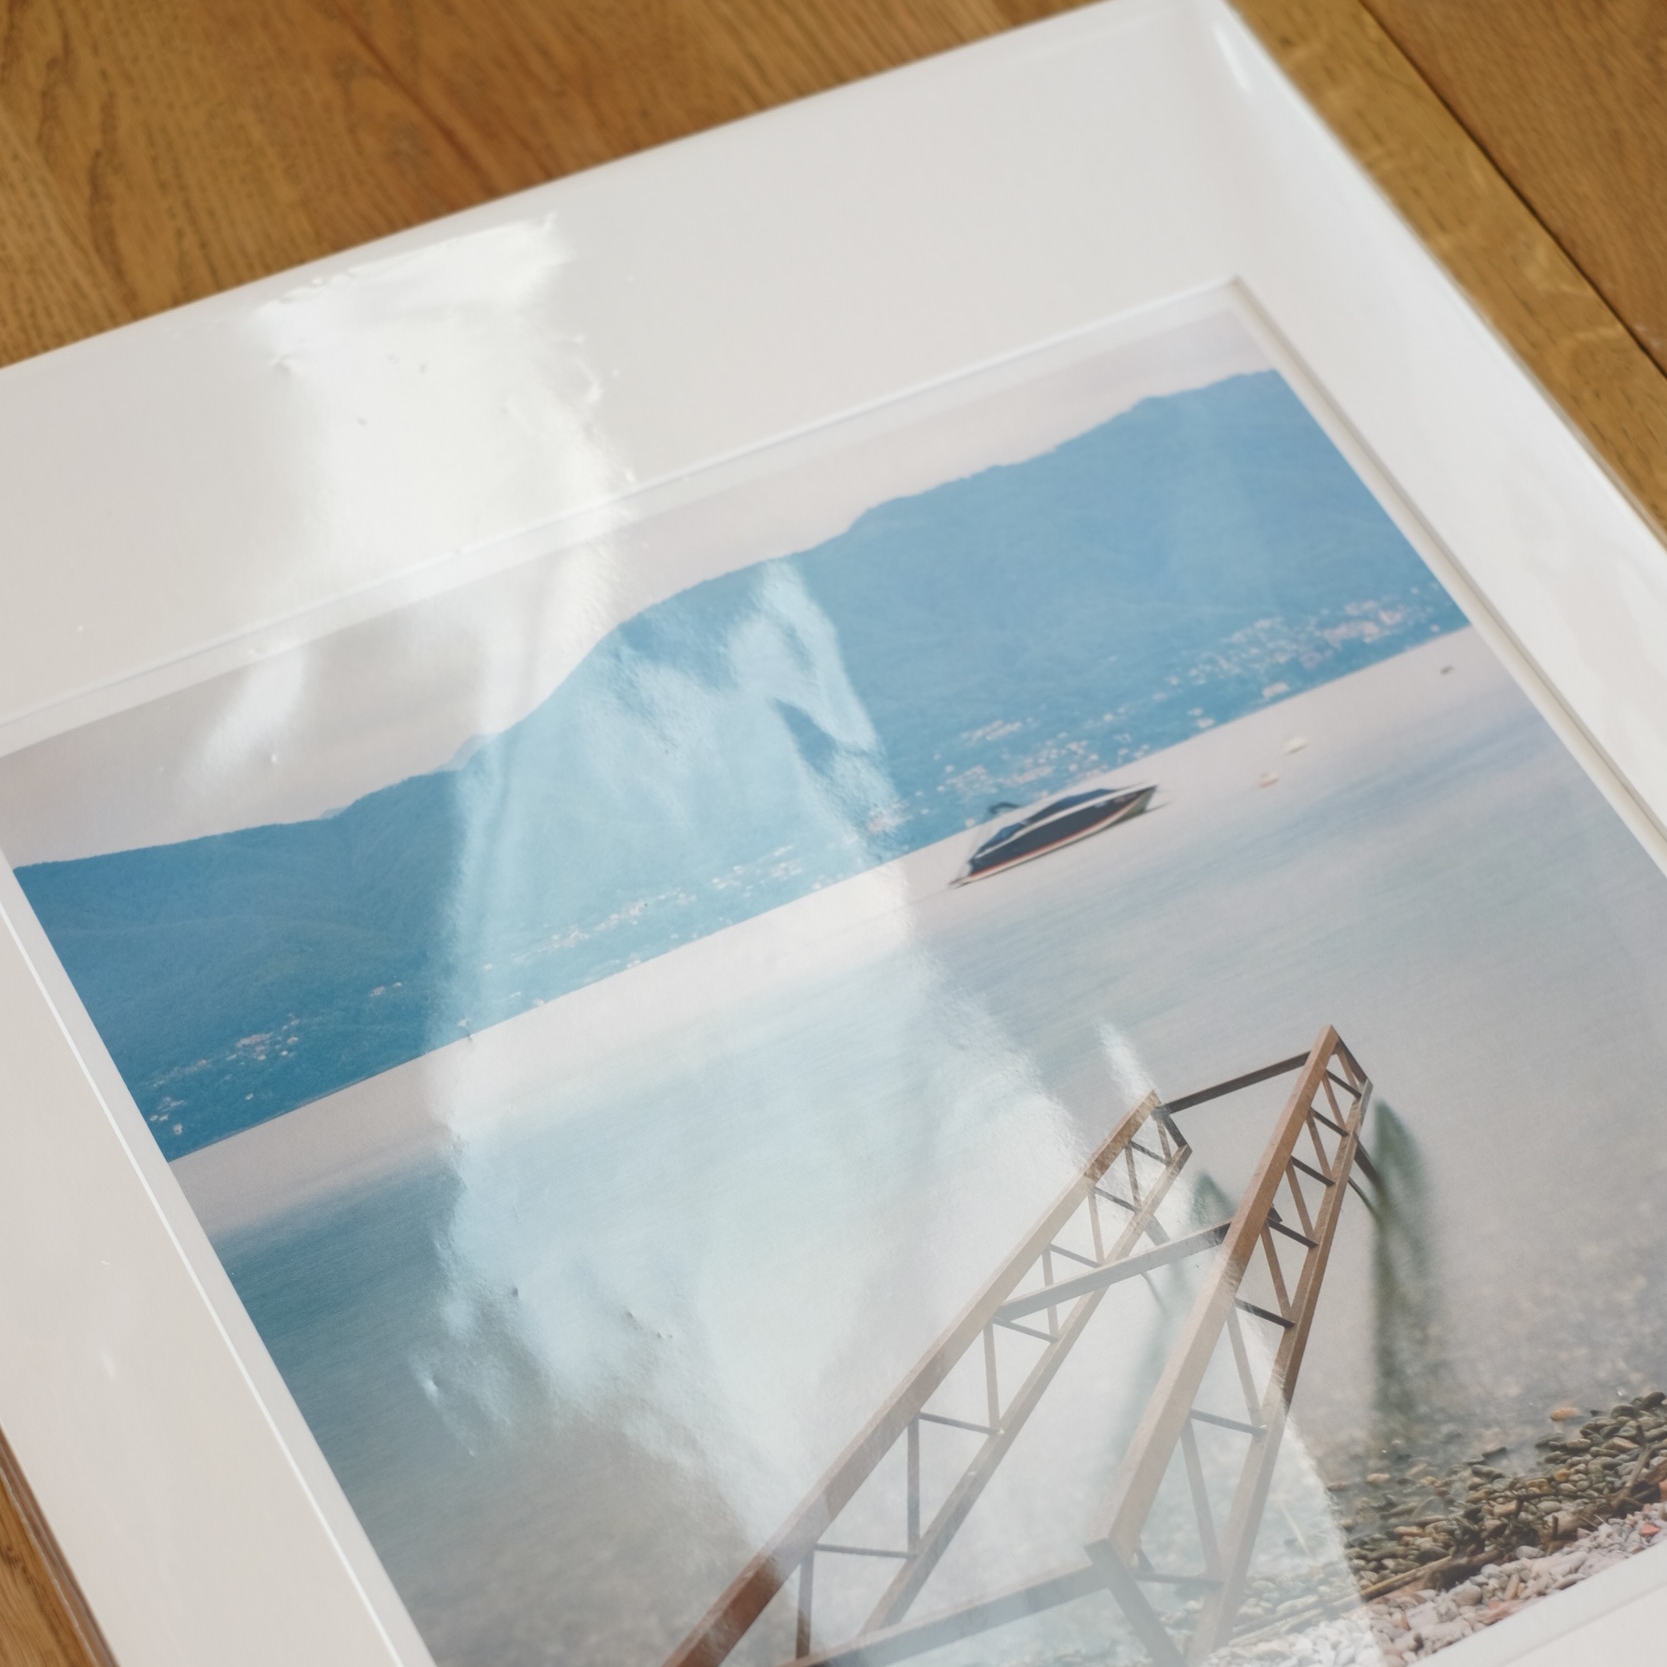

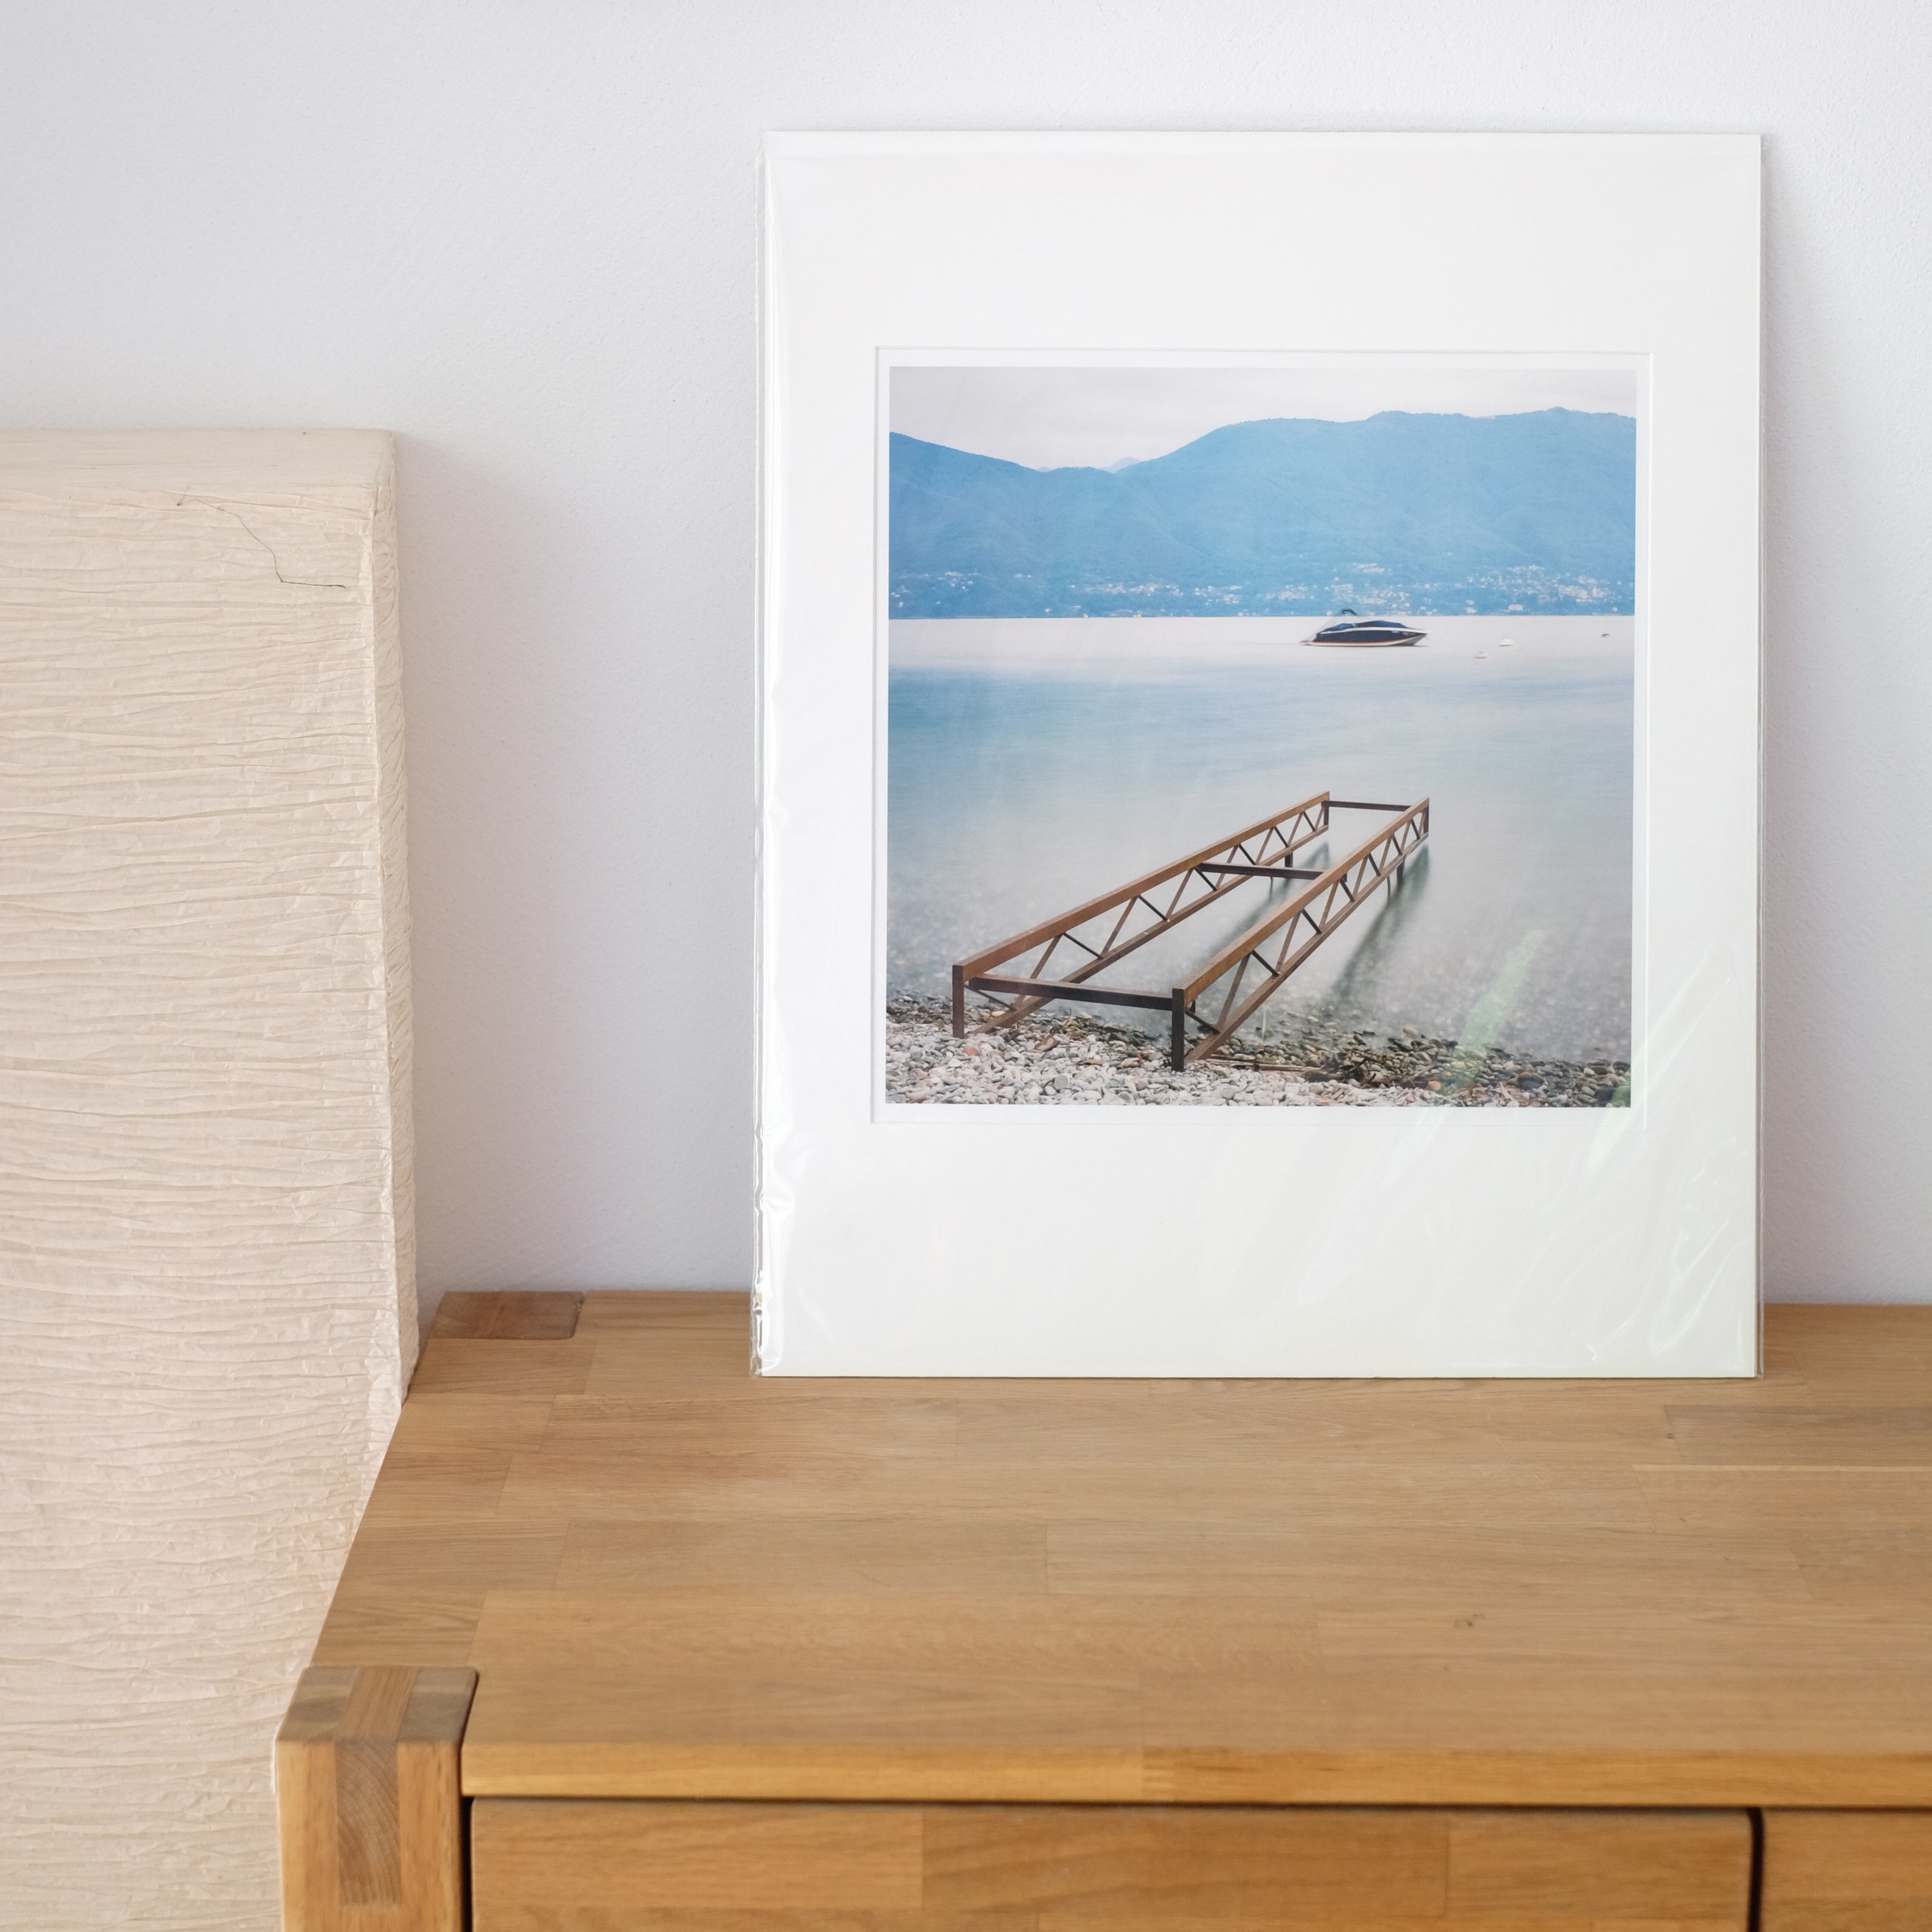
The final print, matted and packed.
Note:
I am glad I chose "example workflow" in the title for this post, as I realized I included some basic mistakes when matting my print. The right and left border of the matte is way too small. I guess a 40x50cm frame is more suitable for a 25x25cm or 10x10in image. I will focus on this in one of my next posts.