Scanner Banding or "how to deal with the staircase effect"
A simple hardware solution that helps avoiding a phenomena called “scanner banding” or staircase effect that often occurs when using a flatbed scanner such as an Epson V700/V750 for negative scanning.
Scanning has always been a love and hate relationship for me. As traditional color darkroom printing was never a good option for me, I soon started to send my rolls of film to a good lab and have them scan my negatives. The results have always been wonderful and exceeded my expectations by far. Unfortunately this set my goals very high and I never achieved similar results using my personal scanner at home. Of course my V700 cannot be compared to a film scanner or a high class Flexlight, Fuji Frontier or Noritsu scanner. Nevertheless, I worked on my scanning workflow to come a little closer to the scans from my lab.
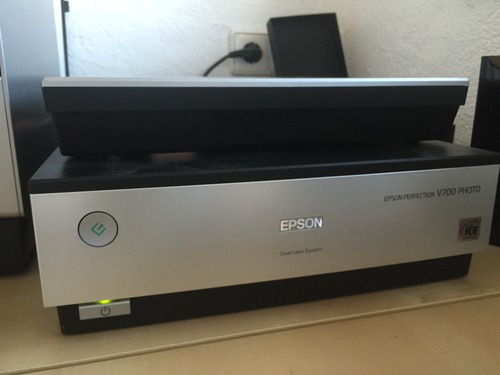
Epson V700
The Problem
In this post and maybe in next upcoming posts I will write a little bit about my process and all the little traps and detours I have encountered. One of the biggest problems when using a flatbed scanner is scanner banding. It mostly happens with 120 film, sometimes with 135mm film and only with negative film, both color and black and white. As far as I know it does not happen with slides. Scanner banding can be found on either side of the frame as streaks running vertically from top to bottom (actually this depends on which way you orient the film strip inside the scanner unit).
Regular scan with an Epson V700 and no mask installed
The Reason
My initial reaction was to check my Hasselblad backs for light leaks. But after thorough investigation I did not find any. I even changed the light seals of the light traps several times. No change! I also checked the negatives for signs of vertical streaks, scratches or light leaks and did not find any reason for those artifacts. I then decided to go through all my previous scans and I found similar streaks on scans done by the lab as well. Same as the streaks on my personal scans, they are only visible in areas of homogeneous and continuous tone. The scanner banding is less prominent on the negatives scanned by the lab and could be caused by severe overexposure of the film (this issue is still under investigation). Talking to other film photographers on Twitter and researching several websites I learned more about the phenomena of scanner banding. The obvious reason for it seems to be the design of a flatbed scanner. In areas where dense parts of the negative are close to very thin parts, as for example in dense areas close to the border of the film frame, reflections can occur that lead to the ghost streaks on the scans. Mori Insinger posted a very comprehensive summary about scanner banding on photo.net forum that sums up the phenomena quite nicely (go to the second page of this link to read the entry).
This example is less obvious, but the "staircase effect" is as well visible on the right hand side.
My Solution
I found a simple and very effective way to deal with this problem. I made a little cardboard mask from old 6x6 slide frames that surrounds the negative very tightly. The mask is mounted between the film strip and the holder of my Epson V700. Sometimes It is a bit challenging to perfectly align the negatives with the mask, but after a little practice it works reasonably well. The overall scan quality is much better and there are no more signs of banding. However you need to pay close attention to film flatness as other artifacts like Newton rings might be introduced due to curved film.


A simple cardboard mask placed on the frame helps to reduce flare inside the scanner to avoid the unwanted staircase effect in the final scan.
Straight scan (Silverfast 8) with mask installed - no banding visible.

Final scan - including some tonal and color adjustments in Adobe Lightroom.
Custom Film Holders
A similar fix should be possible with the mounting station from betterscanning.com, but the mask needs to be very tight around the frame and the available templates do not provide such tight masks. I don´t know how other film holders for other scanners are built, but I could imagine that cardboard masks could be easily made to fit them as well.


Epson V700 (left side) vs Fuji Frontier (right side)
The Epson scan is a bit warmer and I do see more shadow contrast in the Frontier scan.
Conclusion
I personally think the provided examples show the difference effectively. The quality of a good lab scan however is still not reached and will probably never be. So I will continue to send my films out to either Carmencita Film Lab in Spain or "Mein Film Lab" in Germany. Both deliver outstanding quality!