
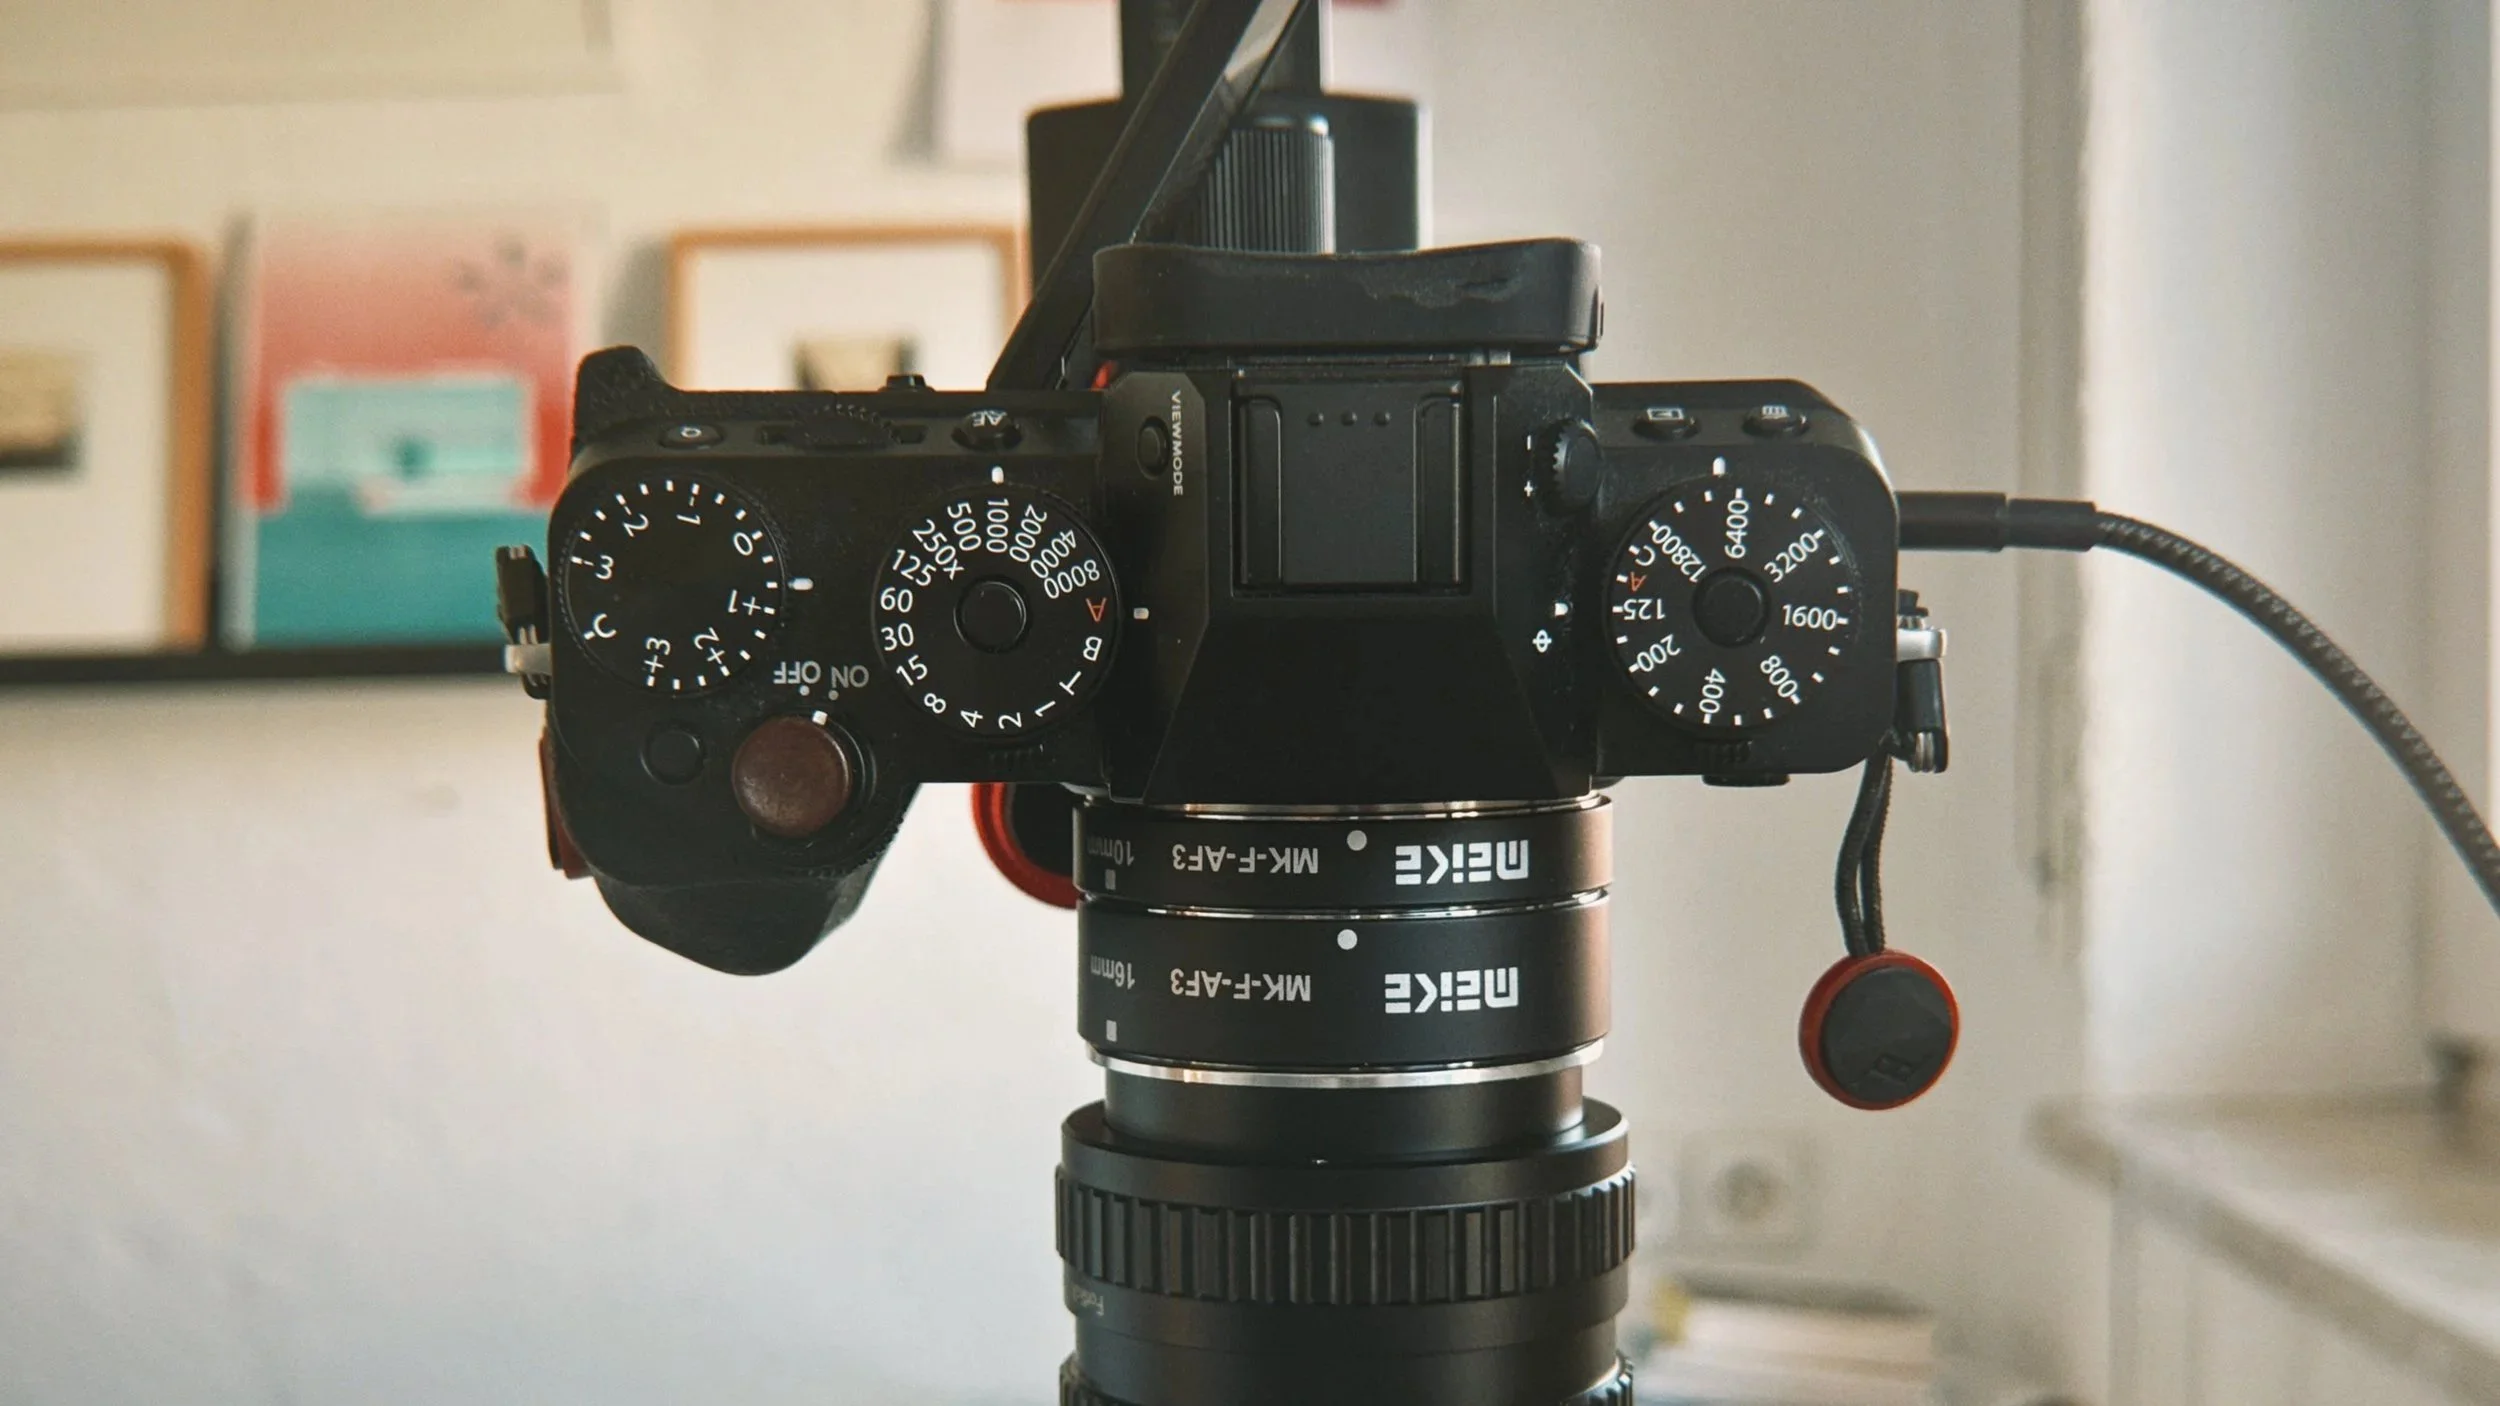
The Fujifilm X-T5 for Camera Scanning
If you have spent any time scanning film at home, you know that the search for the ideal setup is a continuous journey. While dedicated film scanners remain expensive or slow, camera scanning has become the gold standard for speed and flexibility.
When Fujifilm released the X-T5 with its 40.2 megapixel APS-C sensor, it immediately caught my eye as well as the eye of many other analog photography enthusiasts. On paper, it sounds like a dream for digitized negatives: incredible resolution, a flexible 3-way tilting screen, and access to sharp macro lenses.
However, using a Fujifilm camera for film scanning brings a unique set of considerations, particularly regarding the X-Trans sensor array and the 160-megapixel Pixel Shift mode. Here is a realistic look at the pros, the cons, and whether the X-T5 is the right tool for your film digitization setup.
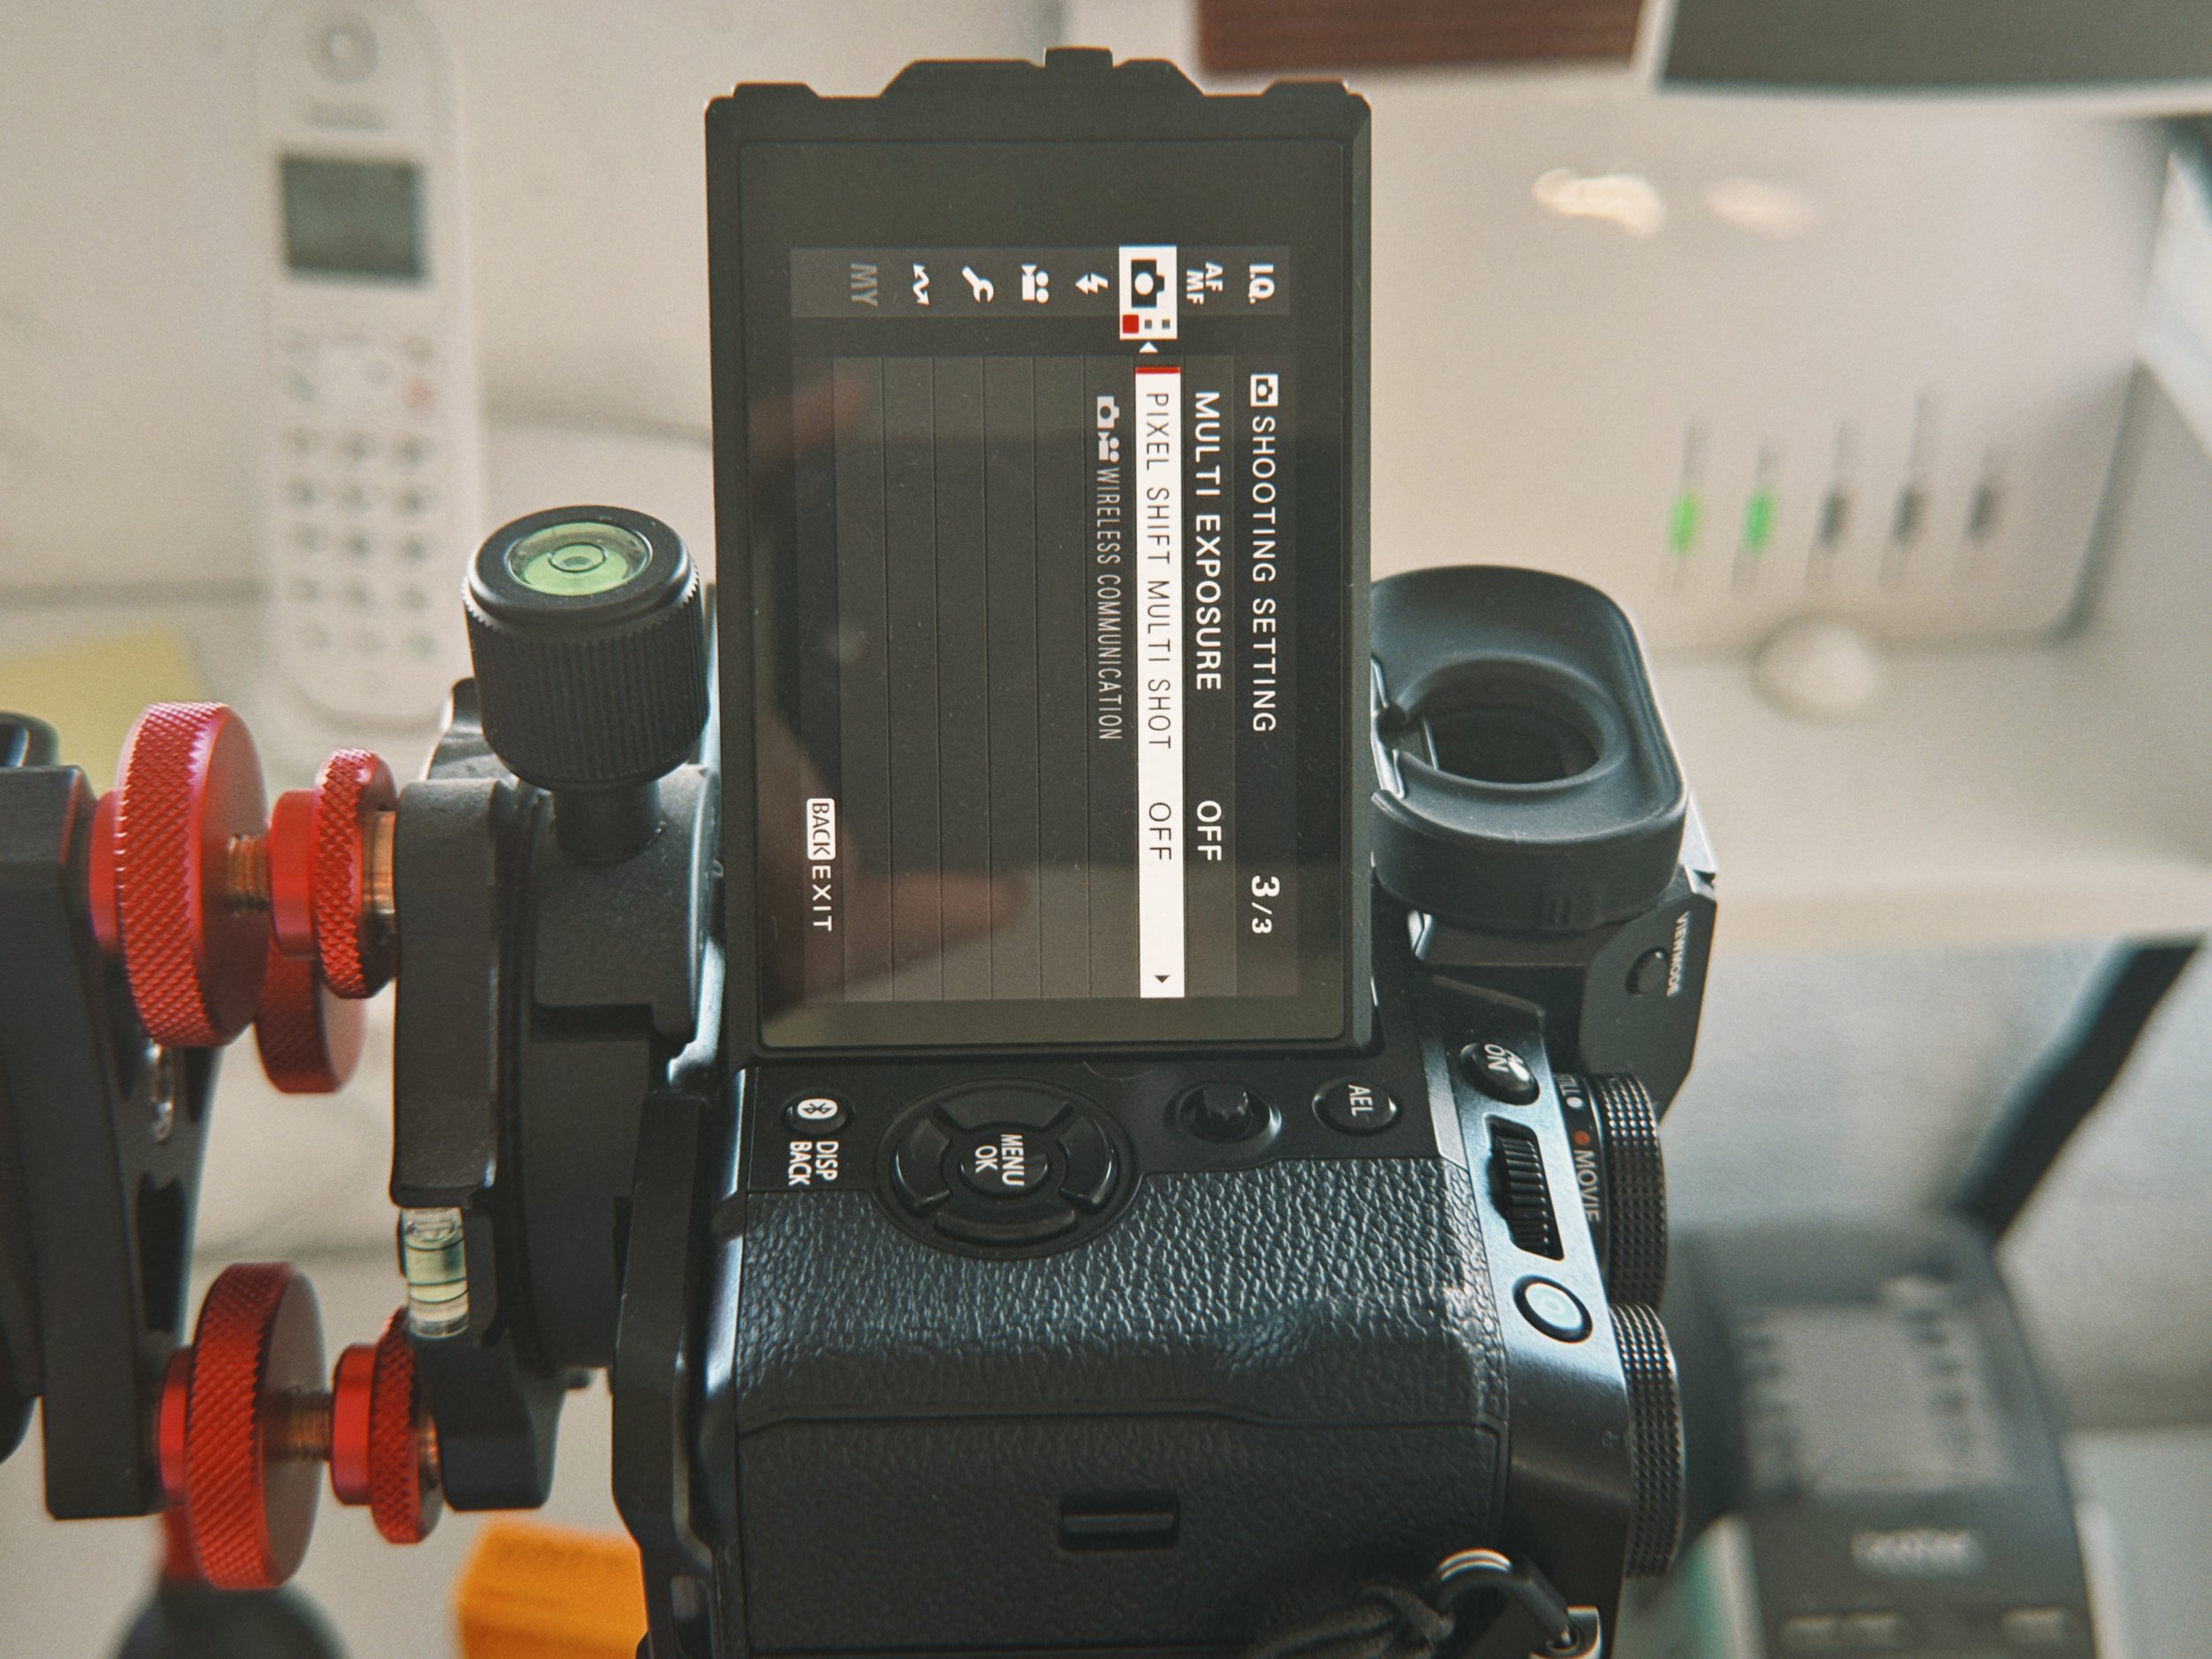
Pixel Shift Multishot is available in two mode: “Accurate Color” and “High Resolution + Accurate Color”
The Pros of Scanning with the X-T5
40.2 Megapixels of Pure Detail: The sheer resolution of the X-Trans V sensor gives you plenty of cropping freedom. Whether you are scanning 35mm or medium format film, you get crisp files ready for large prints.
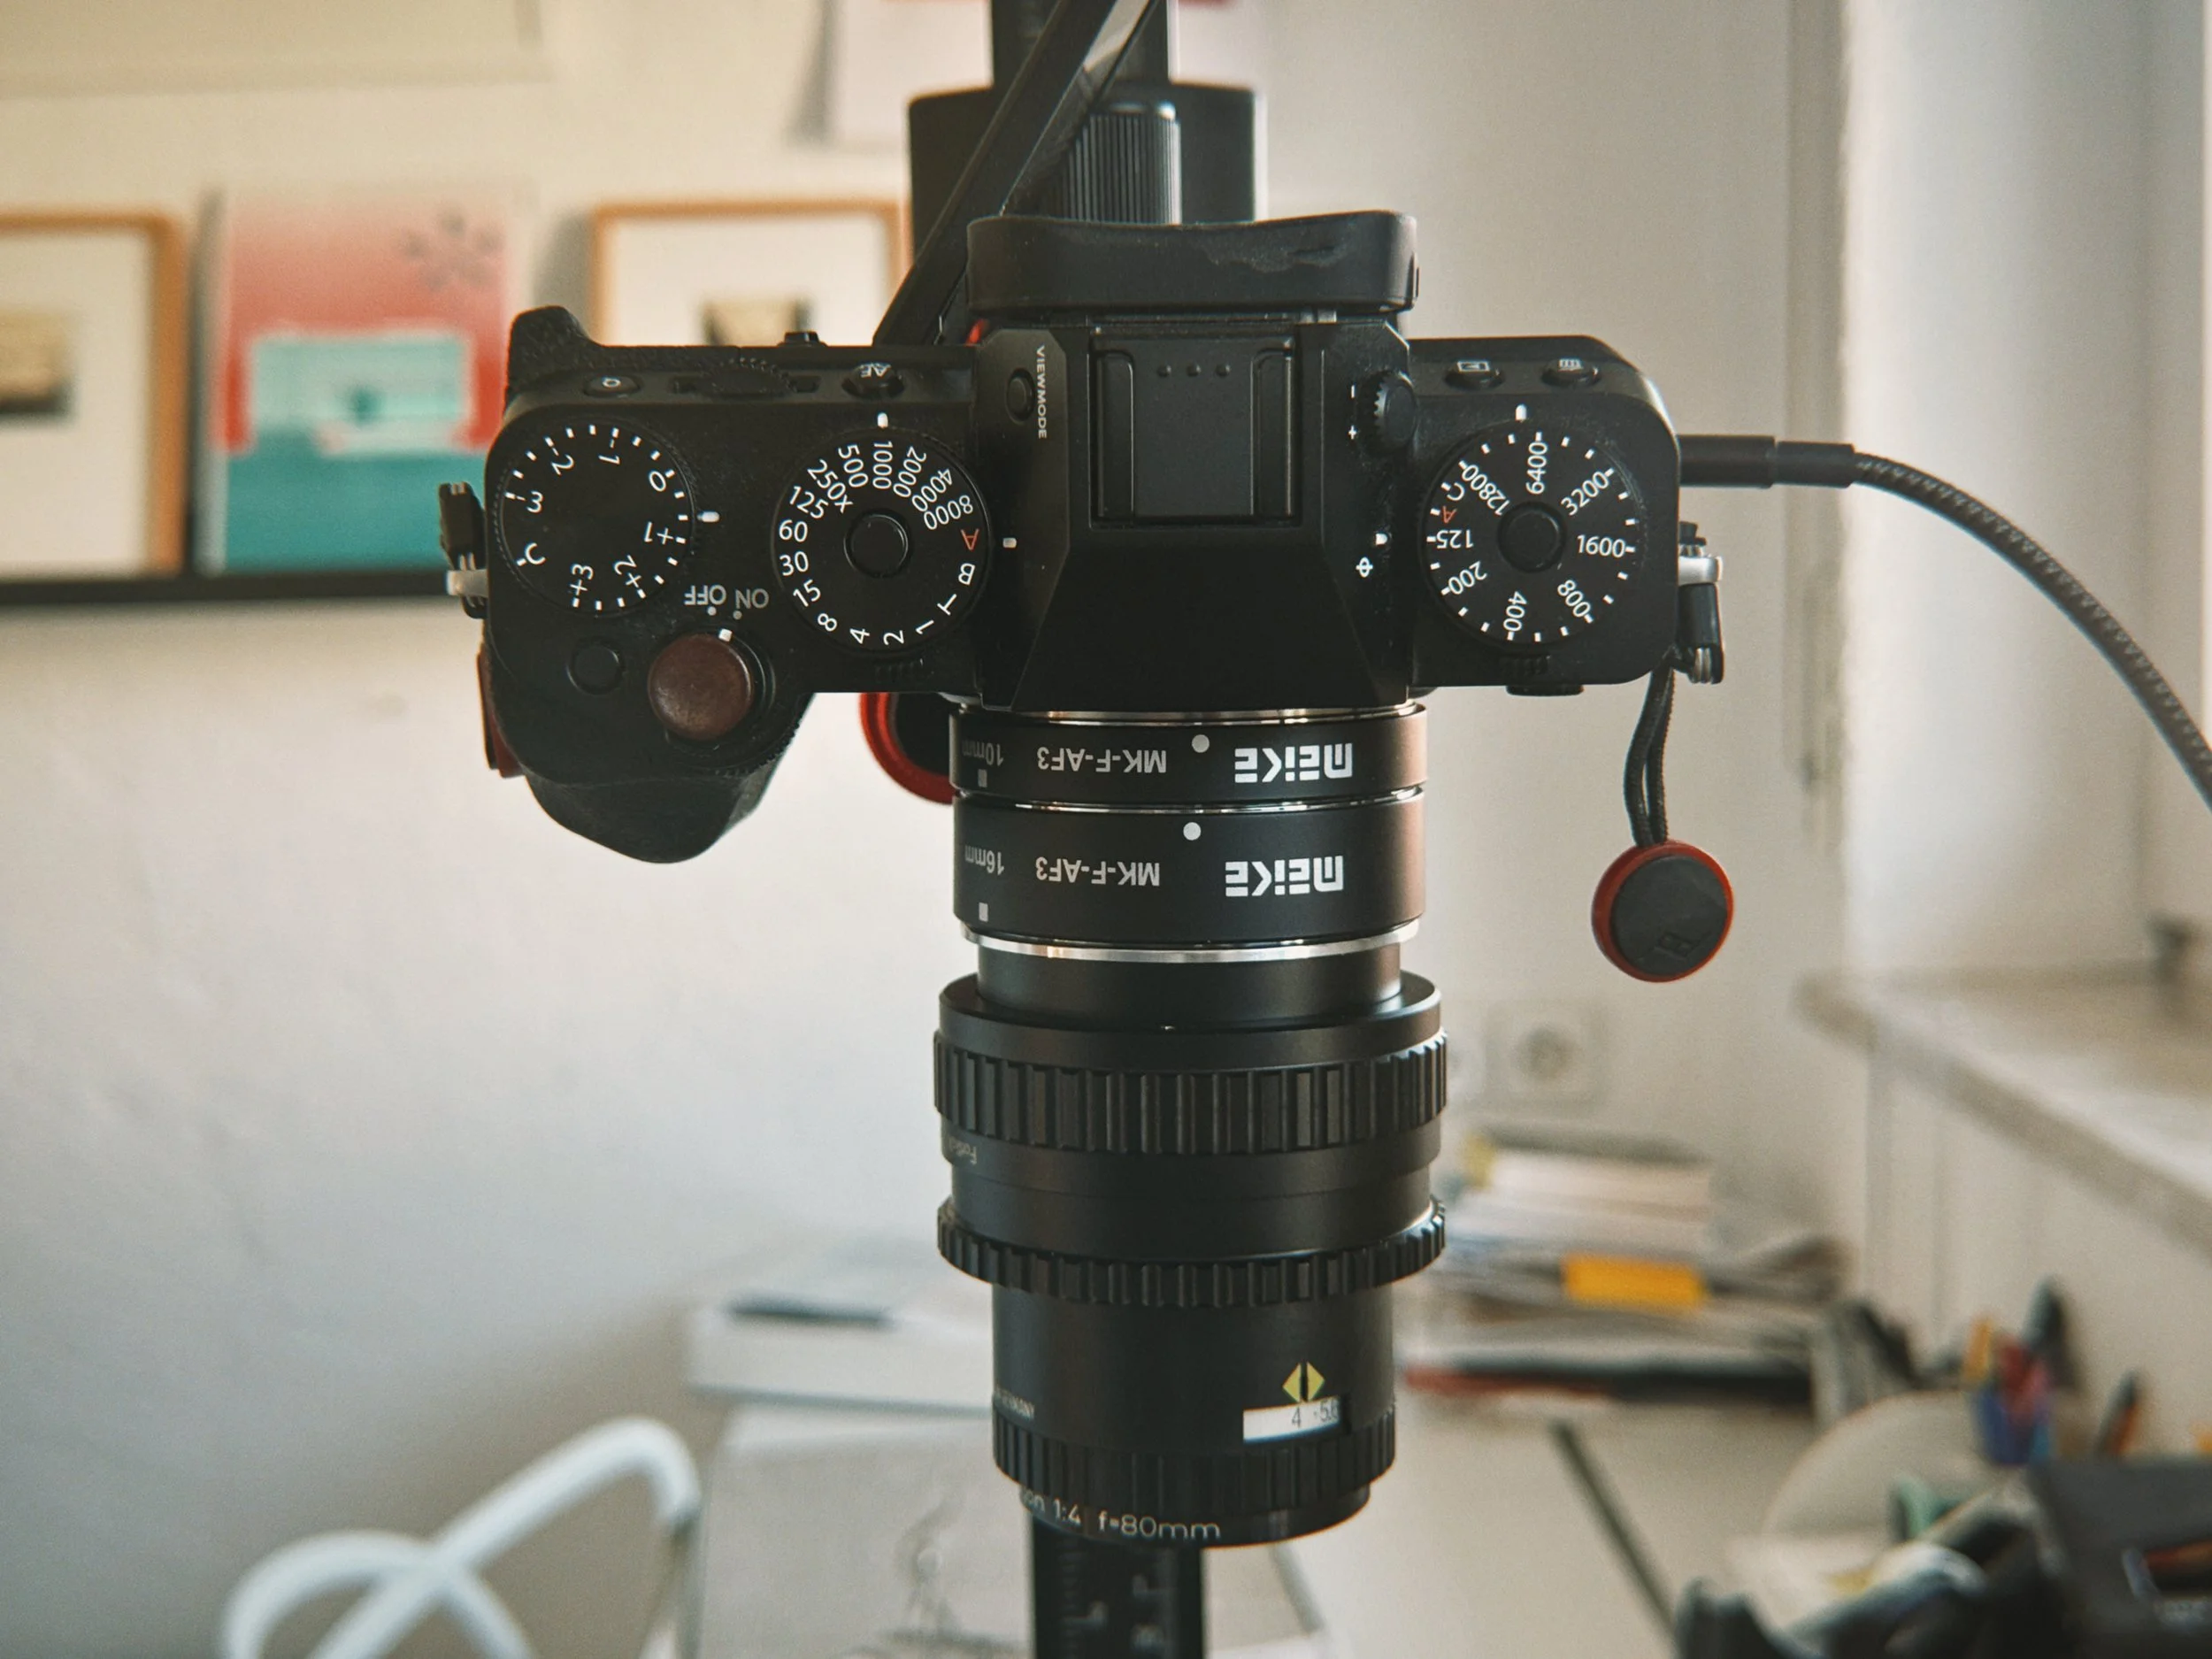
Excellent Macro Optics: The Fuji X mount gives you access to outstanding macro lenses like the Fujinon XF 80mm F2.8, the classic 60mm F2.4, or manual third-party options like the Laowa 65mm F2.8 Macro.
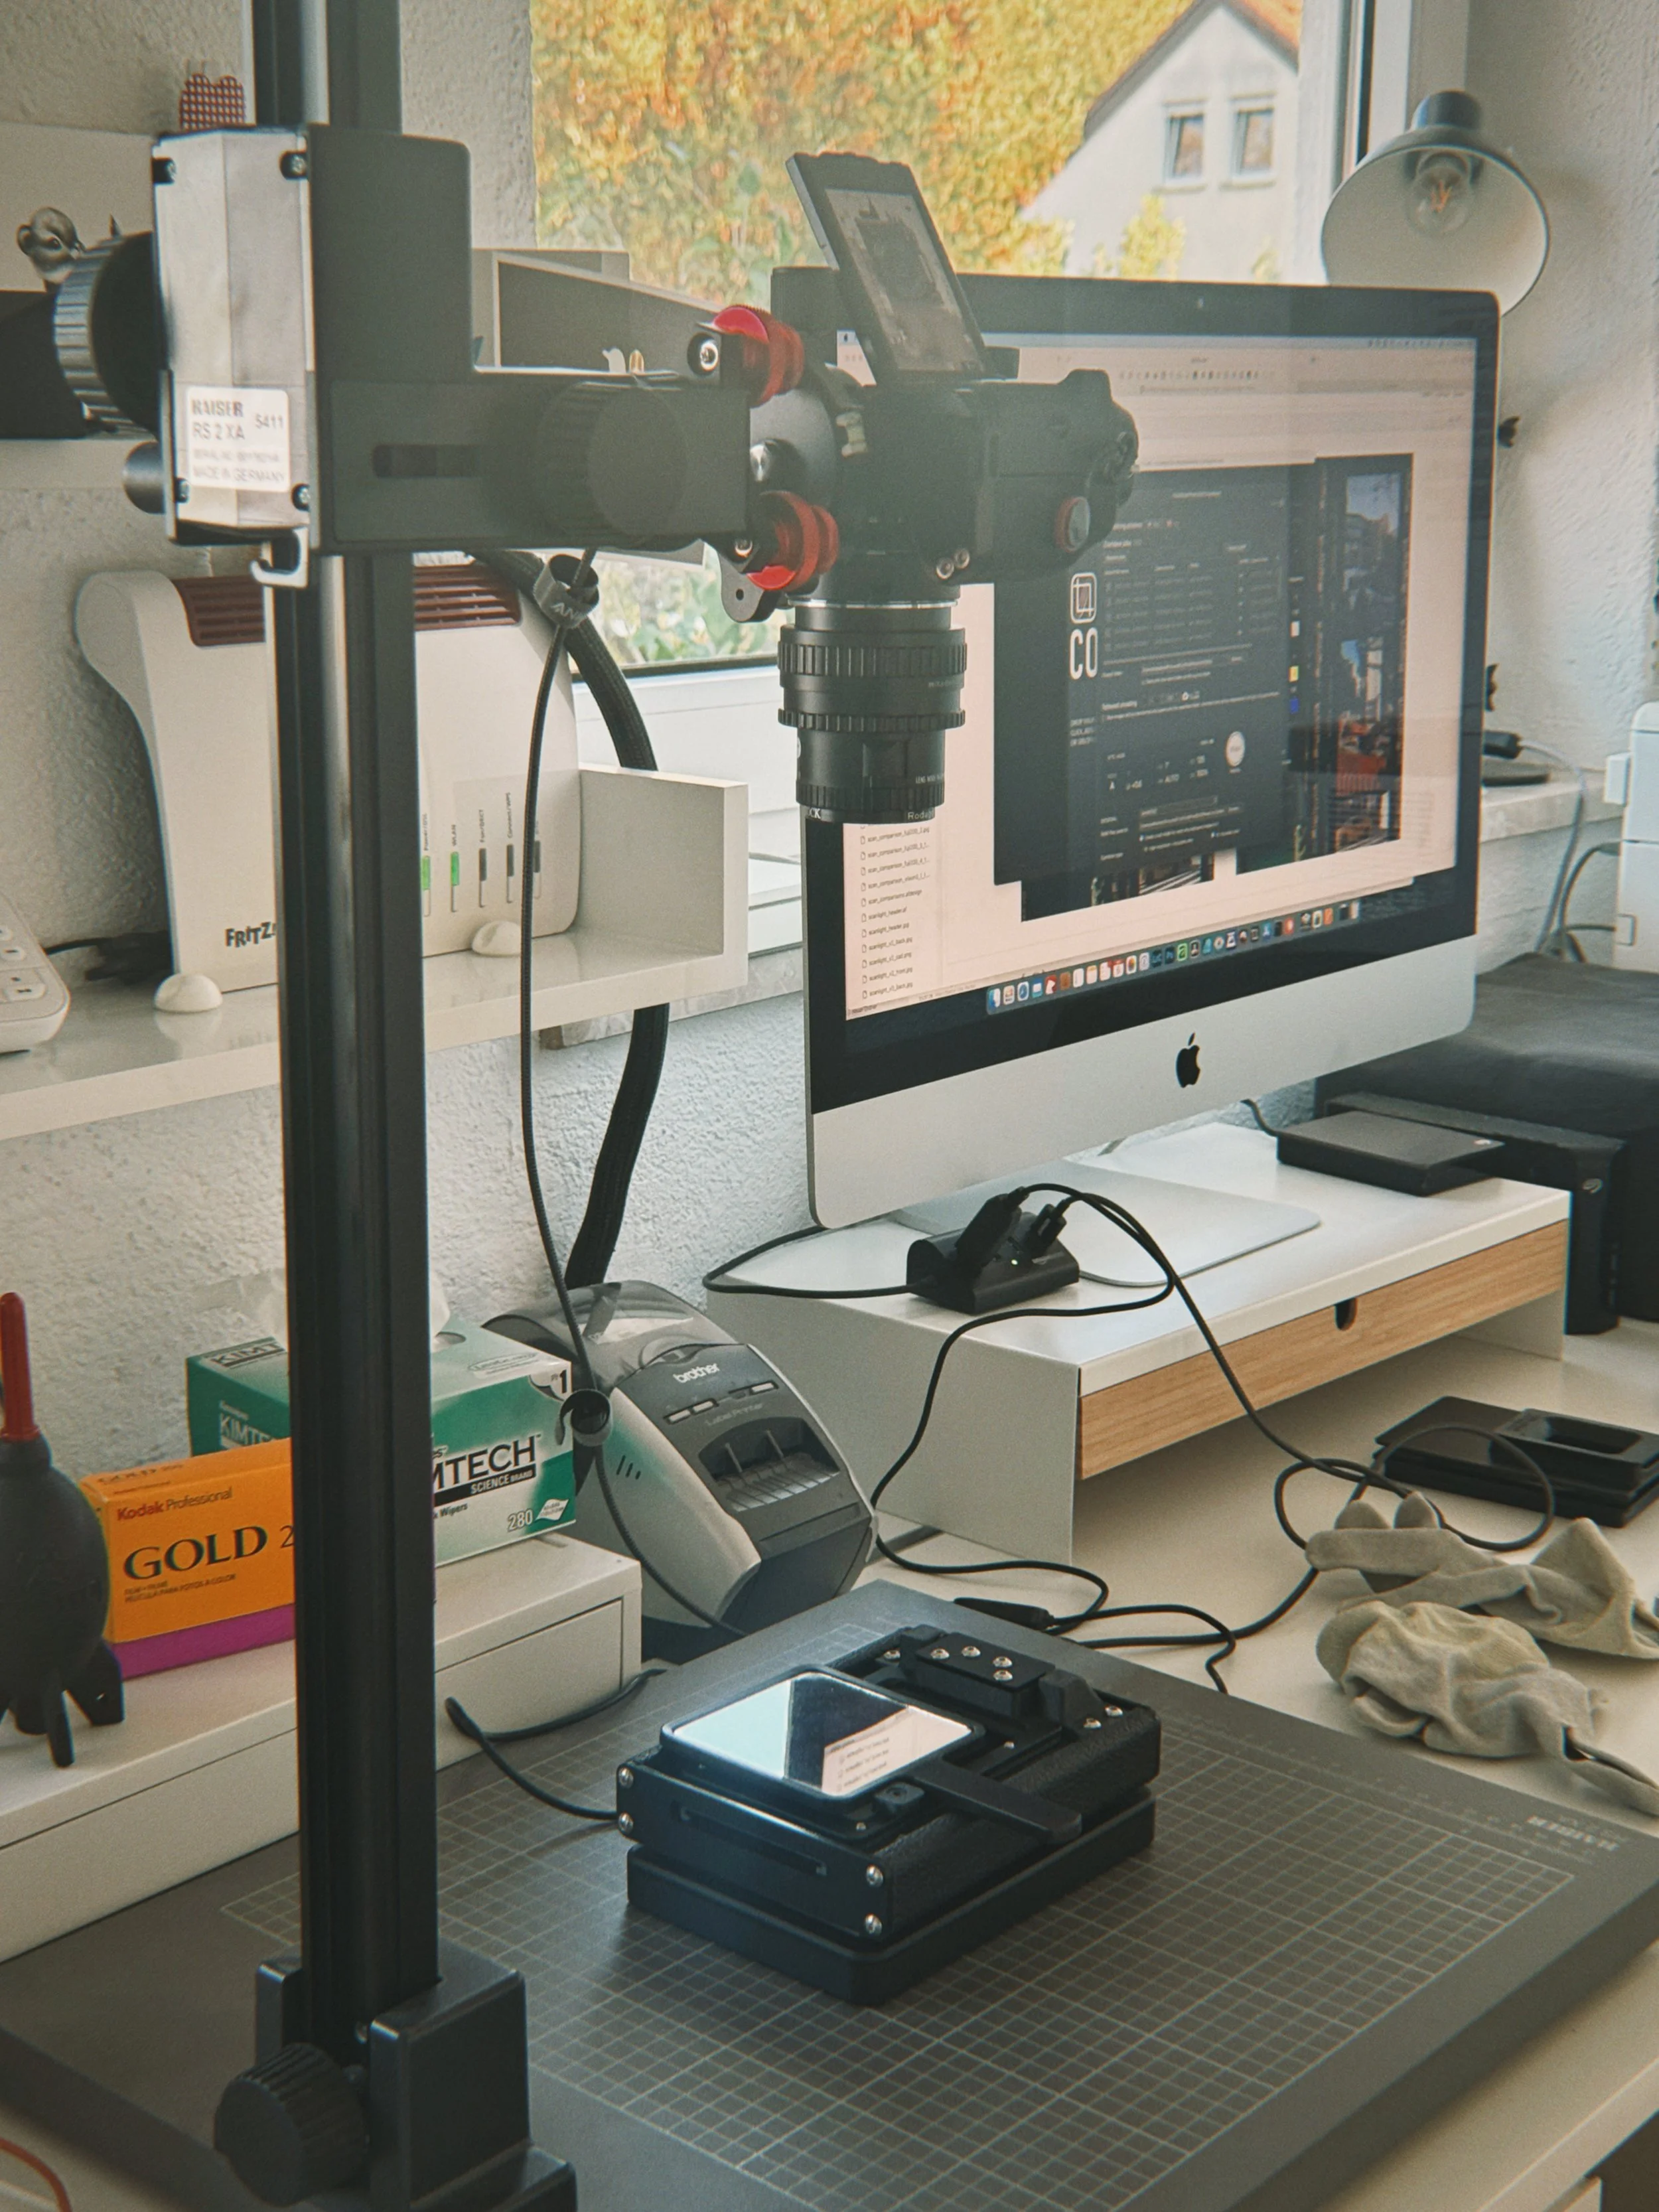
3-Way Tilting Screen: When working on a copy stand, looking straight down at an articulated screen makes framing and focusing far more comfortable than using a fixed monitor.
Tethering Support: Connecting the camera directly to Lightroom or Capture One allows for instant live view feedback on a larger screen, speeding up the workflow significantly.
The Challenges to Keep in Mind
Extreme Sensitivity to Vibration: High pixel density means that even tiny micro-vibrations from a flimsy stand or floor movement can soften your scans. A sturdy copy stand setup is mandatory.
No In-Camera Pixel Shift Assembly: If you choose to use the Pixel Multi-Shot feature, the camera creates 20 individual RAW files. You must combine them later on your computer using Fujifilm Pixel Shift Combiner software.
Crop Factor Considerations: As an APS-C system, you need to adjust your camera height slightly differently compared to full-frame setups when aiming for 1:1 reproduction ratios.
The X-Trans Sensor: Blessing or Curse for Film Scans?
Unlike traditional digital cameras that use a Bayer pattern filter over the sensor, Fujifilm utilizes a complex 6x6 X-Trans color filter layout. In everyday photography, this reduces moire without needing an anti-aliasing filter, producing wonderfully sharp images.
When scanning film negatives, however, X-Trans creates a specific challenge during demosaicing.
The Grain Interpretation Issue
Standard RAW conversion engines, particularly older versions of Adobe Lightroom, sometimes struggle to interpret the organic structure of film grain through the X-Trans pattern. The software mistakes the random grain particles for fine detail pattern anomalies, leading to subtle artifacts known as "worming" or harsh, unnatural rendering of the film stock.
The Software Fix
Fortunately, this issue is easy to overcome today. Using Adobe's "Enhanced Details" (DxO Enhance) feature, processing your files in Capture One, or utilizing dedicated converters like Iridient Developer allows the software to correctly decode the X-Trans files. When demosaiced properly, the 40-megapixel sensor resolves fine grain smoothly and delivers incredible sharpness.
Pixel Shift Multi-Shot: The Ultimate Workaround
The X-T5 includes a Pixel Shift feature that moves the sensor in sub-pixel increments using the IBIS system to capture 20 separate exposures. This mode offers two massive advantages, along with one significant limitation.
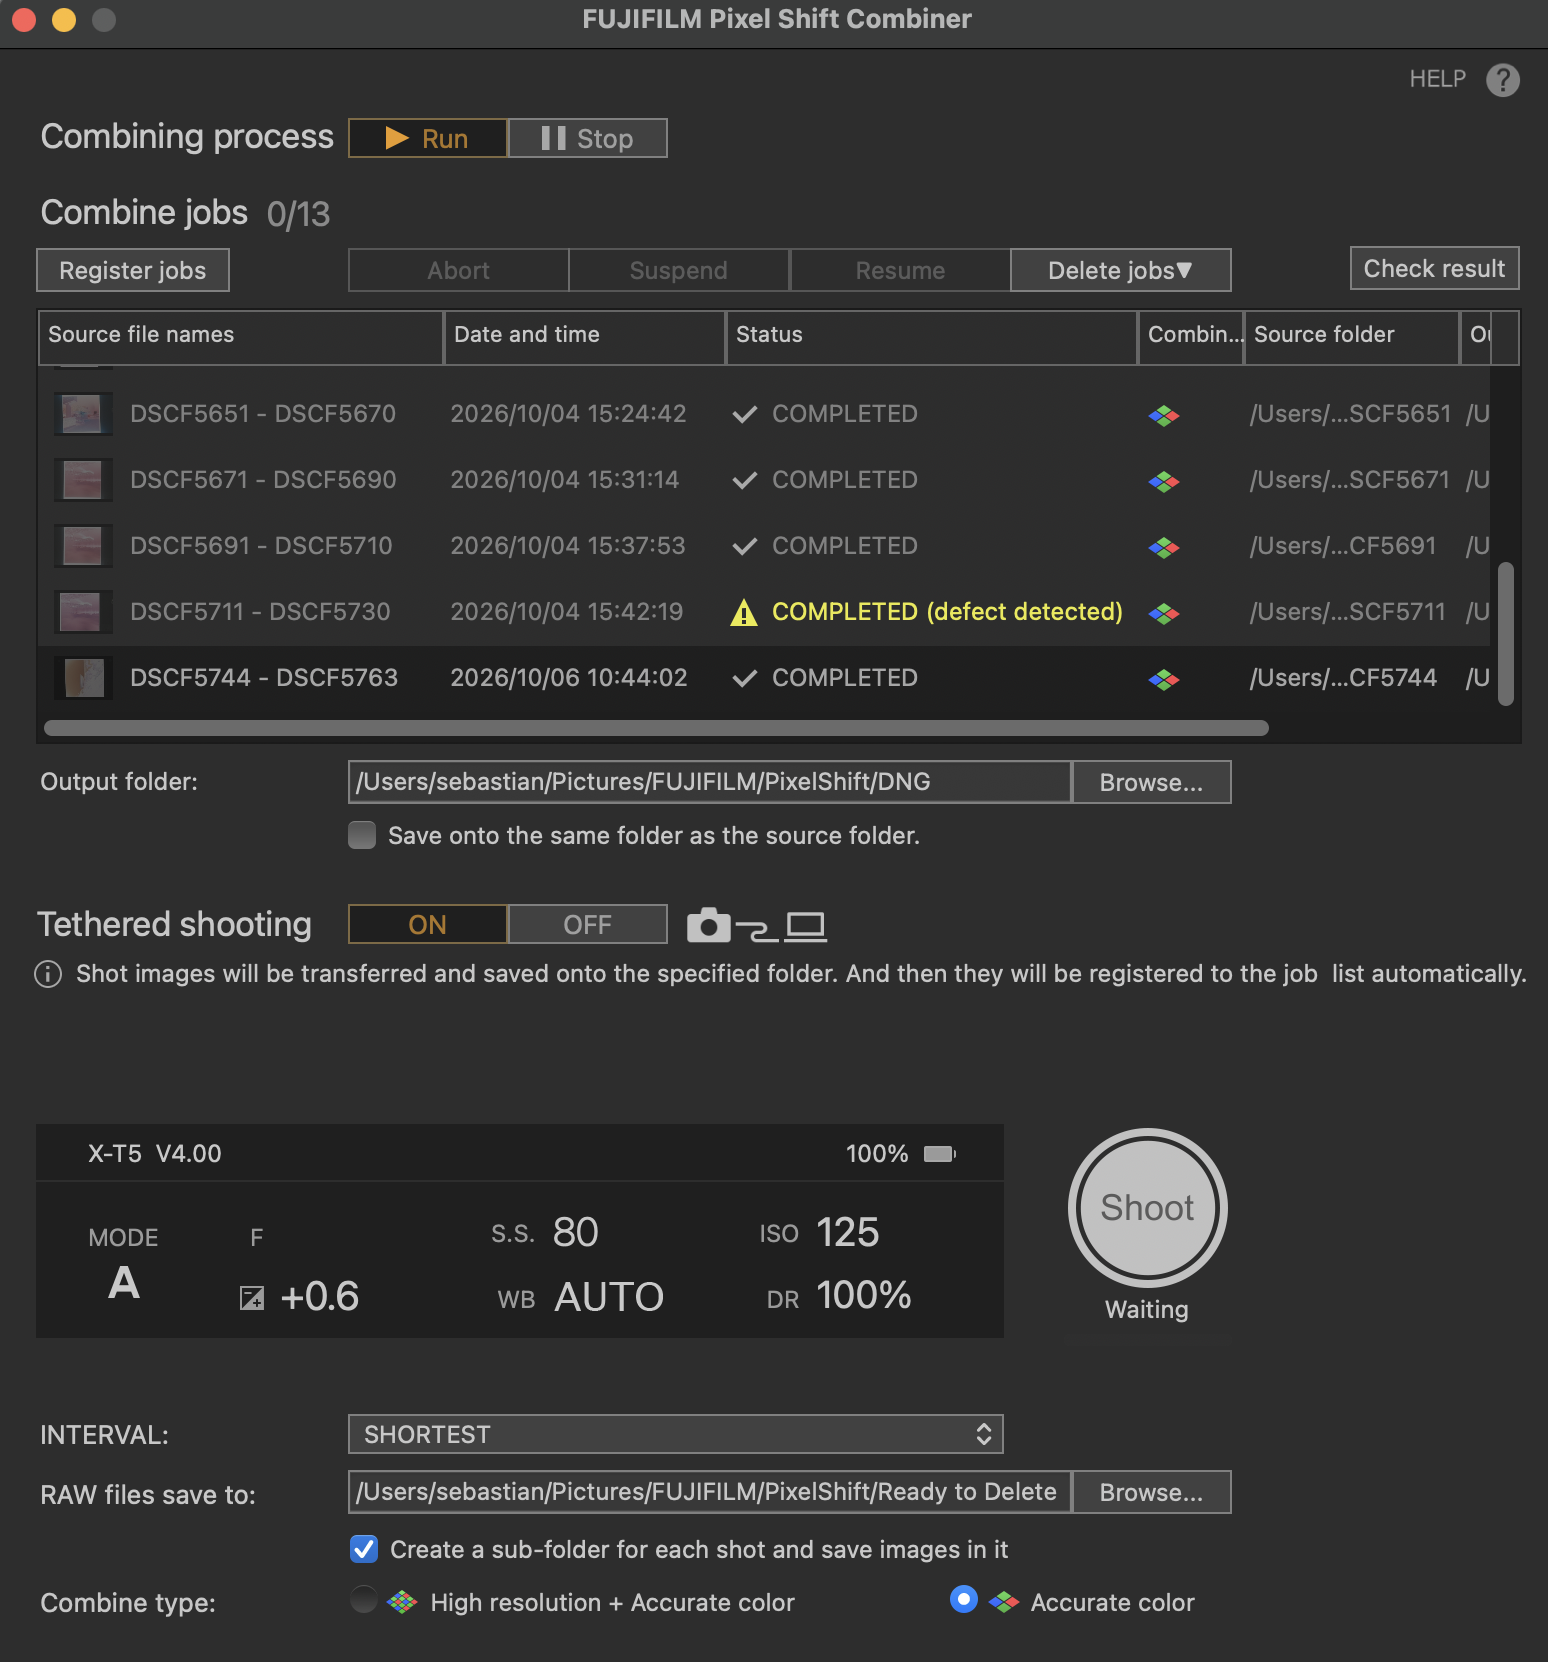
Fujifilm Pixel Shift Combiner software
1. True RGB Color Sampling
In a standard single-shot photo, every pixel only measures one primary color (Red, Green, or Blue) and relies on software interpolation to guess the remaining two.
With Pixel Shift, the sensor physical position changes between shots so that true Red, Green, and Blue light values are recorded at every single pixel location. The result is pure, un-interpolated color data. Edge transitions become noticeably cleaner, and color fidelity closely resembles what you would get from a professional drum scan.
2. Eliminating the X-Trans Demosaicing Problem
Here is the most interesting aspect of Pixel Shift for Fujifilm users: because every pixel location receives full RGB data, standard demosaicing is bypassed completely.
This means that the potential X-Trans artifacts, worming, or grain misinterpretations disappear entirely. Pixel Shift essentially acts as a hardware bypass for the inherent limitations of the X-Trans color layout.

200% Zoom in for best evaluation of the details. No more X-Trans demosaicing artifacts
Is 160 Megapixels Worth the Extra Work?
While combining 20 shots creates a massive 160-megapixel image file, the extra resolution itself is rarely necessary for 35mm film.
Analog film resolution is ultimately limited by the grain structure of the emulsion itself. Most standard 35mm films carry roughly 15 to 25 megapixels of actual image detail. Capturing a 35mm negative at 160 megapixels mostly results in extremely sharp scans of the grain particles rather than additional image information.
The story changes if you regularly scan high-resolution medium format negatives (like 6x7 or 6x9) or fine-grain technical films such as ADOX CMS 20. In those specific scenarios, the higher resolution capacity genuinely shines.
For most day-to-day scanning, the true value of Pixel Shift lies in the color accuracy and the clean bypass of demosaicing, rather than the raw pixel count.
Conclusion
The Fujifilm X-T5 is a powerful and accurate tool for camera scanning. While the X-Trans sensor requires you to be thoughtful about your choice of RAW conversion software, modern tools handle film grain exceptionally well.
If you demand absolute color accuracy and want to avoid software demosaicing entirely, the Pixel Shift mode offers an incredible hardware solution. It requires a solid copy stand and extra processing time, but the resulting scans deliver clean grain structures and rich, true-to-life colors.